


I. Introduction
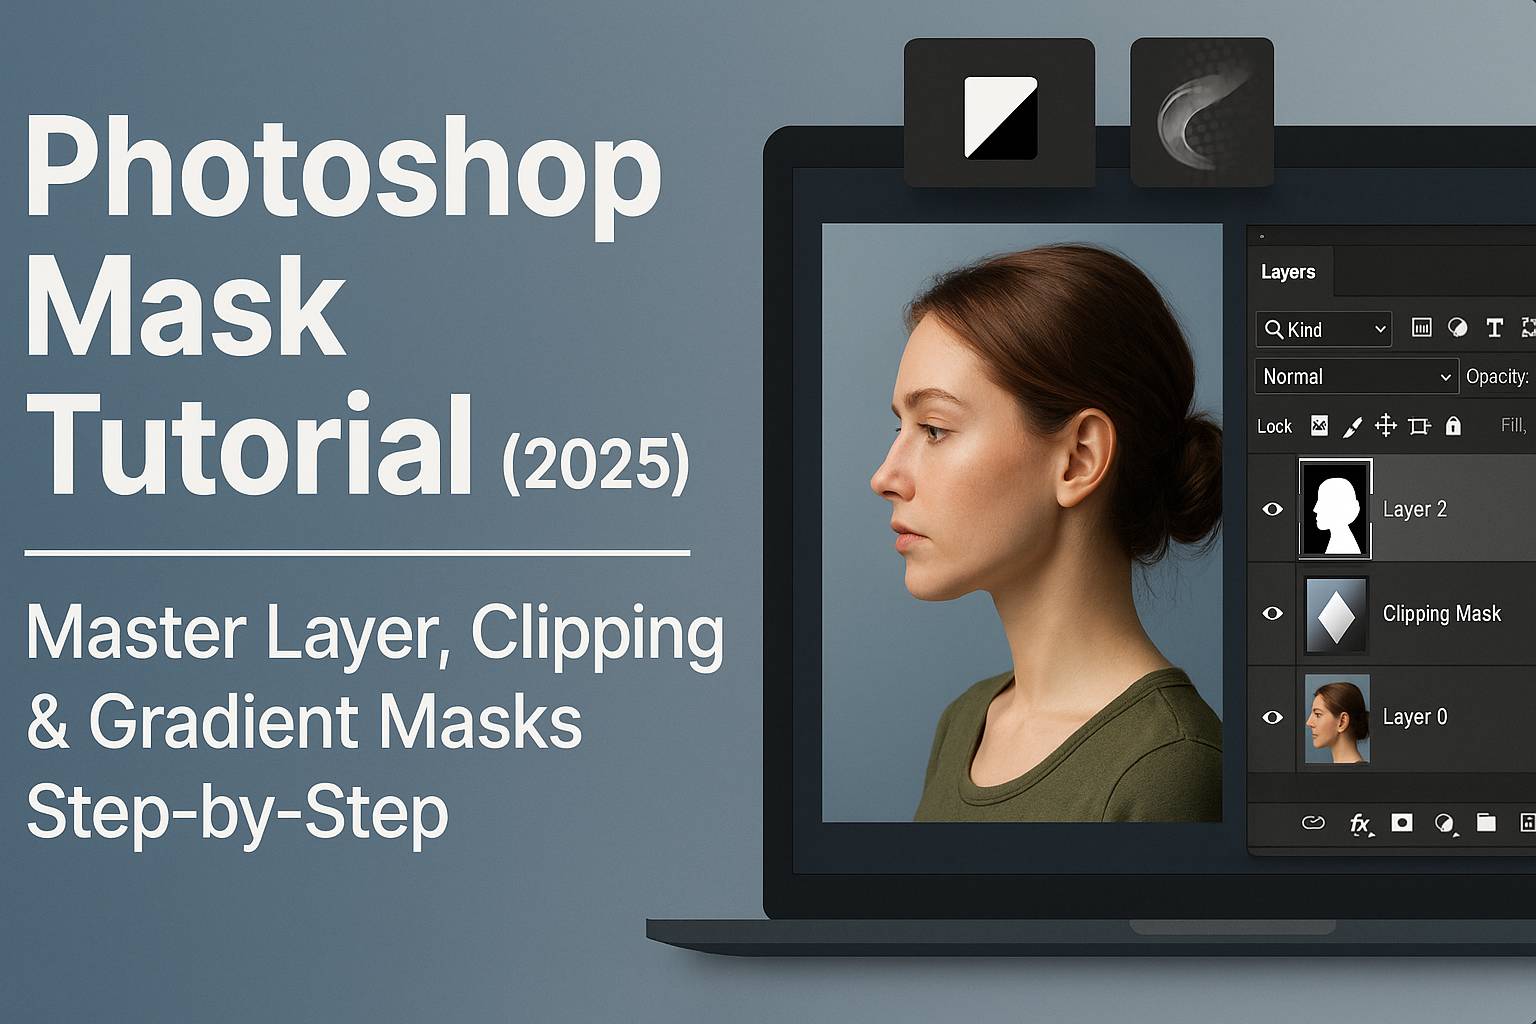
Layer masks are one of the most essential tools in Adobe Photoshop. They allow you to hide or reveal parts of a layer without deleting anything, giving you full non-destructive control over your edits. From blending images and refining selections to applying targeted adjustments, masks are everywhere in a pro Photoshop workflow.
In this tutorial, you’ll learn:
- The difference between layer masks, clipping masks, and vector masks
- How to use masks step-by-step
- Real-world examples (background removal, image blending, selective edits)
- Best practices for non-destructive editing
Let’s dive into the world of Photoshop masking.
II. What Is a Layer Mask?
A layer mask allows you to control the visibility of specific parts of a layer using black, white, and gray:
- White = fully visible
- Black = fully hidden
- Gray = partial transparency
You “paint” visibility on a mask using the Brush Tool or Gradient Tool, giving you incredibly precise control.
III. How to Add and Use a Layer Mask
Step-by-Step:
- Select a layer (image, shape, or adjustment layer)
- Click the Add Layer Mask icon at the bottom of the Layers panel
- A white thumbnail appears next to your layer thumbnail
- Select the mask thumbnail
- Use the Brush Tool (B):
- Paint with black to hide
- Paint with white to reveal
- Use soft brush for smooth blending
Pro Tip: Always paint on the mask—not the layer itself!
IV. Real-World Masking Examples
A. Remove a Background
- Select Subject > Add Layer Mask
- Use Refine Edge Brush in Select and Mask for hair/fur
- Adjust mask manually with black/white brushes
B. Blend Two Images
- Place two photos in a PSD
- Add a mask to the top layer
- Use Gradient Tool (G) on the mask to create a smooth transition
C. Apply Selective Adjustments
- Add a Curves or Hue/Saturation adjustment layer
- Fill its mask with black
- Paint white on the mask only where you want the adjustment to appear
V. Understanding Clipping Masks
A clipping mask allows one layer to only show where the layer below it has content:
How to Use:
- Place the image or adjustment above a base layer
- Right-click and choose Create Clipping Mask
- The upper layer now clips to the shape of the one below
Great for:
- Applying textures to text
- Limiting adjustments to a specific layer
- Creating dynamic photo-text effects
VI. Using Gradient Masks for Smooth Fades
Gradient masks are perfect for smooth blending between layers.
Steps:
- Add a layer mask to your image
- Select the mask thumbnail
- Use Gradient Tool (G) (black to white gradient)
- Click and drag to apply fade effect
Tips:
- Use Linear gradient for straight blends
- Use Radial for spotlight effects
VII. Advanced Masking Tips
- Invert mask: Select mask >
Ctrl/Cmd + I - View mask only:
Alt/Option + Clickon the mask - Disable mask:
Shift + Clickon the mask thumbnail - Delete mask: Right-click > Delete Layer Mask
Combine masks with:
- Selections (Lasso Tool, Select Subject)
- Smart Objects for flexible edits
- Adjustment Layers to build complex edits non-destructively
VIII. Downloadable Practice Files
- Layer mask blending exercise PSD
- Gradient mask photo blend template
- Custom brush set for refining masks
[Click here to download the Photoshop Masking Starter Pack]
IX. Best Practices
- Always mask instead of erase
- Use soft brushes for smooth transitions
- Name and group your layers for clarity
- Avoid flattening your image until final export
- Practice on duplicate layers to preserve your original image
X. Conclusion & What to Learn Next
Masking is the foundation of non-destructive editing in Photoshop. Once you’re comfortable with masks, your workflow becomes more flexible, precise, and professional. Whether you’re blending images, retouching portraits, or creating cinematic composites, masks will help you do it better.
Next tutorials to explore:
- [Photoshop Selection Techniques for Clean Cutouts]
- [Double Exposure Using Gradient Masks]
- [Layer Compositing with Smart Objects and Masks]
Tag your edits with #FLVMaskingMastery to showcase your layered creativity!
XI. FAQ
Q: What’s the difference between a layer mask and a clipping mask?
A: A layer mask controls visibility of its own layer. A clipping mask constrains one layer to the shape of the layer beneath.
Q: Can I use multiple masks on one layer?
A: Not directly, but you can group the layer and apply a group mask.
Q: What’s the shortcut to add a mask?
A: Select a layer and click the Add Layer Mask icon at the bottom of the Layers panel. Or use the Layer > Layer Maskmenu.
Q: Can masks be used with filters and adjustments?
A: Yes! Adjustment layers come with built-in masks. Smart Filters also use masks to control where the filter applies.
Mastering masks will take your Photoshop skills to a professional level. Start with the basics and practice daily—your creative options will expand with every project.