Adobe Premiere Pro stands as the industry standard for professional video editing. From YouTubers to filmmakers, this software is trusted worldwide for its powerful capabilities, seamless Creative Cloud integration, and advanced tools. But for beginners or even intermediate users, Premiere Pro can seem overwhelming.
This step-by-step guide is designed to help you master Adobe Premiere Pro, whether you’re starting from scratch or looking to refine your editing workflow. We’ll walk you through the entire process — from importing footage to exporting the final project — in a clear, structured, and hands-on way.
Chapter 1: Getting Started with Adobe Premiere Pro
1.1 Installing Adobe Premiere Pro via Creative Cloud
To get started:
- Visit Adobe.com
- Download the Creative Cloud Desktop App
- Choose the Premiere Pro app and click “Install”
System requirements (2025):
- OS: Windows 10+ / macOS 12+
- Processor: Intel Core i7 / Apple M1 or newer
- RAM: 16 GB minimum
- GPU: 4 GB VRAM or higher
- Storage: SSD recommended
✅ Pro Tip: Get the Creative Cloud All Apps plan to seamlessly switch between Premiere Pro, After Effects, Audition, and Photoshop.
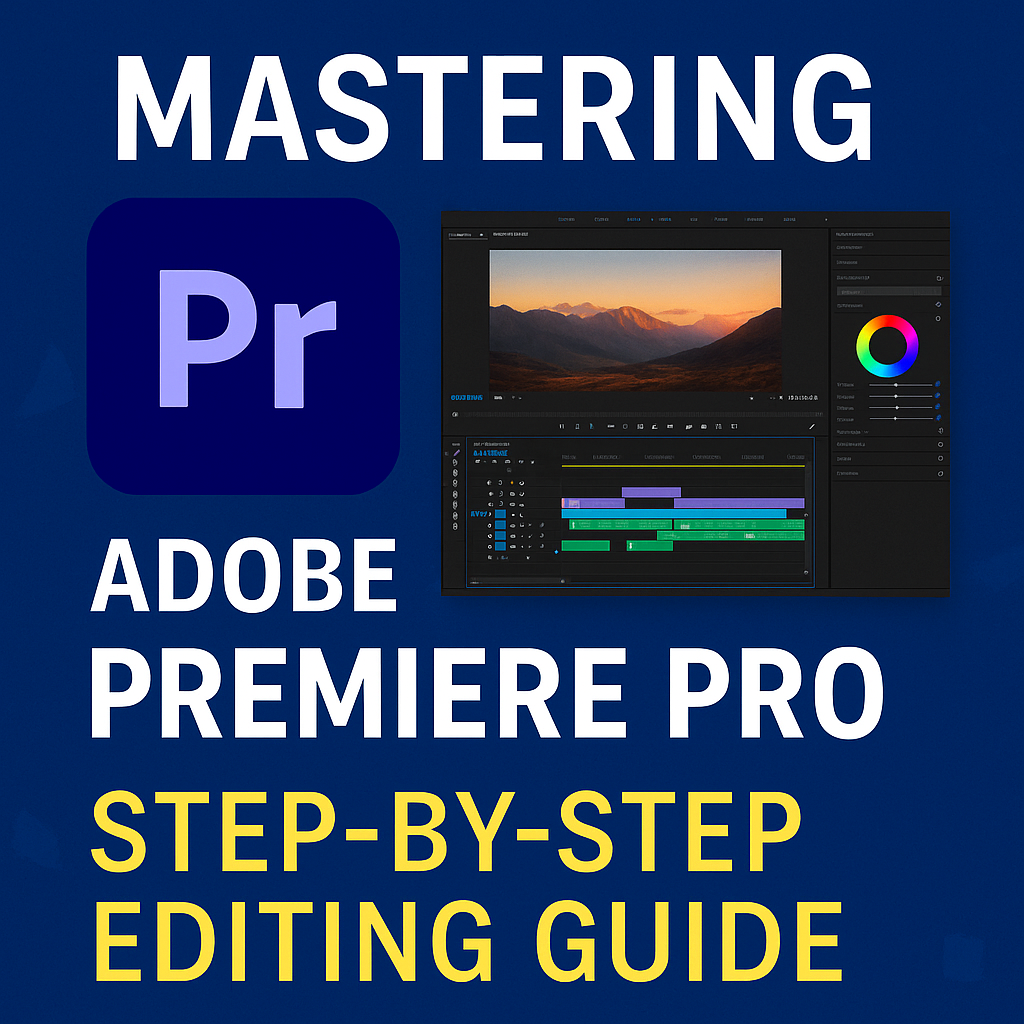
1.2 Premiere Pro Interface Overview
Familiarizing yourself with the interface will make your workflow smoother:
| Panel | Description |
|---|---|
| Project Panel | Where all your media files are stored |
| Timeline | Where you edit your footage and arrange sequences |
| Source Monitor | Preview clips before inserting them into the timeline |
| Program Monitor | Shows what your audience will see |
| Effects Panel | Contains all effects, transitions, and presets |
| Audio Meters | Displays sound levels in real time |
Chapter 2: Importing and Organizing Your Media
2.1 Importing Footage
- Go to File > Import, or drag files directly into the Project Panel.
- Use folders (bins) to organize video clips, audio, images, and sequences.
Supported file types include:
- Video: .mp4, .mov, .avi, .mxf
- Audio: .mp3, .wav, .aac
- Image: .jpg, .png, .psd
2.2 Creating a New Sequence
To start editing, you need to create a sequence:
- Right-click a clip > New Sequence from Clip (auto matches settings)
- Or go to File > New > Sequence and set your frame size (e.g. 1920×1080 @ 30fps)
Use presets like:
- DSLR > 1080p > 30fps
- AVCHD > 1080p > 60fps
✅ Pro Tip: Use the same frame rate across your footage to avoid sync issues.
Chapter 3: Basic Editing Tools and Techniques
3.1 Cutting and Trimming
- Selection Tool (V): Move and select clips
- Razor Tool (C): Cut clips at any point on the timeline
- Trim Tool: Shorten or extend clips without shifting the rest of the timeline
3.2 Rearranging Clips
- Drag and drop to move clips on the timeline.
- Use Snap (S) to align edits precisely.
3.3 Working with Audio
- Drag audio files to A1, A2 tracks.
- Adjust volume directly in the timeline or in the Essential Sound Panel.
Chapter 4: Transitions, Titles & Motion
4.1 Adding Transitions
Go to the Effects Panel > Video Transitions:
- Cross Dissolve for smooth fade-ins/outs
- Dip to Black/White for dramatic cuts
- Slide/Push for dynamic transitions
Drag and drop transitions between clips.
4.2 Creating Titles
Use Essential Graphics Panel:
- Go to Window > Essential Graphics
- Click New Layer > Text
- Customize font, color, animation
4.3 Keyframes and Motion Effects
Animate position, scale, rotation:
- Select a clip
- Open Effect Controls
- Click the stopwatch icon next to Position or Scale
- Move playhead and adjust parameters
Chapter 5: Color Correction and Grading
5.1 Using Lumetri Color Panel
Go to Window > Lumetri Color
Tabs include:
- Basic Correction: Exposure, white balance
- Creative: LUTs, look presets
- Curves & Color Wheels: Advanced adjustments
5.2 Matching Shots
Use Lumetri Color > Color Match:
- Choose a reference clip
- Apply auto-match to keep scenes consistent
✅ Pro Tip: Shoot in flat color profiles for better grading flexibility.
Chapter 6: Working with Audio Like a Pro
6.1 Audio Mixing
Use Essential Sound Panel:
- Tag audio as Dialogue, Music, SFX, or Ambience
- Adjust Loudness, Clarity, Reverb
6.2 Noise Reduction
- Use DeNoise effect to clean up audio
- Apply Parametric EQ for vocal clarity
6.3 Syncing Audio and Video
- Right-click clips > Synchronize
- Sync using audio waveform or timecode
Chapter 7: Advanced Editing Techniques
7.1 Nesting Sequences
Group complex edits into one clip:
- Select multiple clips > Right-click > Nest
- Great for compositing, transitions, or reusing animations
7.2 Multi-Camera Editing
- Import all angles
- Select clips > Create Multi-Camera Source Sequence
- Use Multi-Camera Monitor to switch angles in real time
7.3 Proxy Workflow (for Low-End PCs)
- File > Project Settings > Ingest Settings
- Enable Create Proxies
- Toggle with +Proxy button in the toolbar
Chapter 8: Exporting Your Final Video
8.1 Using Export Settings
Go to File > Export > Media or press Ctrl + M / Cmd + M
Recommended settings for YouTube (2025):
- Format: H.264
- Preset: YouTube 1080p Full HD
- Bitrate Encoding: VBR 2 Pass
- Target Bitrate: 12 Mbps
8.2 Using Adobe Media Encoder
- Queue export to Media Encoder
- Export multiple sequences at once
✅ Pro Tip: Use custom presets for TikTok, Instagram, Vimeo, or Facebook exports.
Chapter 9: Time-Saving Tips & Resources
9.1 Keyboard Shortcuts to Memorize
| Action | Shortcut (Windows/Mac) |
|---|---|
| Cut (Razor) | C |
| Select Tool | V |
| Ripple Delete | Shift + Delete |
| Play/Pause | Spacebar |
| Zoom Timeline | + / – |
9.2 Creative Cloud Libraries
- Store assets, color palettes, and titles
- Share across Photoshop, After Effects, Premiere Pro
9.3 Top Free Resources
- Motion Array (templates, transitions)
- Mixkit.co (free music and video assets)
- YouTube Channels: Justin Odisho, Premiere Gal, Peter McKinnon
Chapter 10: Common Issues and How to Fix Them
| Problem | Solution |
|---|---|
| Audio out of sync | Use proxies or interpret frame rate |
| Black screen during export | Check GPU settings in Project Preferences |
| Crash on startup | Reset preferences (hold Alt during launch) |
Chapter 11: Expanding Your Skills
Once you’ve mastered the basics:
- Learn Adobe After Effects for motion graphics
- Use Adobe Audition for advanced audio repair
- Try Team Projects for cloud-based collaboration
Conclusion
By now, you’ve built a strong foundation in Adobe Premiere Pro — from setting up a project to exporting a professional-quality video. Remember: mastery comes with practice. Keep editing, keep experimenting, and use this guide as your go-to resource.
💡 Ready to take your video editing to the next level? Try Adobe Creative Cloud’s All Apps plan and unlock the full potential of Adobe’s ecosystem.
FAQs
❓ Is Adobe Premiere Pro beginner-friendly?
Yes. While it has a steep learning curve, this guide breaks it down so even complete beginners can follow.
❓ Can I use Premiere Pro for TikTok or Instagram Reels?
Absolutely. Create vertical sequences (9:16), add motion graphics, and export using H.264.
❓ Is there a free version?
Premiere Pro offers a 7-day free trial via Adobe Creative Cloud.


