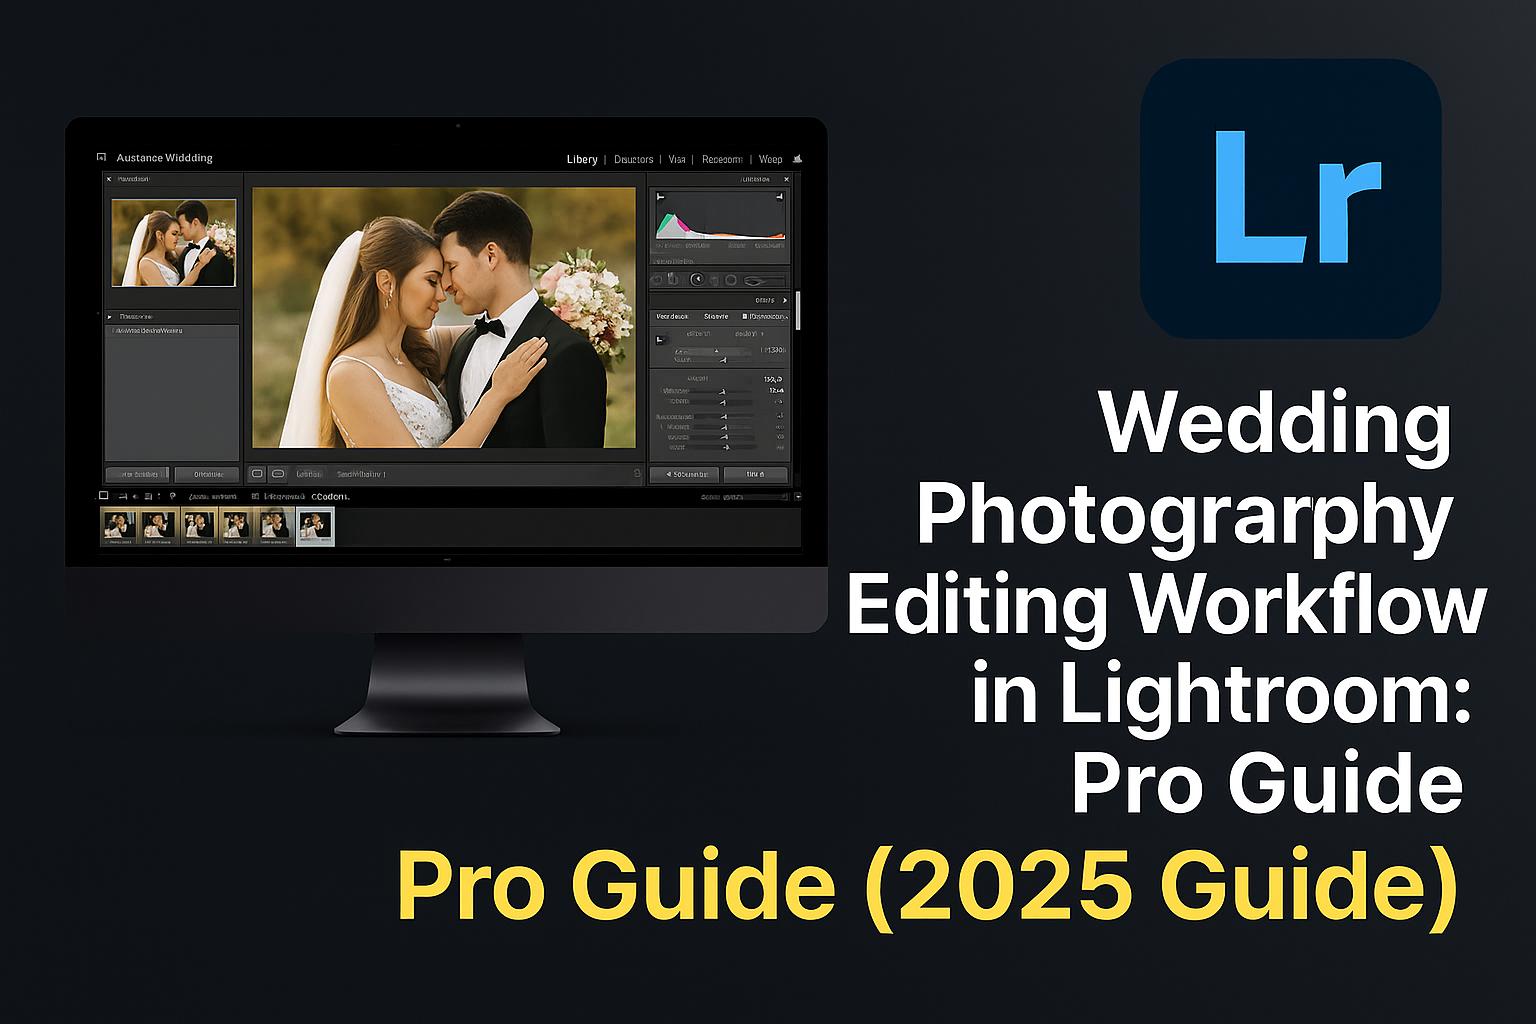
Wedding photography is a beautiful challenge—it’s high-pressure, high-volume, and high-impact. Once the event is over, the magic begins in post-production. That’s where Adobe Lightroom shines. With the right workflow, you can edit thousands of images efficiently while preserving consistency, color accuracy, and style.
In this guide, you’ll learn the complete wedding photography editing workflow in Lightroom, optimized for speed, quality, and client satisfaction.
What you’ll learn:
- How to organize and import your wedding photos
- How to cull and rate your best shots
- The most efficient global and local editing steps
- How to batch edit with presets
- Export settings for albums, web galleries, and delivery
Why Lightroom Is Ideal for Wedding Photo Editing
Lightroom Classic (and Lightroom CC) are perfect for wedding post-processing because they offer:
- Non-destructive RAW editing
- Fast culling and previewing with embedded previews
- Batch editing and syncing
- Masking tools for precision (like subject and sky masks)
- Seamless integration with Photoshop for detailed retouching
Lightroom Classic is preferred by professionals due to its catalog-based system, folder management, and speed with large image sets.
Step 1: Import, Backup, and Organize Your Wedding Photos
1.1 Back Up First
- Copy all RAW files to two locations: primary editing drive + backup drive
1.2 Set Up Lightroom Catalog
- Create a new catalog per wedding (recommended)
- Use naming conventions:
lastname-wedding-2025
1.3 Import and Organize
- Go to File > Import Photos and Video
- Organize by:
- Folders: Getting Ready, Ceremony, Reception, Portraits
- Add keywords (bride, groom, venue, date)
- Build Embedded & Sidecar Previews for fast culling
🧠 Use smart collections to auto-organize by rating, color label, or metadata.
Step 2: Culling and Rating to Select the Best Shots
2.1 Initial Pass
- Use Grid View (G) + Loupe View (E)
- Flag picks with P, reject with X
- Use stars (1–5) or color labels (e.g., red for retouching, blue for album)
2.2 Second Pass
- Filter by flagged or starred images
- Make tighter selections by comparing similar frames side-by-side (C)
2.3 Create Collections
- Create sets for:
- Client proof gallery
- Social media sneak peek
- Album draft
💡 Cull quickly by focusing on expressions, composition, and sharpness.
Step 3: Global Adjustments and Preset Application
3.1 Apply a Base Preset
- Use or create a Lightroom preset that reflects your editing style
- Apply on import or after culling to start with a consistent base look
3.2 White Balance and Exposure
- Use eyedropper on bride’s dress or neutral tones
- Adjust Exposure, Contrast, Highlights, Shadows, Whites, and Blacks
3.3 Tone Curve and Color Calibration
- Fine-tune shadows and highlights in Tone Curve
- Use HSL/Color panel for skin tones and dress details
🎨 Presets save time, but always fine-tune per scene lighting.
Step 4: Local Edits for Portrait Perfection
4.1 Use Masks and Brushes
- Use AI-powered Select Subject to isolate the couple
- Apply clarity, texture, and exposure adjustments selectively
4.2 Retouch with Healing Tool
- Remove blemishes, distractions, or sensor spots using the Healing Brush (Q)
4.3 Enhance Details
- Add light vignette to draw attention to the couple
- Use Radial Gradients to highlight faces or details like rings
👰 Be subtle. Wedding edits should enhance, not over-retouch.
Step 5: Sync and Batch Edit for Speed
5.1 Sync Settings
- Edit a representative image from each lighting condition
- Select a group of similar images > Click Sync… or Auto Sync
5.2 Use Previous Edits
- Select next image > Press Previous to apply last used settings
5.3 Use Smart Previews
- Enable Smart Previews for faster performance when working from SSD or laptop
⚡ Batch editing = massive time savings without sacrificing quality.
Step 6: Export Settings for Albums, Web, and Clients
6.1 For Albums (High-Res)
- File Type: JPEG
- Quality: 100
- Resolution: 300 PPI
- Color Space: Adobe RGB
- Rename files:
bride-groom-album-###
6.2 For Web Galleries / Social Media
- File Type: JPEG
- Resize to: Long Edge 2048px
- Resolution: 72 PPI
- Watermark (optional)
- Color Space: sRGB
6.3 For Client Delivery
- Create Export Presets:
- High-res print
- Web-optimized
- Instagram-ready crop (4:5)
💾 Deliver via Google Drive, Dropbox, Pixieset, or Lightroom shared albums.
Bonus: Download Our Free Wedding Lightroom Preset Pack
🎁 Save time and keep your edits consistent:
👉 Download 5 Free Wedding Lightroom Presets
Includes:
- Soft Film Look
- Warm Golden Hour
- Black & White Elegance
- Editorial Matte Finish
- Indoor Ceremony Brightener
Compatible with Lightroom Classic & Mobile.
Pro Tips for Efficient Wedding Editing Workflows
- Shoot consistently – Balanced lighting means easier batch edits
- Use naming conventions for folders and files
- Edit in passes – First round global, second round local
- Export in sets – Keeps things organized and easy to deliver
- Outsource backup editing when overwhelmed but maintain your preset
- Use Lightroom Mobile for quick client previews
🧠 The more repeatable your workflow, the more clients you can serve well.
FAQs: Lightroom for Wedding Photographers
Q: Lightroom Classic or Lightroom CC?
A: Classic is better for large projects with folder structures. CC is great for cloud syncing.
Q: Can I remove blemishes in Lightroom?
A: Yes, use the Healing Brush or edit in Photoshop for advanced retouching.
Q: Should I create a new catalog for every wedding?
A: Yes. It keeps files organized and improves Lightroom performance.
Q: What’s the best preset for wedding photography?
A: It depends on your style—warm, moody, light & airy. Start with one and adjust.
Q: Can I edit on mobile while traveling?
A: Yes! Use Lightroom Mobile synced through Creative Cloud.
Conclusion + Try Adobe Creative Cloud
With the right workflow, Lightroom transforms wedding editing from overwhelming to efficient. From import to export, every step can be optimized to help you deliver stunning results to your clients faster—and with less stress.
📦 Ready to streamline your editing?
👉 Start your free Adobe Lightroom trial with Creative Cloud


