

A cohesive brand identity is more than just a logo—it’s the complete visual language that defines how your brand looks and feels. Whether you’re a designer building for a client or an entrepreneur establishing your own brand, Adobe Illustrator is the ideal tool to build a professional brand identity kit.
This step-by-step guide will show you how to:
- Design a logo and icon system
- Create a consistent color palette
- Choose and apply brand typography
- Design supporting elements (patterns, graphics)
- Organize all assets into a clean, shareable kit
Let’s build your visual identity from the ground up.
What Is a Brand Identity Kit and Why It Matters
A brand identity kit is a collection of visual elements that represent a brand consistently across all platforms.
It typically includes:
- Logo (primary, secondary, icon)
- Color palette (hex, RGB, CMYK codes)
- Typography (font families, weights, usage rules)
- Imagery styles, icons, patterns
- Brand usage guidelines
Having a centralized, well-designed kit ensures visual consistency and makes collaboration with teams or clients easier.
Step 1: Set Up Your Illustrator Workspace for Branding
1.1 Create a New Document
- File > New
- Dimensions: 1920 x 1080 px (for screen) or A4 (for print)
- Color Mode: RGB (for digital), CMYK (for print)
1.2 Organize Artboards
- Create individual artboards for:
- Logos
- Color palette
- Typography
- Icon set
- Templates
1.3 Set Up Layers
- Create layers for each section (e.g., “LOGO”, “COLORS”, “FONTS”)
- Lock guideline/reference layers
💡 Save your workspace as a brand template for reuse.
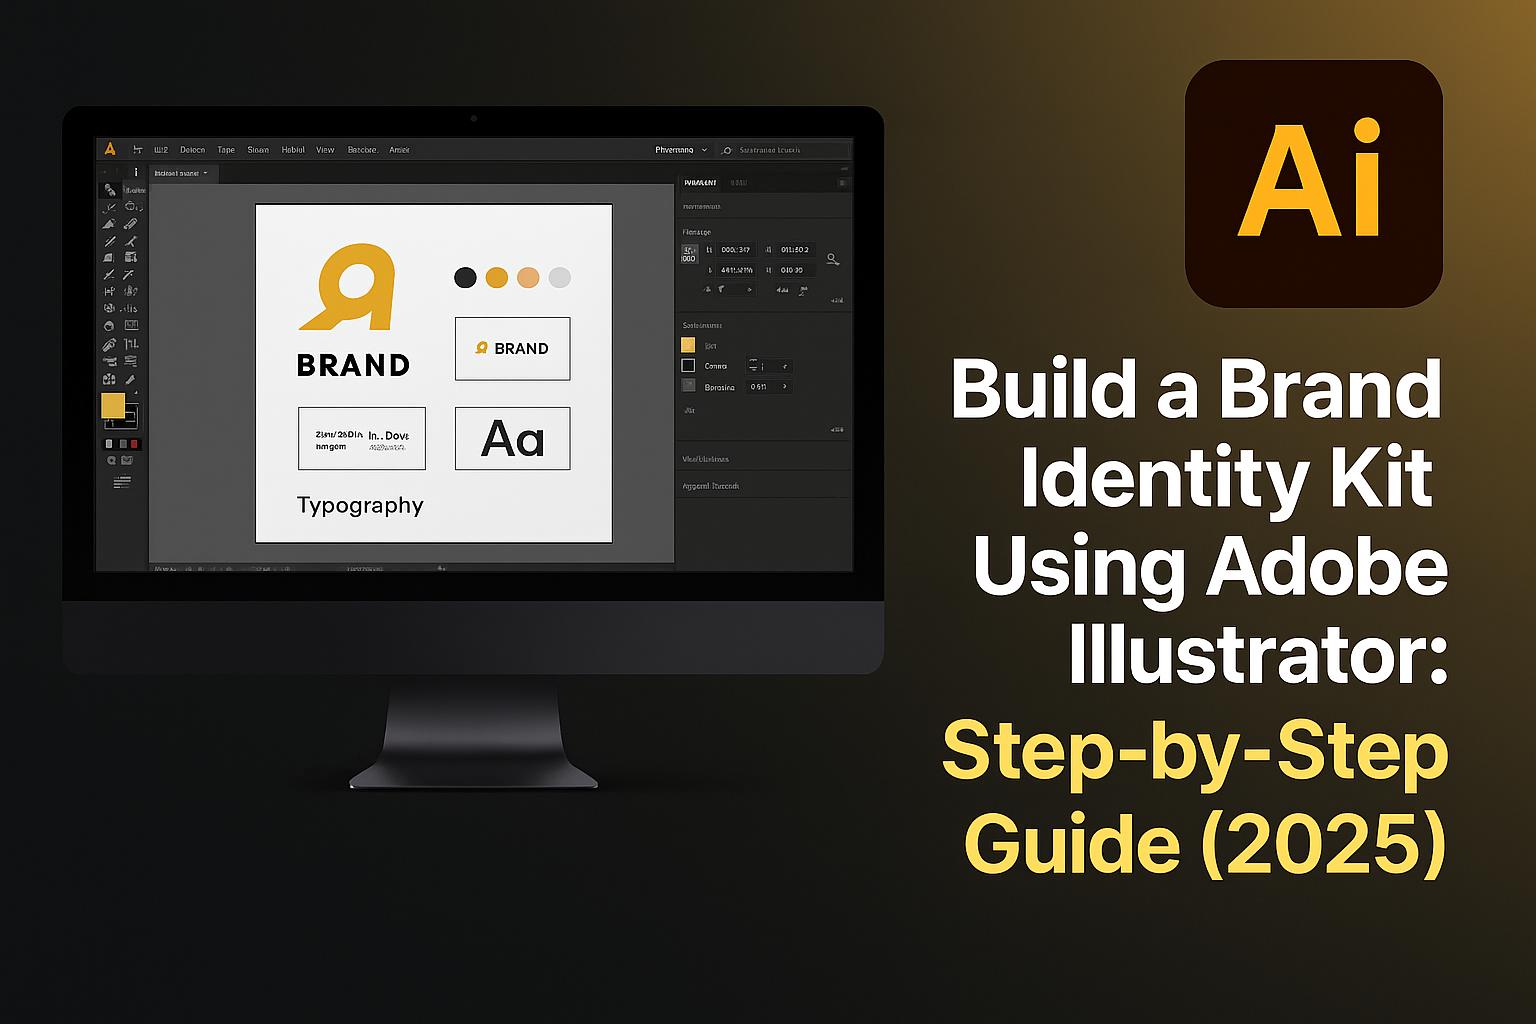
Step 2: Design Your Logo and Brand Mark
2.1 Create the Primary Logo
- Use the Pen Tool (P) or Shape Tools to construct your symbol
- Include company name using Adobe Fonts (e.g., Montserrat, Proxima Nova)
2.2 Make Variations
- Horizontal layout
- Stacked (vertical)
- Icon-only (favicon/social media)
2.3 Define Clear Space and Sizing
- Add margin guides around your logo
- Specify minimum usage sizes (e.g., 32px for favicon)
🧠 Export logos in SVG, PNG, and AI formats.
Step 3: Create a Professional Color Palette
3.1 Choose Brand Colors
- Primary (dominant)
- Secondary (supporting)
- Accent (for calls to action)
- Neutral (gray, black, white)
3.2 Use Global Swatches
- Swatches Panel > New Swatch > Check “Global”
- Name colors clearly (e.g., “Brand Blue”)
3.3 Document Color Codes
- For each color, list:
- HEX
- RGB
- CMYK
- Pantone (optional)
🎨 Keep contrast and accessibility in mind for color usage.
Step 4: Define Brand Typography
4.1 Choose Typefaces
- Use Adobe Fonts for licensed, easy-to-use fonts
- Select:
- Heading font
- Body font
- Optional accent font
4.2 Apply Character Styles
- Character panel > Save styles for headings, subheadings, paragraphs
4.3 Set Rules for Usage
- Heading font: Bold, all caps
- Body font: Regular, 16–18pt
- Line spacing, kerning, hierarchy examples
📚 Include font licensing and download links if sharing externally.
Step 5: Build Supporting Graphics and Elements
5.1 Create a Pattern or Texture
- Repeat brand icon or design custom background
- Use Pattern Tool (Object > Pattern > Make)
5.2 Design Icon Set
- Match iconography to brand style (rounded, line, filled)
- Use Illustrator’s Stroke, Simplify, and Pathfinder tools
5.3 Include Sample Layouts
- Add mockups for:
- Business cards
- Social media post templates
- Presentation cover
🧩 Visual consistency goes beyond the logo—supporting assets matter.
Step 6: Organize Assets into a Brand Guidelines Document
6.1 Create a Style Guide Layout
- Cover Page
- Brand Introduction
- Logo Usage
- Color System
- Typography Rules
- Graphic Style
- Examples and Templates
6.2 Use Illustrator or Export to InDesign
- For print-friendly guides, export from Illustrator to InDesign
- Include linked graphics and outlined text where needed
6.3 Save and Export
- Export as PDF for easy sharing
- Include AI source files and font links in ZIP package
📁 Your brand kit is now ready for internal use or client delivery.
Bonus: Download a Free Illustrator Brand Kit Template
🎁 Jumpstart your branding project:
👉 Download AI Brand Identity Kit Template
Includes:
- Logo placeholders
- Editable color swatches
- Typography layout and sample text
- Grid system and guidelines
- Free Google Fonts integration
Perfect for freelancers, agencies, or small businesses.
Tips for a Successful Brand Identity Kit
- Design for flexibility – make your visuals adaptable across platforms
- Use clear naming conventions for colors, layers, and files
- Stay on-brand – keep alignment with brand purpose and tone
- Test your designs on print and screen to ensure consistency
- Document everything – clarity ensures smooth handoffs and usage
✅ Consistency builds recognition—your identity kit is your foundation.
FAQs: Illustrator for Branding Projects
Q: Can I build a complete brand kit in Illustrator alone?
A: Yes. Illustrator offers all the design tools needed. Use InDesign for multipage layout if preferred.
Q: What’s the best format for delivering a brand kit?
A: PDF for presentation + ZIP folder with AI, SVG, PNG, and fonts.
Q: Should I use RGB or CMYK?
A: Use RGB for digital-first brands; CMYK for print-heavy brands.
Q: Can I use Adobe Stock assets?
A: Yes. Be sure to check licensing and customize for brand consistency.
Q: How often should a brand identity kit be updated?
A: Ideally every 2–3 years or after a rebrand, product pivot, or expansion.
Conclusion + Try Adobe Creative Cloud
A great brand starts with great visuals—and Adobe Illustrator is the industry-standard tool to design your brand from the inside out. With logos, colors, fonts, and icons in place, you now have a kit that reflects your brand’s voice and personality.
📦 Ready to get started?
👉 Try Adobe Illustrator with Creative Cloud


