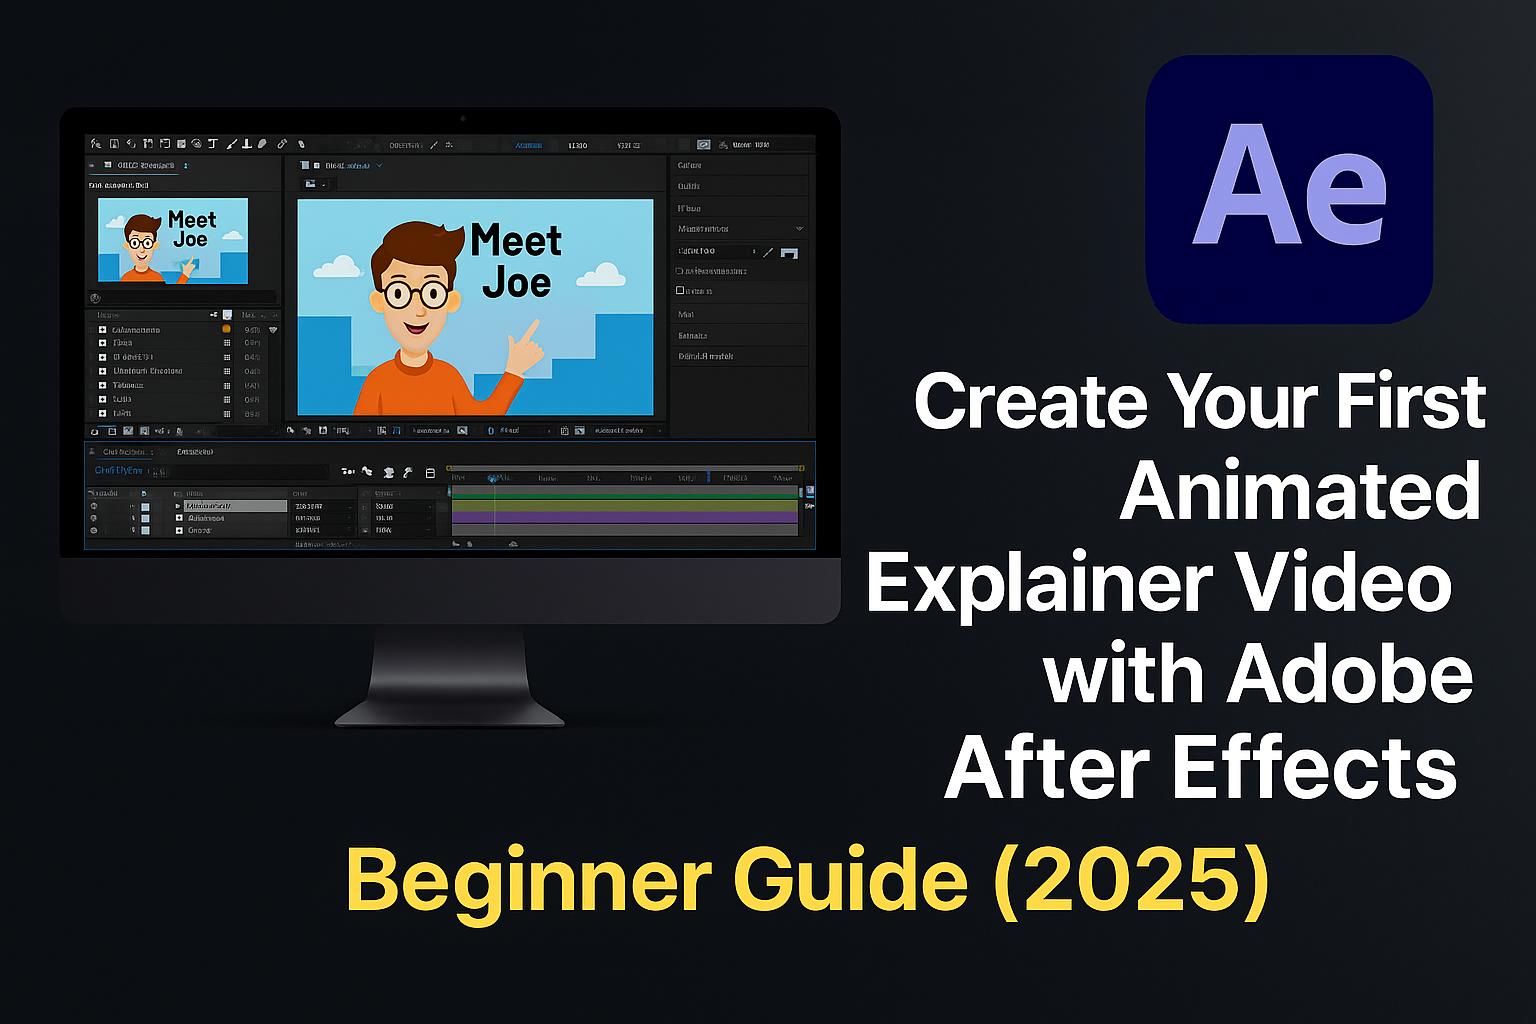
Animated explainer videos are one of the most effective ways to communicate complex ideas quickly and engagingly. Whether you’re promoting a product, teaching a concept, or launching a startup, Adobe After Effects gives you the tools to bring your message to life with motion graphics.
This step-by-step beginner guide will walk you through creating your first animated explainer video using After Effects—from setup to export.
You’ll learn how to:
- Plan and script your video
- Set up a new project and timeline
- Animate icons, shapes, and text
- Add voiceover and background music
- Export your final animation for web or YouTube
Let’s get started!
What Is an Explainer Video and Why Use After Effects?
An explainer video is a short, animated video that illustrates a product, service, or idea. Common formats include:
- App or product introductions
- Educational content
- Startup pitches
- Internal training videos
Adobe After Effects is the industry standard for creating animated explainers because it offers:
- Timeline-based motion graphics
- Integration with Illustrator and Photoshop
- Professional effects and transitions
- Advanced typography and animation presets
Step 1: Plan and Script Your Explainer Video
Before jumping into After Effects, plan your content.
1.1 Write a Script
- Keep it short: 30–90 seconds is ideal
- Focus on problem–solution–call-to-action structure
1.2 Break the Script into Scenes
- Each sentence or idea = 1 scene or slide
- Plan a visual for each (e.g., icon animation, text reveal)
1.3 Record Voiceover (Optional)
- Record in Adobe Audition or your preferred app
- Keep tone clear, friendly, and paced to your visuals
🧠 Pro tip: Match animation timing to your voiceover beats.
Step 2: Set Up a New Project in After Effects
2.1 Start a New Project
- Open After Effects > File > New > New Project
2.2 Create a Composition
- Name: “Explainer_Main”
- Dimensions: 1920 x 1080 (Full HD)
- Frame rate: 30 fps
- Duration: 60–90 seconds
2.3 Set Up Your Workspace
- Use Default Workspace or create one for animation
- Enable Title/Action Safe Guides under View > Show Guides
🎯 Save your project early and often in Creative Cloud storage.
Step 3: Design or Import Graphic Assets
3.1 Use Illustrator or Photoshop for Asset Creation
- Design icons, illustrations, logos, and elements
- Use vector format (AI or EPS) for scalability
3.2 Organize Layers Clearly
- Name layers descriptively (e.g., “icon_laptop”, “bg_circle”)
- Group reusable elements in folders
3.3 Import into After Effects
- File > Import > File > Choose your .AI or .PSD
- Choose “Import as Composition” to retain layers
💡 Use Adobe Stock or Libraries to sync assets easily.
Step 4: Animate Shapes, Icons, and Text
4.1 Animate Shape Layers
- Create vector shapes in AE or convert imported ones
- Use Transform properties: Position, Scale, Rotation, Opacity
4.2 Add Keyframes
- Select a property > Toggle stopwatch to add keyframes
- Move timeline forward > Change value
4.3 Use Easing for Smooth Movement
- Select keyframes > Right-click > Keyframe Assistant > Easy Ease
- Use Graph Editor to refine motion curves
4.4 Animate Text
- Use Text Tool to write headlines or messages
- Apply Animate > Position or Opacity for type-on effects
🌀 Add bounce, fade, and slide animations with ease.
Step 5: Use Parenting, Precomps, and Motion Blur
5.1 Parenting Layers
- Use the Pick Whip to attach layers to a parent (e.g., moving icons with a device)
5.2 Use Precompositions
- Select layers > Right-click > Pre-compose
- Use for scene grouping, nested animations, or transitions
5.3 Add Motion Blur
- Enable Motion Blur for relevant layers and timeline
- Makes fast movement feel more natural
🔧 These features help maintain control and reduce timeline clutter.
Step 6: Add Voiceover and Background Music
6.1 Import Audio
- File > Import > Choose your audio files
- Drag to bottom of timeline
6.2 Sync Animation to Voiceover
- Use waveform preview to match animation timing
- Add markers (Layer > Add Marker) for key audio beats
6.3 Add Music and Adjust Volume
- Use Audio Amplitude Keyframes or Audio Mixer panel
- Lower music volume during voiceover
🎙️ Narration + background music = higher viewer retention.
Step 7: Add Transitions and Final Effects
7.1 Add Transitions Between Scenes
- Use Opacity fades, Slide-ins, or Wipe transitions
7.2 Use Effects and Presets
- Browse Effects & Presets panel for bounce, blur, glow, etc.
7.3 Add Branding
- Insert logo, tagline, or call-to-action at the end
- Use consistent fonts and colors (linked from Creative Cloud Libraries)
🎬 Close your video with a strong, branded outro.
Step 8: Export Your Explainer Video
8.1 Add to Render Queue
- Composition > Add to Render Queue
8.2 Export via Adobe Media Encoder
- Choose H.264 for web delivery
- Match Source – High Bitrate
- Set Output Path > Click “Start Queue”
8.3 Upload to YouTube, Vimeo, or Social Platforms
- Optimize title, tags, and thumbnail to match the video topic
📤 Use .MP4 format at 1080p resolution for best quality/size balance.
Bonus: Download Free After Effects Explainer Template
🎁 Save time with our editable project file:
👉 Download Free AE Explainer Template
Includes:
- Precomposed slides
- Icon animations
- Text reveals and transitions
- Royalty-free music and voiceover placeholders
Compatible with AE 2023+ and fully customizable.
Tips for a Successful Explainer Video
- Write a great script – Short, punchy, and focused
- Use consistent visuals – Match your brand identity
- Animate with purpose – Every movement should serve the story
- Don’t overload with effects – Keep it clean and clear
- Test your message – Show it to someone unfamiliar and ask if it makes sense
✨ Clarity beats complexity. Simple is memorable.
FAQs: Creating Explainer Videos in After Effects
Q: Do I need to know motion design to make a good explainer?
A: No, this guide is beginner-friendly. Start simple and build skills as you go.
Q: Can I use After Effects templates?
A: Yes! Modify pre-built templates to save time while learning.
Q: What’s the ideal length for explainer videos?
A: 60–90 seconds. Long enough to inform, short enough to retain interest.
Q: Can I use Illustrator files directly?
A: Absolutely. Import as layered compositions for best control.
Q: Is After Effects part of Creative Cloud?
A: Yes, included in the All Apps plan or as a standalone subscription.
Conclusion + Try Adobe Creative Cloud
Congratulations! You’ve just taken your first step into the world of motion graphics. With After Effects and this tutorial, you’re ready to craft stunning explainer videos that inform, impress, and convert.
📦 Want access to all the tools? Try Adobe Creative Cloud for free:
👉 Start Your Free Trial of Adobe After Effects
