


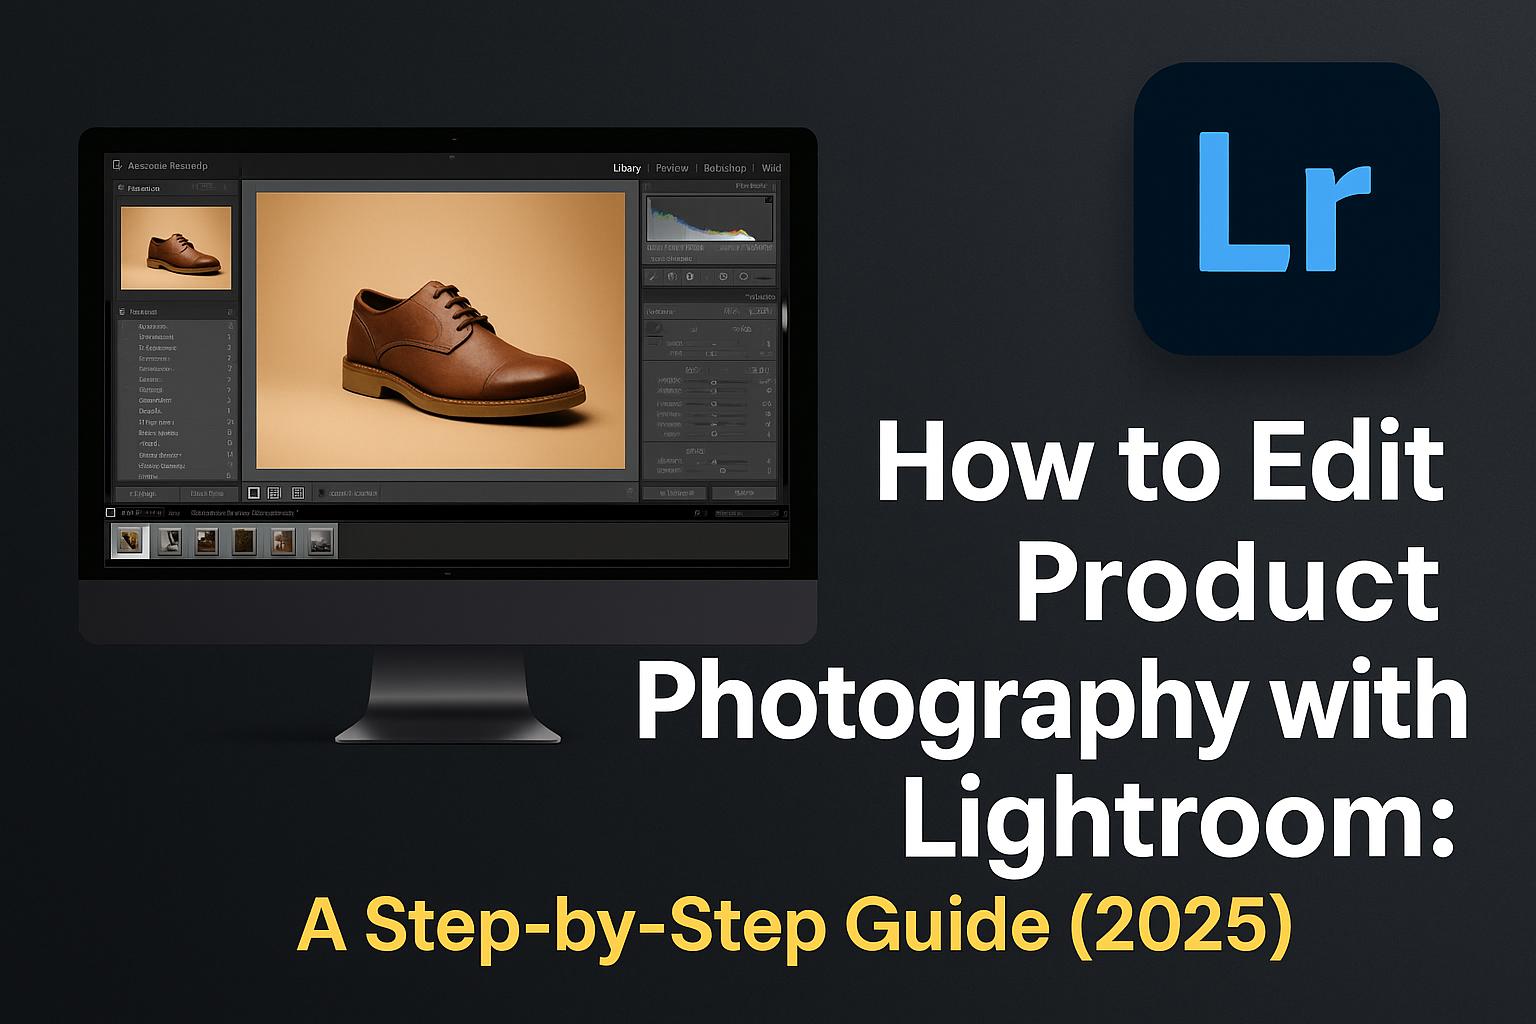
Product photography is essential to the success of any online brand. From e-commerce listings to social media ads, the quality of your images directly affects how customers perceive your products. Fortunately, Adobe Lightroom makes it easy to edit product photos professionally—even if you’re not a photography expert.
In this step-by-step guide, you’ll learn how to:
- Import and organize product shots in Lightroom
- Correct exposure, white balance, and color
- Enhance clarity and detail
- Remove distractions and blemishes
- Export high-quality images for web and print
Whether you’re shooting jewelry, apparel, tech, or handmade goods, these Lightroom editing techniques will help you make your products shine.
Why Use Lightroom for Product Photography?
Lightroom (both Classic and Cloud) is ideal for product editing because:
- It’s non-destructive, so your original images remain intact
- It allows batch processing for consistent edits
- You get advanced color, exposure, and sharpness controls
- It integrates seamlessly with Photoshop, Adobe Camera Raw, and Creative Cloud
Lightroom also supports RAW files, giving you more flexibility during post-processing.
Step 1: Import and Organize Your Product Photos
1.1 Launch Lightroom and Create a Catalog
- Open Lightroom Classic > File > New Catalog (name it “Product Edits”)
- For Lightroom CC, use Albums inside your workspace
1.2 Import Images
- Click Import > Select folder > Choose files
- Add keywords like “t-shirt,” “white background,” or “Studio A”
1.3 Sort and Rate
- Use flags, stars, or color labels to pick your best shots
- Shortcut: Press P to flag a photo as a pick
🧠 Pro tip: Group images by product SKU or category for easier editing.
Step 2: Adjust White Balance and Exposure
2.1 Fix White Balance
- Go to the Basic Panel > White Balance selector (Eyedropper)
- Click on a neutral gray or white area
- Manually adjust Temp/Tint sliders if needed
2.2 Correct Exposure
- Increase Exposure slider for proper brightness
- Adjust Contrast to add punch
2.3 Balance Highlights and Shadows
- Lower Highlights to recover detail in bright areas
- Raise Shadows to reveal product shape
- Adjust Whites and Blacks while holding Shift + double-click for auto settings
📸 Aim for true-to-life color and balanced lighting.
Step 3: Fine-Tune Clarity, Texture, and Color
3.1 Enhance Texture
- Slightly increase Texture to bring out material detail (e.g., fabric, wood grain)
- Use Clarity sparingly to avoid halos
3.2 Adjust Vibrance and Saturation
- Boost Vibrance for subtle enhancement
- Be careful with Saturation to avoid artificial tones
3.3 Fine-Tune Colors
- Use HSL Panel to target specific colors (e.g., brighten reds, desaturate blues)
🎯 Maintain color accuracy—especially important for fashion and cosmetics.
Step 4: Crop, Straighten, and Clean the Background
4.1 Crop to Aspect Ratio
- Use Crop Tool (R) to fit desired dimensions (1:1 for Shopify, 5:4 for Etsy)
- Enable Constrain to Image to prevent white edges
4.2 Straighten Product Lines
- Use the Straighten tool or manually rotate the crop overlay
4.3 Clean Background Imperfections
- Use Healing Brush Tool (Q) to remove dust, lint, or marks
- For more control, switch to Photoshop via Edit In > Photoshop
🧼 A clean background improves product focus and perceived value.
Step 5: Sharpen and Denoise
5.1 Sharpening
- Scroll to Detail Panel > Increase Amount to around 50–70
- Adjust Radius and Detail for edges (don’t overdo it)
5.2 Masking
- Hold Alt/Option while sliding Masking to apply sharpening only to edges
5.3 Reduce Noise
- Use Luminance Noise Reduction to smooth out background grain (especially in ISO 800+ photos)
🔍 Zoom in to 100% to judge sharpening and noise levels properly.
Step 6: Apply Presets for Efficiency
6.1 Use Lightroom Presets
- Create or download product photography presets
- Apply presets to one photo, then sync across similar images
6.2 Batch Editing
- Select all > Click Sync Settings to apply changes in bulk
6.3 Save Your Own Preset
- Click + next to the Presets panel > Create Preset > Name it
⚙️ Presets save time and ensure consistency across product lines.
Step 7: Export for Web and Print
7.1 Export Settings for Web
- File > Export
- File Type: JPEG
- Quality: 80–100
- Resize to Fit: Long Edge = 2000 px
- Color Space: sRGB
7.2 Export for Print
- File Type: TIFF or JPEG (max quality)
- Resolution: 300 PPI
- Color Space: Adobe RGB (for wider color gamut)
7.3 File Naming and Organization
- Use consistent naming: “sku123-whitefront.jpg”
- Export into folders by category, platform, or use case
🧾 Keep backups of edited files in Creative Cloud or external storage.
Bonus: Download Our Free Lightroom Preset Pack
🎁 Want to fast-track your product editing?
👉 Download 5 Free Lightroom Product Presets
Includes:
- White Background Clean
- Natural Wood Highlight
- Bold Contrast Pop
- Soft Matte Look
- Neutral Color Correction
Compatible with Lightroom Classic & Lightroom Mobile.
Product-Specific Editing Tips
Apparel
- Remove creases and color-cast
- Emphasize fabric texture using the Texture slider
Jewelry
- Boost Whites and Highlights for shine
- Use a soft gradient background for luxury feel
Tech Products
- Use precise white balance to avoid color shifts
- Enhance contrast and edges for clarity
📐 Tailor your edits based on product type and platform expectations.
FAQs: Editing Product Photos in Lightroom
Q: Lightroom Classic or Lightroom CC—Which should I use?
A: Use Classic for batch desktop workflows, CC for mobile and sync-heavy work.
Q: Can I remove backgrounds in Lightroom?
A: Not fully—Lightroom lacks background removal. Use Photoshop via round-trip editing.
Q: How do I make all my photos look consistent?
A: Use synced edits, develop presets, and shoot with consistent lighting.
Q: Should I shoot RAW or JPEG?
A: Always shoot RAW for maximum editing flexibility.
Q: Is Lightroom free?
A: Lightroom Mobile has limited free features. Full functionality requires a Creative Cloud plan.
Conclusion + Try Adobe Creative Cloud
Professional-looking product photos don’t require expensive gear or outsourced editing. With Adobe Lightroom, you have all the tools you need to enhance your images, streamline your workflow, and boost your brand’s visual appeal.
Start editing like a pro with Creative Cloud:
👉 Try Adobe Lightroom with Creative Cloud


