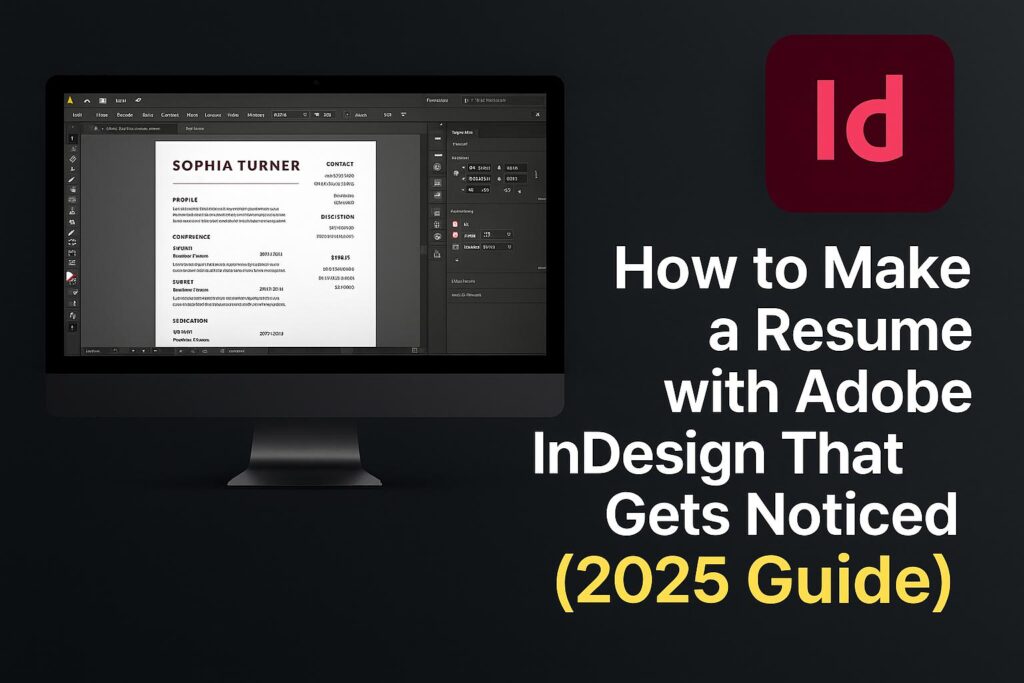
Your resume is your first impression—and in a competitive market, design matters. A clean, professional layout can make your resume stand out at a glance, especially in creative industries. While most candidates use Word or Canva, savvy job seekers turn to Adobe InDesign for total layout control, advanced typography, and modern aesthetics.
In this tutorial, you’ll learn exactly how to create a resume in Adobe InDesign that not only looks great but also helps you get noticed by recruiters and hiring managers.
What we’ll cover:
- Setting up your document correctly
- Creating a professional layout grid
- Typographic hierarchy and visual balance
- Best practices for ATS-friendliness
- Exporting your resume for print and digital
Let’s get started.
Why Use InDesign for Resume Design?
Adobe InDesign is the industry-standard tool for layout and publishing design. It’s perfect for resumes because it allows you to:
- Design with precision and consistency
- Create custom grids and guides for perfect alignment
- Apply professional typography using Adobe Fonts
- Include columns, spacing, and color without clutter
- Export high-quality PDFs that look great and print cleanly
Step 1: Set Up Your Resume Document in InDesign
1.1 Open a New Document
- Go to File > New > Document
- Page Size: A4 (8.27″ × 11.69″) or US Letter (8.5″ × 11″)
- Orientation: Portrait
- Margins: 0.5 inches all around
- Bleed: 0.125 inches (optional for print)
1.2 Set Columns
- Columns: 2 (use for sidebars or skills sections)
- Gutter: 0.2–0.25 inches
🧠 Use facing pages if you’re creating a two-page resume or CV.
Step 2: Build a Layout Grid and Visual Hierarchy
2.1 Add Guides
- Enable rulers (Cmd/Ctrl + R)
- Drag horizontal and vertical guides to divide sections:
- Header
- Summary/About Me
- Experience
- Education
- Skills
- Footer (contact or links)
2.2 Use Paragraph Styles
- Go to Window > Styles > Paragraph Styles
- Create styles for:
- Headings (e.g., section titles)
- Subheadings (e.g., job titles)
- Body Text (e.g., bullet points)
- Small Text (e.g., dates, locations)
🎯 Styles save time and ensure visual consistency across your resume.
Step 3: Add Content to Your Resume
3.1 Header Section
- Full name (large font, bold)
- Job title or tagline
- Contact info: email, phone, LinkedIn, portfolio
3.2 Summary or Objective
- 2–3 sentence intro with career focus
- Keep it personalized and results-oriented
3.3 Experience
- Job title
- Company name, location, dates
- Use bullet points to highlight achievements (quantify when possible)
3.4 Education
- Degree and major
- School name, location, graduation year
3.5 Skills Section (in sidebar or bottom)
- Group by category: Technical, Creative, Soft Skills
- Use visual bars or icons (optional but tasteful)
📌 Less is more. Prioritize what’s most relevant to the role.
Step 4: Apply Fonts, Colors, and Branding
4.1 Choose Professional Fonts
- Use Adobe Fonts to find modern, readable typefaces:
- Headings: Montserrat, Lato, Bebas Neue
- Body: Source Sans Pro, Roboto, Avenir
4.2 Color Palette
- Stick to 2–3 colors max:
- Primary: for headings and accents
- Neutral: body text (usually black or dark gray)
4.3 Use White Space Effectively
- Add spacing between sections and lines
- Avoid crowding or overusing borders
🎨 A clean layout is more important than decorative design.
Step 5: Enhance with Icons, Lines, and Columns
5.1 Add Simple Icons (Optional)
- Use Adobe Stock or vector icons (e.g., email, phone)
- Keep size consistent (12–16px)
5.2 Horizontal Dividers
- Use Line Tool () to separate content areas
- Keep line weight light (0.5 pt)
5.3 Multi-Column Layouts
- Use one column for job history, another for skills or awards
- Helps balance content and improve readability
📐 Use alignment and contrast to guide the reader’s eye.
Step 6: Export a Resume That’s Ready to Share
6.1 Export for Print
- File > Export > Adobe PDF (Print)
- Settings:
- High Quality Print preset
- Marks and Bleeds (only if printing professionally)
6.2 Export for Digital Use
- File > Export > Adobe PDF (Interactive)
- Settings:
- View After Export: On
- Compress Text and Images (to reduce file size)
6.3 File Naming
- Use: firstname_lastname_resume_2025.pdf
- Avoid special characters and spaces
💾 Keep both print and web versions ready in your application folder.
Bonus: Download a Free InDesign Resume Template
🎁 Get a head start with our professionally designed template:
👉 Download InDesign Resume Template (INDD + PDF)
Includes:
- A4 and US Letter versions
- Organized layers and paragraph styles
- Editable fonts (linked to Adobe Fonts)
- Placeholder text for easy customization
Resume Design Tips That Catch Recruiter Attention
- Highlight key accomplishments first
- Use active, concise language
- Align all elements cleanly—no sloppy spacing
- Tailor the resume for each job (customize title/summary)
- Proofread thoroughly—typos kill professionalism
- Avoid overly decorative fonts or excessive graphics
✅ Good design supports your message—it doesn’t distract from it.
FAQs: Using InDesign for Resume Creation
Q: Can I build a one-page resume in InDesign?
A: Yes. InDesign is ideal for structured one-page resumes that look polished.
Q: Will ATS systems read InDesign resumes?
A: PDF resumes from InDesign can be ATS-readable if text isn’t outlined and formatting is simple.
Q: Is InDesign better than Canva or Word?
A: Yes—InDesign gives more control, precision, and print/digital flexibility.
Q: Can I use custom fonts in my resume?
A: Yes, but use Adobe Fonts for web compatibility and embedding.
Q: Do recruiters actually notice good design?
A: Absolutely. A clear, attractive resume helps you stand out and reflects professionalism.
Conclusion + Try Adobe Creative Cloud
You now have all the tools and knowledge to create a resume in Adobe InDesign that truly gets noticed. From clean grids to smart typography, your layout will speak volumes before a recruiter even reads your name.
🎯 Want to access professional design tools?
👉 Try InDesign with Adobe Creative Cloud
