I. Introduction
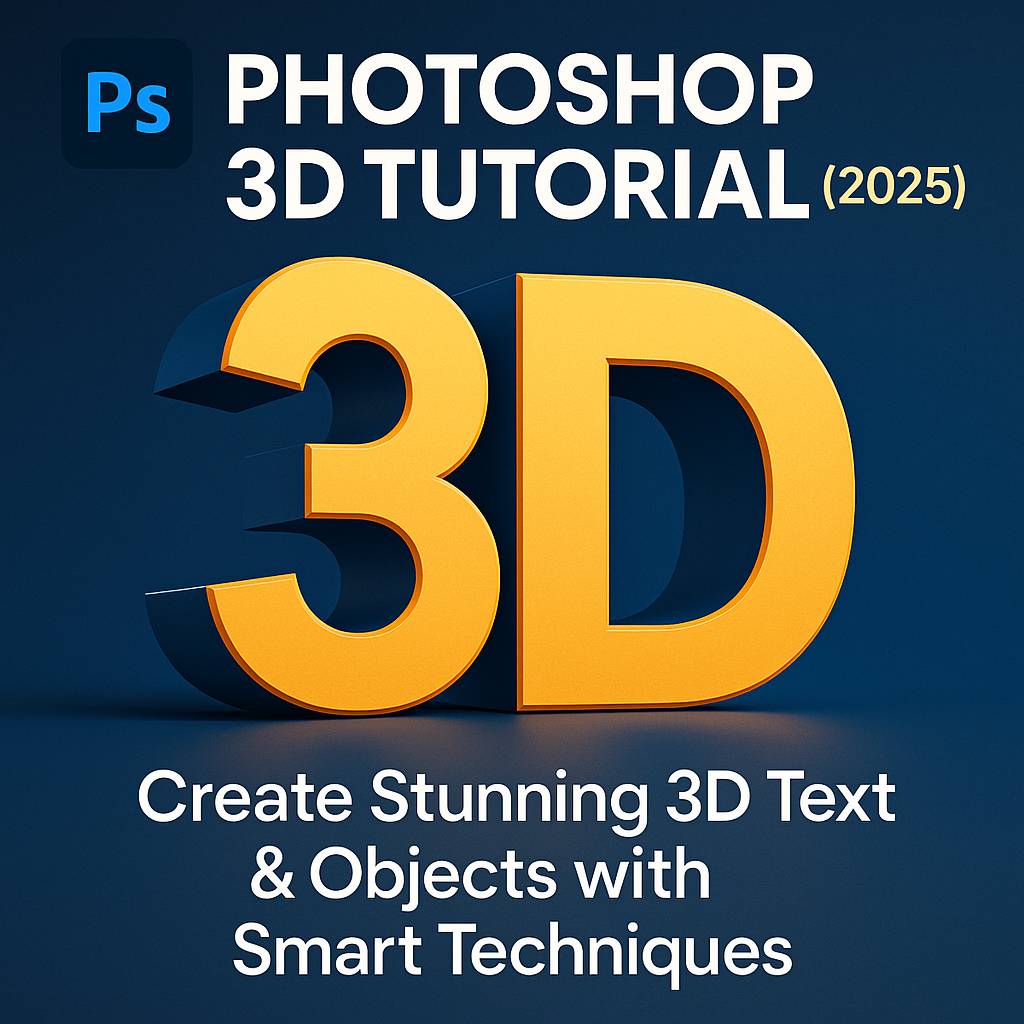
While Adobe has deprecated many 3D features in the latest versions of Photoshop (post-2022), you can still create stunning 3D-style effects using a mix of Smart Objects, layer styles, perspective transforms, and lighting tricks. Whether you want to design eye-catching 3D text, fake depth on flat elements, or import 3D assets from Illustrator or Adobe Dimension, Photoshop remains a valuable tool for 3D visual design.
In this tutorial, you’ll learn:
- How to emulate 3D text and object effects without native 3D tools
- How to use Smart Objects and layer styles for 3D illusion
- Workarounds for creating extruded text, shadows, and lighting
- How to combine Photoshop with Illustrator or Dimension for hybrid 3D workflows
II. Understanding Photoshop’s 3D Capabilities in 2025
Important Note:
Photoshop 3D features were deprecated starting in 2022 and may not be available in your current version unless using legacy builds. You can:
- Use faux 3D techniques (covered below)
- Use Illustrator 3D and import to Photoshop
- Use Adobe Dimension or Substance 3D for realistic product mockups
III. Project: Create Faux 3D Text in Photoshop
Step 1: Type Your Text
- Select the Type Tool (T)
- Type your word or phrase in a bold, clean font (e.g., Bebas Neue, Impact)
Step 2: Convert to Smart Object
- Right-click the text layer > Convert to Smart Object
Step 3: Duplicate the Layer Multiple Times
- Select and duplicate the text layer 10–20 times
- Move each duplicate down and to the right by 1–2 pixels
- Merge all duplicated layers (except the top one) into a new layer group
Step 4: Apply Layer Styles for Depth
- Apply a Gradient Overlay or Bevel & Emboss to the base layer
- Add a Drop Shadow for realistic depth
- Keep the topmost text layer unstyled or brightly colored to simulate light
Step 5: Polish with Lighting Effects
- Add a new layer above everything
- Use a large, soft white brush (low opacity) to paint highlights
- Set layer to Overlay or Soft Light
- Optional: Use Gaussian Blur on highlight for a soft glow
IV. Creating a 3D Logo Mockup (Smart Object Approach)
Step 1: Place a Flat Logo
- Import a high-resolution PNG or vector logo
- Convert to Smart Object
Step 2: Add Extrusion Illusion
- Duplicate logo layer 15–20 times
- Offset each layer 1–2 pixels diagonally
- Group the layers and add a gradient fill or shading overlay
Step 3: Combine with Background & Shadows
- Add subtle shadows using the Brush Tool on a separate layer
- Apply a texture overlay for realism (grunge, paper, concrete, etc.)
V. Advanced: Use Illustrator 3D & Import to Photoshop
In Illustrator:
- Use Effect > 3D and Materials > Extrude & Bevel
- Customize lighting, angle, depth
- Expand appearance and export as SVG or AI
In Photoshop:
- Open the file or place it as a Smart Object
- Apply textures, layer styles, or lighting effects for depth
VI. Optional: Use Adobe Dimension or Substance 3D
If you’re designing packaging, signage, or realistic 3D environments:
- Create your model and materials in Adobe Dimension
- Render and export as a PNG or PSD with transparency
- Import into Photoshop for post-processing, compositing, or branding overlays
VII. Exporting Your 3D Design
For Web:
- File > Export > Export As > PNG (transparency) or JPEG
- Resolution: 72–150 PPI
For Print:
- File > Save As > TIFF or PDF
- Set resolution to 300 PPI, CMYK color space
Editable Mockups:
- Save PSD with Smart Objects preserved
- Group all 3D effect layers for easier edits
VIII. Downloadable Resources
- PSD file with faux 3D text setup
- Illustrator 3D logo template
- Light & shadow overlay pack
[Click here to download the Photoshop 3D Starter Kit]
IX. Tips & Best Practices
- Use Smart Objects to preserve quality and flexibility
- Don’t overdo shadows—use soft brushes with low opacity
- For best realism, add both highlights and ambient occlusion
- Use Perspective Transform (Ctrl/Cmd + T > Right Click > Perspective) carefully to simulate depth
- Keep file sizes manageable by grouping 3D effect layers
X. Conclusion & What to Learn Next
While native 3D tools in Photoshop have been deprecated, you can still create powerful 3D-like visuals using Smart Objects, shadows, and stylized effects. For more complex projects, combining Photoshop with Illustrator or Dimension gives you the best of both worlds.
Next tutorials to explore:
- [How to Create Faux 3D Effects with Layer Styles]
- [Working with Smart Objects in Photoshop for Flexibility]
- [Compositing Photoshop Renders with Real Backgrounds]
Tag your creations with #FLV3DDesign to showcase your work!
XI. FAQ
Q: Can I use Photoshop for real 3D modeling?
A: No. Photoshop is no longer ideal for 3D modeling. Use Illustrator for 3D text, or Dimension/Substance for full modeling.
Q: Is 3D still supported in Photoshop 2025?
A: Most 3D features have been removed or disabled. Faux 3D techniques and Smart Object methods are the recommended approach.
Q: Can I open older 3D PSD files?
A: Yes, but rendering/editing options may be limited. Use Photoshop 2020–2021 for full 3D compatibility.
Q: What’s the easiest way to fake 3D text in Photoshop?
A: Duplicate text layers, offset slightly, then merge and apply bevel/shadow styles.
You now have the tools and techniques to simulate 3D effects in Photoshop—even without native 3D support. Whether for logos, titles, or marketing visuals, 3D styling adds impact and polish to your designs.


