I. Introduction
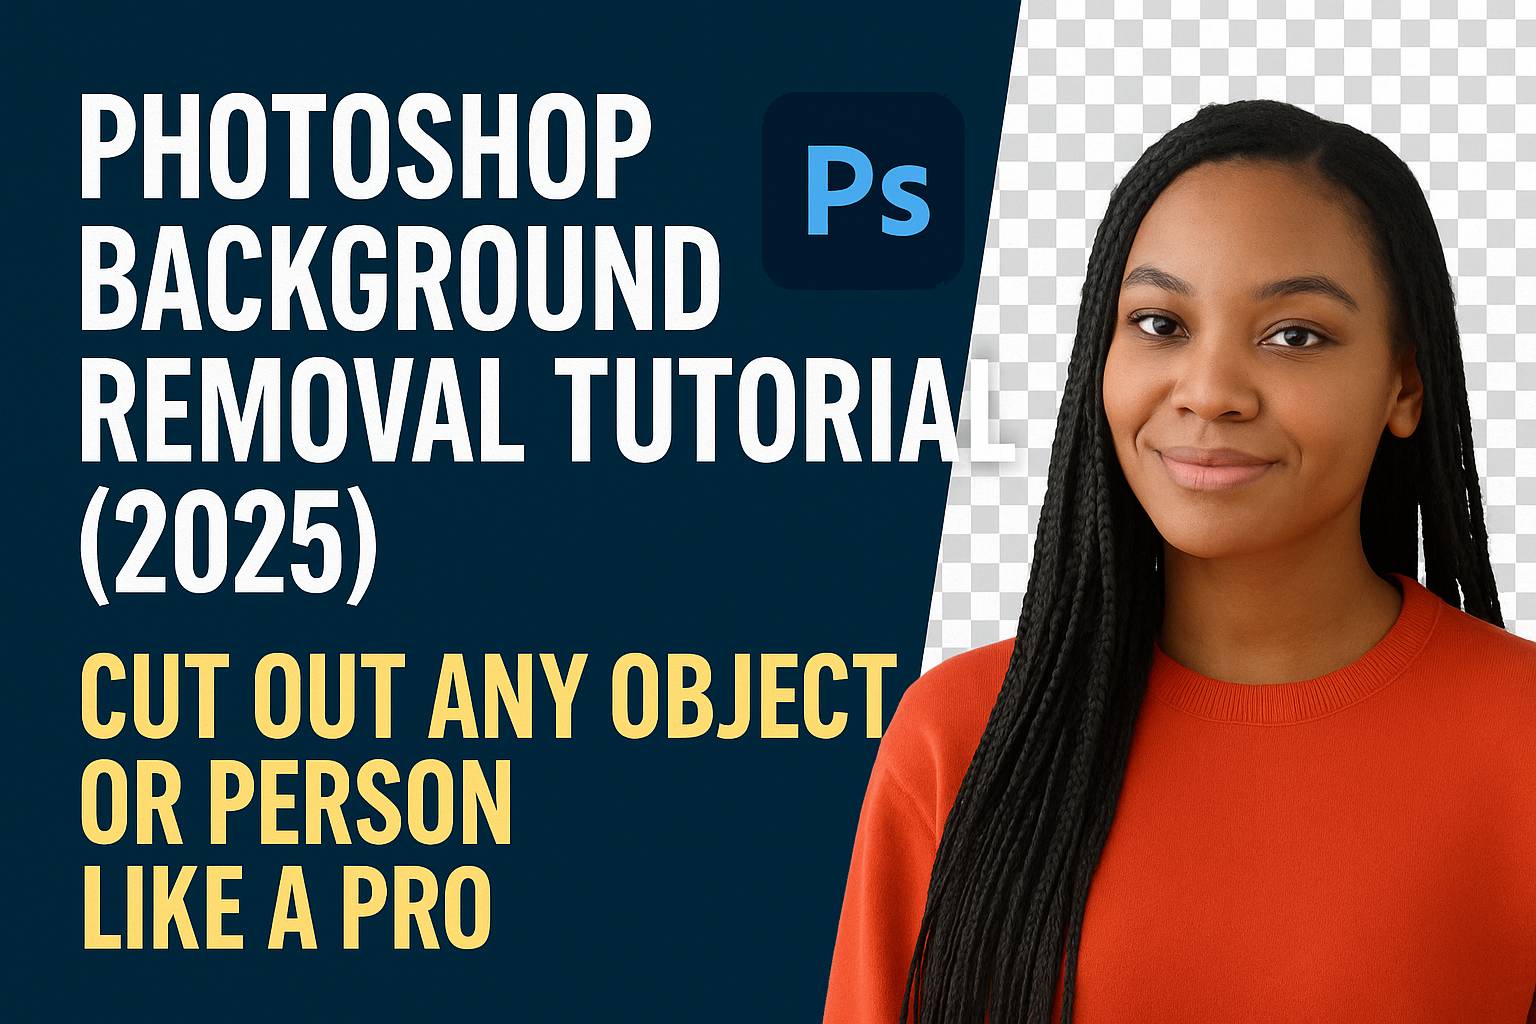
Removing a background in Photoshop is one of the most in-demand editing skills—useful for everything from e-commerce product listings to personal portraits, social media posts, and graphic design projects. Whether you’re preparing an image for a transparent overlay, replacing a background, or isolating a subject, Photoshop offers powerful tools to do it cleanly and professionally.
This comprehensive tutorial covers multiple methods for removing backgrounds, from one-click tools to precision techniques. You’ll learn how to handle everything from clean objects to complex edges like hair or glass, and how to export your work with transparency.
II. Quick Method: Remove Background Button (Photoshop 2022+)
Best for: Simple backgrounds, centered subjects
- Open your image
- Select the layer and go to the Properties Panel
- Click Remove Background
Photoshop will auto-detect the subject and apply a layer mask. From here:
- Use the Brush Tool on the mask to refine edges
- Add a solid background temporarily to test transparency
Pros:
- One-click convenience
- Great for basic tasks
Cons:
- Not suitable for detailed or tricky edges
III. Best for Portraits: Select Subject + Select and Mask
Best for: People, fashion, headshots, hair detail
Step-by-Step:
- Open image and select the Quick Selection Tool (W)
- In the top bar, click Select Subject
- Then go to Select > Select and Mask
Inside Select and Mask:
- Use Refine Hair for accurate hair outlines
- Use Refine Edge Brush Tool to touch up tricky areas
- Use Global Refinements:
- Smooth: Simplify jagged lines
- Feather: Soften edges
- Shift Edge: Expand or contract the selection
Output to: Layer Mask
Pro Tip: Turn on different View Modes (On Black, On White, Overlay) to evaluate the edges in different environments.
IV. Best for Products: Pen Tool (Precision Cutouts)
Best for: Hard edges like bottles, boxes, phones
- Select the Pen Tool (P)
- Carefully draw around the object to create a path
- Right-click > Make Selection
- Feather = 0.5 px
- Add a Layer Mask to apply the cutout
Why use the Pen Tool?
- It creates clean, sharp edges
- Ideal for high-contrast objects and e-commerce photography
V. Best for Transparent or Complex Areas: Channels or Background Eraser
Background Eraser Tool:
- Set sampling to Once and limits to Discontiguous
- Tolerance: ~25%
- Carefully brush away background around hair or glass
Channels Method:
- Go to Channels panel
- Duplicate the channel with the highest contrast
- Apply Levels to increase separation
- Use this channel to create a custom mask
This technique is great for:
- Glassware
- Fuzzy hair or fur
- Water and reflections
VI. Refining the Edges
No matter your method, refining is key for a clean, professional result.
Tips:
- Use a soft brush to manually paint Layer Masks
- Apply Feathering inside Select and Mask (0.5–2 px)
- Use Decontaminate Colors to eliminate background color spill
- Zoom in and work slowly around critical areas
VII. Exporting with Transparency
For Web or Design Use:
- File > Export > Export As
- Format: PNG
- Make sure Transparency is checked
For Future Editing:
- Save as PSD with Layer Mask preserved
For Print:
- Export as TIFF or PDF with transparent background supported
Pro Tip: Place a temporary solid color layer under your subject to test transparency before exporting.
VIII. Downloadable Resources
- PSD file with sample subjects and masks
- Custom edge refinement brushes
- One-page quick checklist for choosing the right background removal method
[Click here to download the resource pack]
IX. Tips & Best Practices
- Use Layer Masks, not delete: Always work non-destructively
- Duplicate your original layer before starting
- Test your cutouts on white, black, and transparent backgrounds
- Use Zoom (Z) and hand tool to inspect edges thoroughly
- Combine tools as needed—e.g., use Select Subject, then refine with the Pen Tool
X. Conclusion & Next Steps
Removing a background in Photoshop can be as quick or as detailed as your project demands. By understanding the strengths of each tool—Select Subject, Pen Tool, Channels, and more—you’ll have the flexibility to tackle anything from simple edits to advanced image compositing.
Now that you’ve mastered background removal, explore these next:
- [Advanced Hair Selection and Masking in Photoshop]
- [Cut Out Products for E-Commerce Thumbnails]
- [Add Realistic Shadows After Removing Backgrounds]
XI. FAQ
Q: What’s the easiest way to remove a background in Photoshop?
A: Use the Remove Background button in the Properties panel or Select Subject + Layer Mask.
Q: What format should I export for transparent background?
A: PNG is best for web; TIFF or PSD for high-quality edits.
Q: Can I use Photoshop Express or mobile for background removal?
A: Only the desktop version offers full control and advanced tools.
Q: How do I remove the background but keep soft hair or fur?
A: Use Select and Mask with the Refine Edge Brush Tool and decontaminate colors for best results.
Mastering background removal is a gateway to professional-level Photoshop work—whether you’re building product catalogs, designing thumbnails, or creating composites. Practice with different tools and subjects, and soon, no background will stand in your way.


