


I. Introduction
Blending modes in Photoshop are one of the most powerful tools for compositing, editing, retouching, and adding creative effects. They determine how layers interact visually by blending the colors and brightness values of overlapping layers.
In this tutorial, you’ll learn:
- What blending modes are
- How to apply them
- The differences between blending mode groups
- Practical examples for real-world use
- Pro tips and downloadable resources to practice with
II. Where to Find and Apply Blending Modes
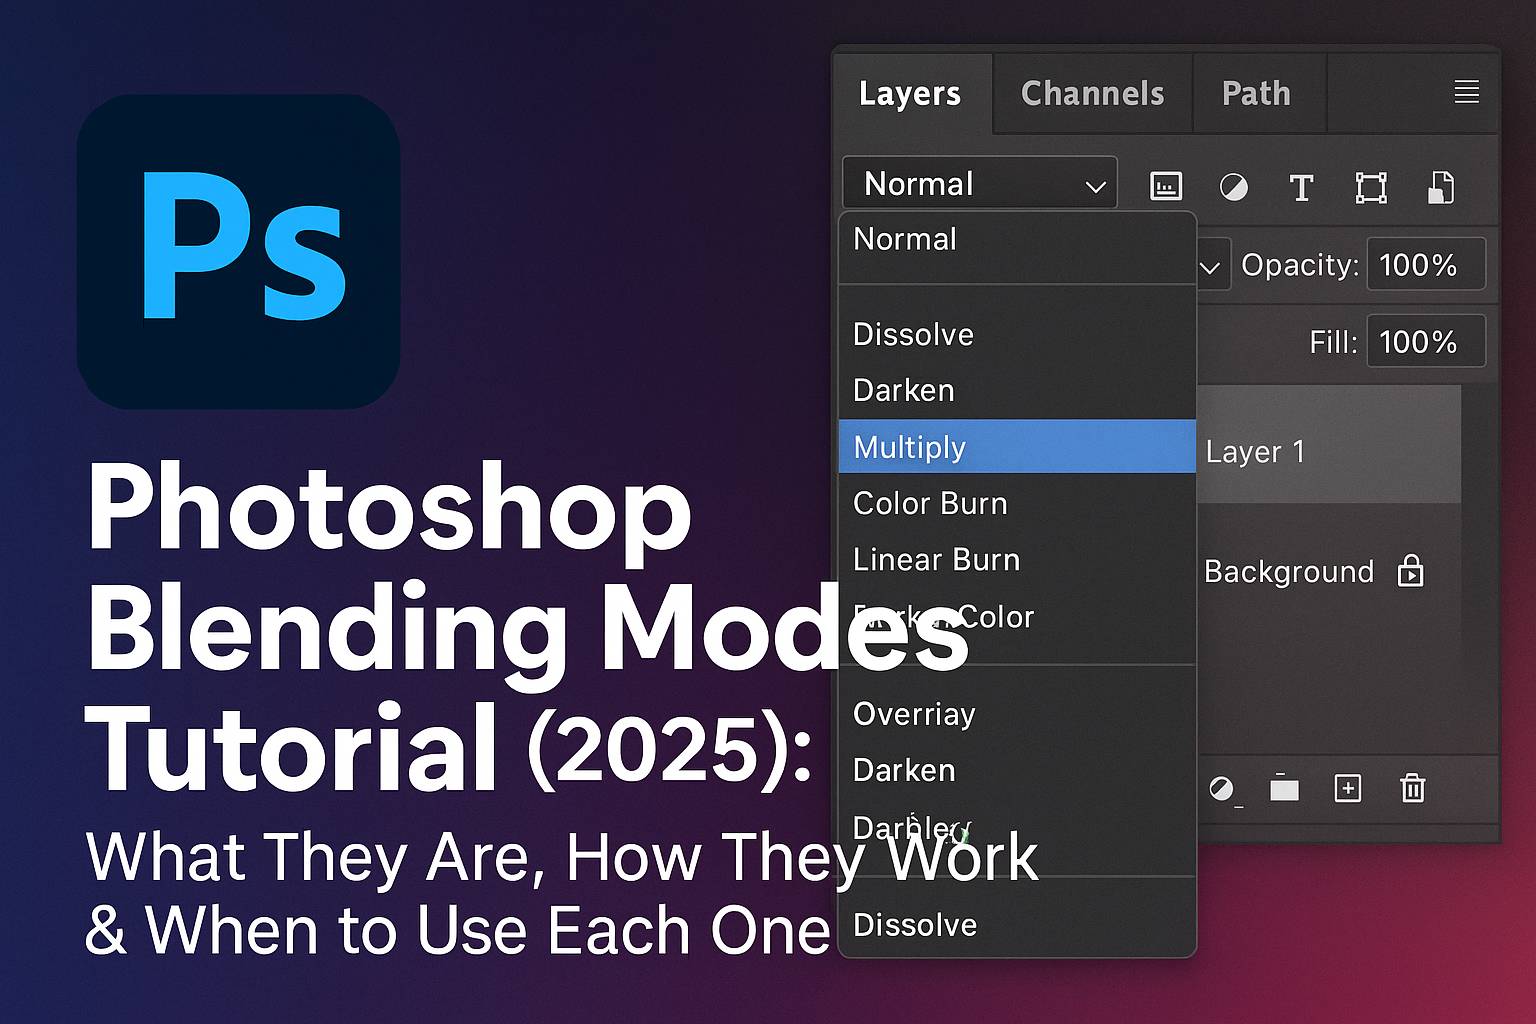
You can find blending modes in the Layers panel, in the dropdown menu at the top left of the panel. The default mode is Normal.
How to Apply:
- Select a layer in your document
- Click the blend mode dropdown (usually says “Normal”)
- Choose from the list of modes
- Alternatively, press
Shift + +orShift + -to cycle through modes
Blending modes can be applied to:
- Image layers
- Text layers
- Adjustment layers
- Smart Objects
III. Understanding Blending Mode Groups
Photoshop’s 27 blending modes are categorized into six groups:
A. Normal Group
- Normal: No blending; layer appears as-is
- Dissolve: Random noise/pixel scatter where transparency exists (rarely used)
B. Darken Group
- Darken: Chooses darker of base or blend color per pixel
- Multiply: Multiplies values; great for shadows, darkening, and overlays
- Color Burn: Intensifies darker tones
- Linear Burn: Even stronger than Multiply
- Darker Color: Compares RGB values and keeps darkest (not channel-wise)
C. Lighten Group
- Lighten: Opposite of Darken; keeps lighter pixels
- Screen: Lightens and brightens; great for light flares and glow
- Color Dodge: Boosts highlights dramatically
- Linear Dodge (Add): Strong additive lightening
- Lighter Color: Like Lighten but uses composite values
D. Contrast Group
- Overlay: Combines Multiply + Screen; intensifies contrast
- Soft Light: Subtle contrast enhancer; good for dodging/burning
- Hard Light: Strong version of Overlay
- Vivid/Linear/Pin/Hard Mix: Extreme effects for creative/artistic results
E. Comparative Group
- Difference: Inverts colors where layers differ
- Exclusion: Lower-contrast version of Difference
- Subtract/Divide: Subtract or divide color values (used sparingly)
F. Color Group
- Hue: Uses hue of the top layer
- Saturation: Applies blend layer’s saturation
- Color: Changes color while preserving lightness
- Luminosity: Changes brightness while preserving color
IV. Practical Applications & Mini Projects
Project 1: Light Leaks Using Screen
- Add a JPEG with color light leaks
- Set blend mode to Screen
- Adjust opacity or add a layer mask
Project 2: Grit Texture with Multiply or Overlay
- Add a grunge texture
- Set blend mode to Multiply to darken
- Use Overlay for more contrast-based blending
Project 3: Dodge & Burn with Soft Light
- Create a new layer filled with 50% gray
- Set it to Soft Light
- Paint with black (burn) and white (dodge)
Project 4: Color Tint with Color or Hue
- Add a solid color fill layer
- Set to Color mode
- Use layer mask to limit the area
Project 5: Double Exposure with Screen + Gradient Masks
- Place second image above subject
- Set to Screen
- Add a layer mask and use Gradient Tool to blend naturally
V. Tips & Best Practices
- Use opacity to tone down blend intensity
- Try combining multiple blending modes for layered effects
- Always experiment—different images yield different results
- Use blend modes + masks for advanced control
- Organize your blend layers into groups for cleaner workflow
- Use Adjustment Layers with blend modes for targeted correction (e.g., Curves in Luminosity mode)
VI. Downloadable Resources
- PSD file with layer-by-layer blend mode examples
- Grit and light leak overlays
- Printable blending mode cheat sheet
[Download the Photoshop Blending Modes Pack]
VII. Conclusion & What to Learn Next
Blending modes offer infinite possibilities—from simple light adjustments to powerful image composites. Mastering them gives you creative flexibility and technical control.
Next tutorials to explore:
- [How to Use Layer Masks with Blending Modes]
- [Creative Lighting Effects in Photoshop]
- [Smart Objects and Blending for Photo Compositing]
Tag your projects with #FLVBlendingMastery to get featured in our gallery!
VIII. FAQ
Q: What’s the best blending mode for shadows or darkening?
A: Multiply or Linear Burn work best for realistic shadows.
Q: How do I lighten a layer without washing it out?
A: Use Screen or Soft Light with lowered opacity.
Q: Can blending modes be used on adjustment layers?
A: Yes! Especially with Curves, Levels, and Gradient Maps.
Q: What’s the difference between Overlay and Soft Light?
A: Overlay is stronger and more contrasty; Soft Light is more subtle.
Q: Can I blend a layer into a Smart Object?
A: Yes. Apply blend modes before or after converting to Smart Object, depending on your workflow.
By learning and experimenting with blending modes, you unlock a whole new layer of Photoshop creativity. Keep this guide handy, test combinations, and see what magic you can create!