I. Introduction
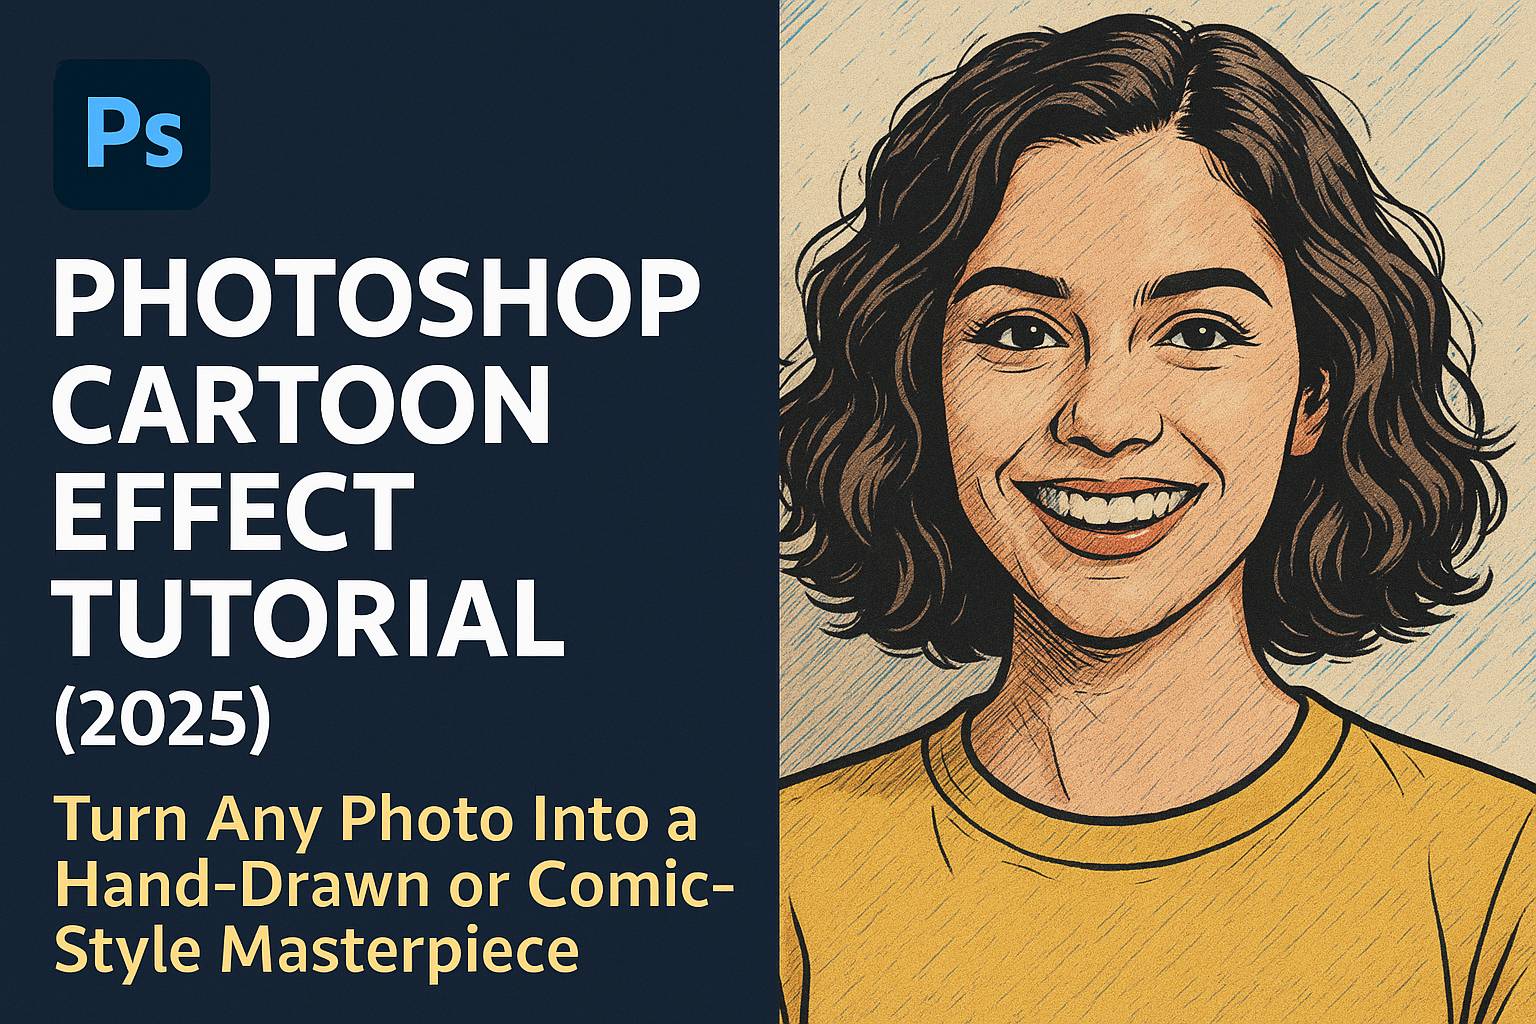
Want to turn a photo into a cartoon, comic panel, or digital illustration? Photoshop makes it possible with a combination of filters, smart layer techniques, and manual enhancements. Whether you’re designing social media avatars, creating thumbnails, or building stylized artwork, a cartoon effect is an eye-catching way to reimagine your photos.
In this tutorial, you’ll learn how to create two distinct cartoon styles:
- Bold Comic Book Effect (poster edges, inked outlines, flat shading)
- Smooth Animated Toon Look (soft rendering, oil paint, digital painting feel)
We’ll walk through both styles step-by-step using Photoshop 2025 tools. No prior illustration experience required!
II. Preview of Final Results
You’ll create:
- A high-contrast, posterized comic-style portrait
- A smooth, Pixar-inspired cartoon rendering
Assets Needed:
- High-resolution portrait photo
- Optional: Cartoon brush pack, outline overlays
[Click here to download practice PSD + resources]
III. Tools & Filters Used
- Filters: Poster Edges, Cutout, Oil Paint, Surface Blur
- Adjustment Layers: Brightness/Contrast, Hue/Saturation, Levels
- Smart Objects (non-destructive editing)
- Find Edges & High Pass filters (for line enhancement)
- Brush Tool + Layer Masks
- Pen Tool (optional) for vector-style linework
IV. Step-by-Step: Comic Book Cartoon Effect
Step 1: Prepare Your Image
- Open your portrait photo
- Convert to Smart Object (Right-click > Convert to Smart Object)
- Duplicate the Smart Object layer (Ctrl/Cmd + J)
Step 2: Apply Poster Edges Filter
- Select top layer > Filter > Filter Gallery > Poster Edges
- Edge Thickness: 2
- Edge Intensity: 1–2
- Posterization: 4–6
Step 3: Apply Cutout Filter
- Duplicate base layer again
- Filter > Filter Gallery > Cutout
- Number of Levels: 4
- Edge Simplicity: 3
- Edge Fidelity: 2
- Set Blend Mode: Multiply or Soft Light
Step 4: Add Bold Outlines
- Duplicate original image
- Filter > Stylize > Find Edges
- Desaturate (Ctrl/Cmd + Shift + U)
- Invert (Ctrl/Cmd + I)
- Set Blend Mode: Multiply
Step 5: Adjust Colors and Contrast
- Add Hue/Saturation and Brightness/Contrast layers
- Increase saturation for comic pop
- Adjust contrast to make shadows bolder
Step 6: Polish with Brush Tool
- Create a new layer
- Use a soft round black brush to clean up shadows
- Optional: Use hard brush for line art corrections
V. Step-by-Step: Smooth Animated Toon Effect
Step 1: Convert to Smart Object and Duplicate
- Apply Surface Blur (Filter > Blur > Surface Blur)
- Radius: 12–15 px
- Threshold: 15–20 px
Step 2: Apply Oil Paint Filter
- Filter > Stylize > Oil Paint
- Stylization: 3–5
- Cleanliness: 5–7
- Lighting: Off
Step 3: Enhance Edges
- Duplicate base layer
- Apply High Pass Filter (Filter > Other > High Pass)
- Radius: 2–3 px
- Set Blend Mode: Overlay
Step 4: Add Color Vibrance
- Adjustment Layer: Vibrance
- Add Color Lookup (Film Stock or Crisp Warm for stylized tones)
Step 5: Manual Dodge & Burn
- Add new layer set to Overlay
- Use soft brush: white to brighten, black to deepen shadows
Step 6: Add Light Rim or Glow (Optional)
- Use soft brush on separate layer
- Light yellow or orange color
- Paint lightly around cheeks, hair, or jawline
VI. Optional: Vector Comic Look with Pen Tool
- Use Pen Tool (P) to trace contours of the face and features
- Convert paths to shapes (Right-click > Make Selection > Fill with color)
- Add flat color layers under the outlines
- Group and shade using Clip Layers + Gradient Overlays
This method is more time-consuming but results in a clean vector-like appearance.
VII. Exporting the Final Result
For Web:
- File > Export > Export As > PNG (check Transparency if needed)
For Print:
- File > Save As > PDF or TIFF (300 DPI)
For Reuse:
- Save the full PSD with Smart Objects and adjustments
VIII. Downloadable Resources
- PSD files: Comic Style and Smooth Toon versions
- 3 custom outline brushes
- 2 action presets for effect automation
[Download the full cartoon effect pack here]
IX. Tips & Best Practices
- Use high-resolution images with clear lighting
- Always work on duplicate layers or Smart Objects
- Combine filters carefully—test layer order
- Add shadows and highlights with soft brushes for depth
- Practice on different faces and backgrounds for consistency
X. Conclusion & Next Steps
Photoshop cartoon effects open creative doors to reinterpret photography as stylized artwork. With a few filters and smart blending, you can cartoonize any photo with ease.
Want to go further? Try these tutorials:
- [How to Create a Comic Book Panel in Photoshop]
- [Advanced Line Art and Ink Brushes]
- [Animate Your Cartoon Photo in Photoshop Timeline]
Share your results using #FLVCartoonEffect for a chance to be featured!
XI. FAQ
Q: What is the best Photoshop filter for cartoon effects?
A: Poster Edges, Cutout, and Oil Paint are the most commonly used.
Q: Can I make cartoons from selfies or portraits?
A: Yes. Portraits with strong lighting and high resolution yield the best results.
Q: What’s the difference between comic and cartoon effects?
A: Comic effects emphasize bold lines and contrast; cartoon effects aim for soft shading and stylized color.
Q: Can I animate the cartoon version?
A: Yes! Use Photoshop’s Timeline panel or export frames for GIF/video animation.
With these tools, techniques, and creative prompts, you’re ready to turn your photos into digital masterpieces.


