


I. Introduction
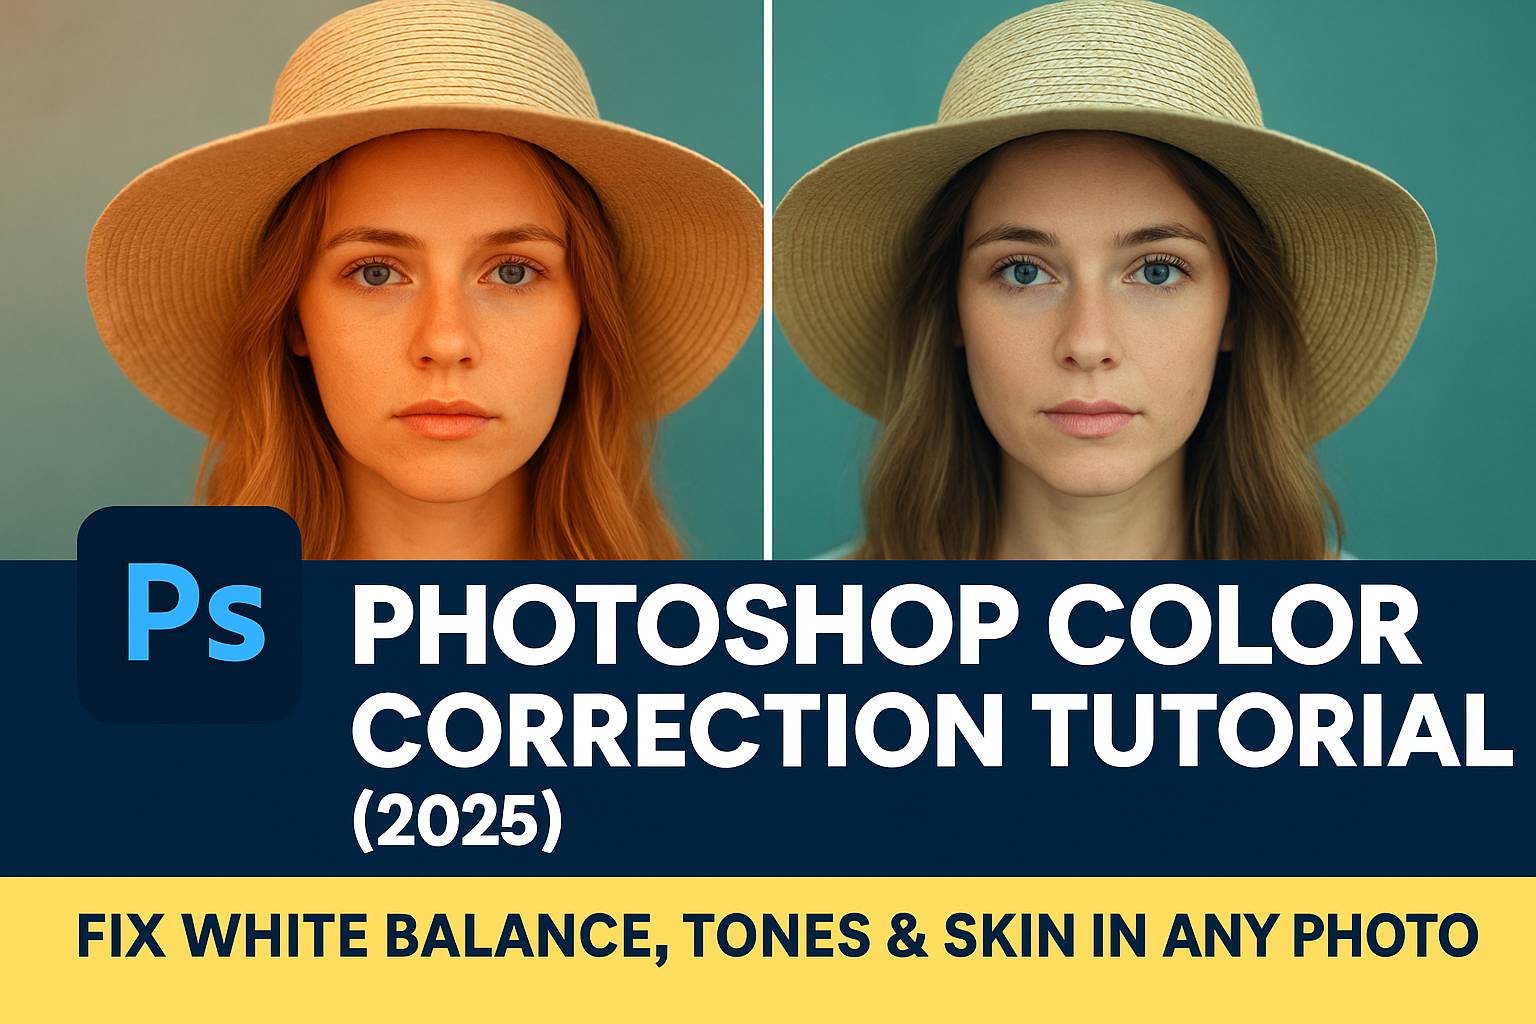
Color correction is a fundamental skill in Photoshop that ensures your images look clean, professional, and realistic. Whether you’re editing portraits, product shots, or landscapes, proper color correction can remove color casts, fix exposure issues, and bring your images to life.
This tutorial will walk you through the essential tools and techniques for color correction in Photoshop, including how to fix white balance, recover true skin tones, enhance vibrance, and correct contrast—all using non-destructive workflows. Perfect for photographers, designers, and content creators.
II. Common Color Issues to Fix
Before correcting, you need to recognize what needs fixing. Common problems include:
- Incorrect White Balance: Photos look too warm (orange/yellow) or too cool (blue/green).
- Color Casts: Lighting affects the natural colors (fluorescent light turns skin green).
- Low Contrast: Image looks flat or muddy.
- Dull or Muted Tones: Colors lack vibrance or intensity.
- Unnatural Skin Tones: Skin may appear too red, green, or lifeless.
III. Essential Photoshop Tools for Color Correction
Here are the core tools you’ll use to correct colors in Photoshop:
1. Levels
- Adjust shadows, midtones, and highlights.
- Use the histogram to set true black and white points.
- Shortcut:
Ctrl/Cmd + L
2. Curves
- Fine-tune brightness and contrast.
- Adjust individual color channels (Red, Green, Blue).
- Ideal for white balance and skin tone fixes.
3. Color Balance
- Adjust Shadows, Midtones, and Highlights separately.
- Perfect for fixing color casts.
4. Hue/Saturation
- Adjust overall or targeted color ranges.
- Boost or reduce color intensity.
5. Selective Color
- Fine control over specific color groups (reds, yellows, etc.).
- Excellent for detailed skin tone correction.
6. Camera Raw Filter
- All-in-one correction panel.
- Adjust White Balance, Exposure, Highlights, and individual colors.
7. Match Color
- Useful when working with multiple images that need consistent color.
IV. Non-Destructive Workflow Best Practices
Always edit in a way that preserves your original image:
- Use Adjustment Layers instead of direct edits.
- Convert your base layer to a Smart Object before applying filters.
- Use Layer Masks to apply corrections to specific parts of the image.
- Label and group layers for organized editing.
V. Step-by-Step Color Correction Tutorial (Portrait Example)
Step 1: Duplicate the Original Layer
Ctrl/Cmd + Jto duplicate. This protects your base image.
Step 2: Set Correct White Balance
- Use Curves or Camera Raw Filter.
- In Curves: Select the gray eyedropper tool and click on a neutral area.
- In Camera Raw: Adjust Temperature and Tint sliders for balance.
Step 3: Adjust Levels or Curves
- Open Levels and drag the black and white sliders inward until they meet the edges of the histogram.
- Use Curves to brighten shadows or reduce highlights.
Step 4: Fine-Tune Skin Tone
- Add a Selective Color adjustment layer.
- Choose “Reds” and reduce Magenta/Yellow to balance skin tone.
- Add Color Balance layer if skin is too cool/warm.
Step 5: Boost Vibrance
- Use Vibrance adjustment (not Saturation!) to make colors pop without affecting skin.
Step 6: Local Corrections with Masks
- Apply a Hue/Saturation layer with a mask.
- Paint in areas where color correction is needed (e.g., lips, background).
Step 7: Compare and Export
- Toggle visibility of your adjustment layers to compare before and after.
- Export as JPEG or PNG; save PSD to preserve layer structure.
VI. Step-by-Step Tutorial: Product or Flatlay Photo
Step 1: Neutralize the Color Cast
- Use the Eyedropper Tool in Curves or Camera Raw.
- Click a neutral gray area to reset white balance.
Step 2: Adjust Tones with Levels
- Use Levels to set correct black/white points for stronger contrast.
Step 3: Match Product Color to Real Life
- Use Hue/Saturation or Selective Color to correct oversaturation.
- Sample real-life color (if possible) and adjust accordingly.
Step 4: Sharpen and Export
- Final High Pass sharpen on a duplicate layer.
- Save for web with correct color profile (sRGB).
VII. Pro Tips for Natural-Looking Results
- Don’t overdo saturation—use Vibrance instead.
- Compare skin tones with reference swatches.
- Edit in 16-bit mode when possible to retain more color data.
- Use a calibrated monitor for accurate colors.
- View your image on multiple devices before finalizing.
VIII. Downloadable Resources
Get our free color correction toolkit:
- Practice portrait and product image files.
- Skin tone reference chart (Fitzpatrick scale).
- Free LUTs and color presets.
[Click here to download]
IX. Conclusion & Next Steps
Color correction is about bringing accuracy and polish to your images. With the right tools and approach, you can correct any color cast, restore natural skin tones, and elevate the quality of your work.
Practice with a variety of images to gain confidence, and use non-destructive techniques to retain full control.
Next tutorials to explore:
- [How to Fix Skin Tone in Photoshop]
- [Using Curves for Color Grading]
- [How to Remove Color Casts in Product Photography]
X. FAQ
Q: What’s the difference between color correction and color grading?
A: Color correction fixes technical color issues (white balance, exposure); color grading is for creative styling.
Q: How do I fix skin tone in Photoshop?
A: Use Selective Color or Color Balance on a masked layer to adjust Reds and Yellows.
Q: What is the best tool for white balance correction?
A: The Camera Raw Filter provides the most intuitive and precise white balance controls.
Q: Should I use Curves or Camera Raw for correction?
A: Use Curves for precision; Camera Raw for all-in-one global adjustments.
With consistent practice and a good eye, you can master color correction and take your editing skills to a professional level!