I. Introduction
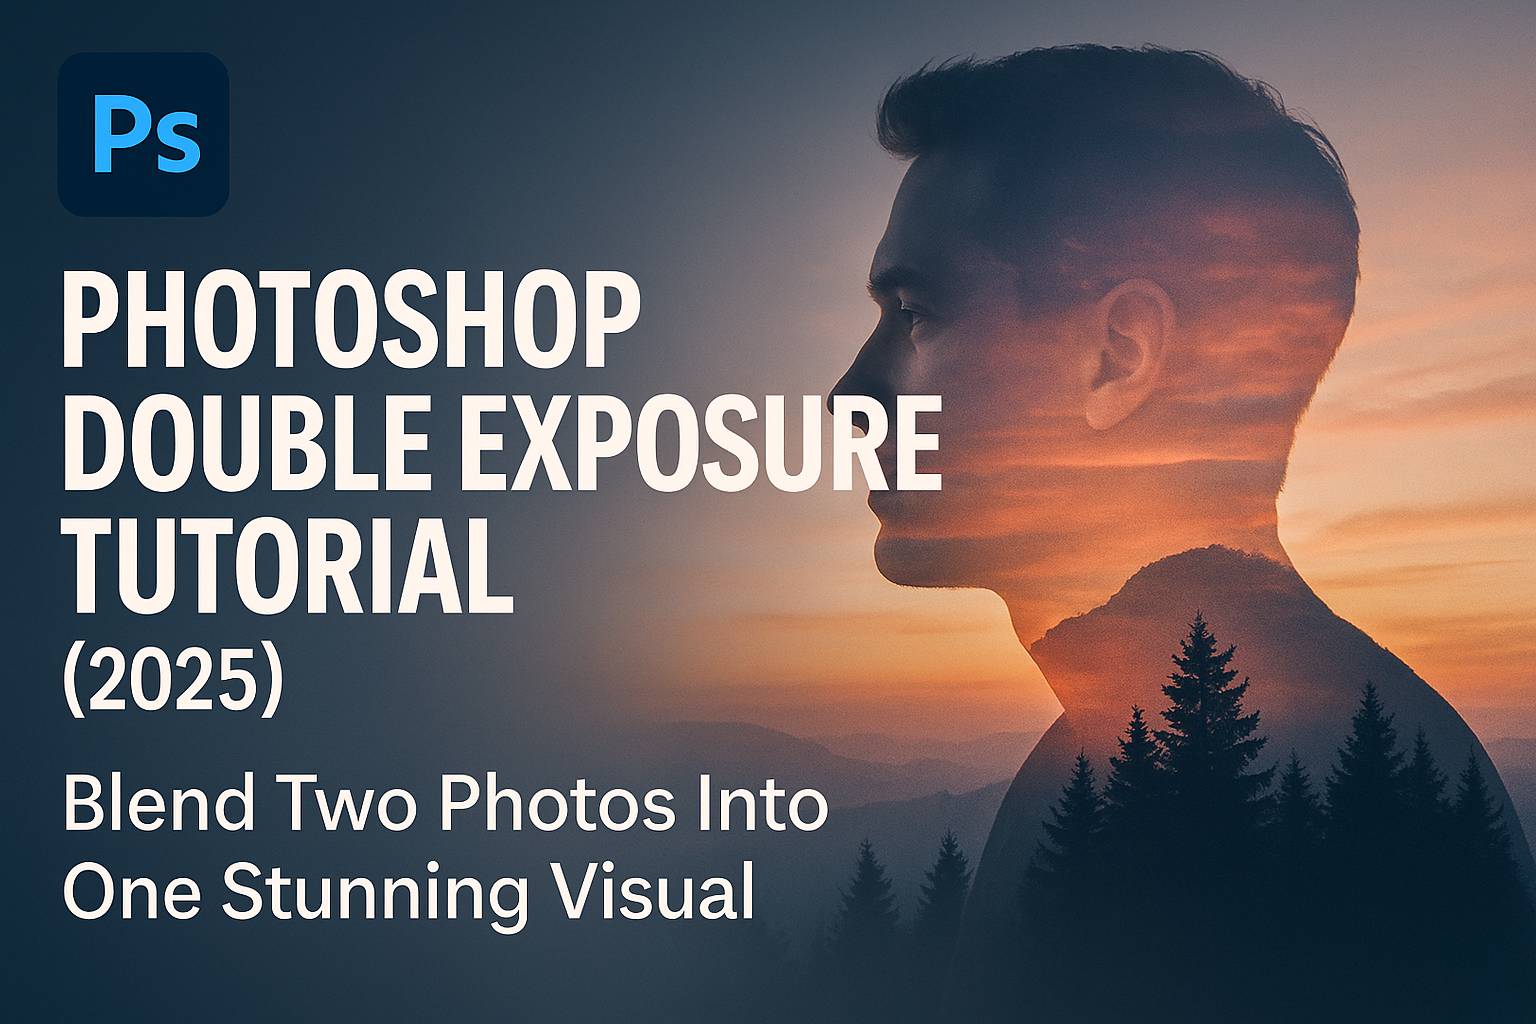
Double exposure is a creative photo effect that blends two images into a surreal or visually compelling composition. Originally a technique from film photography, double exposure has found new life in digital editing—especially in Photoshop, where you have total control over masks, blending modes, and creative styling.
In this tutorial, you’ll learn how to create a double exposure effect in Photoshop using a portrait and a secondary image (like a landscape, skyline, or abstract texture). This guide is designed for beginners and intermediate users alike, with clear steps, tips, and downloadable resources.
II. What You Need
To follow along, you’ll need:
- A high-contrast portrait photo, preferably with a clean background
- A secondary image (landscape, texture, or skyline)
- Photoshop 2022 or later
Optional Resources:
- Overlay textures (light leaks, dust, paper)
- Custom brushes for blending
[Download practice files and overlays here]
III. Step-by-Step: Double Exposure Effect in Photoshop
Step 1: Prepare the Portrait
- Open the portrait in Photoshop
- Use Select Subject (
Select > Subject) to isolate the person - Click Layer Mask to remove the background non-destructively
- Optional: Convert image to Black & White (Adjustment Layer > Black & White) for a more stylized effect
Step 2: Add the Second Image
- Drag in the landscape or secondary image above the portrait layer
- Right-click > Create Clipping Mask so the image fits inside the silhouette
- Resize and position the second image to align with the face or body
Step 3: Blend the Images
- Select the second image layer and change its Blend Mode to Lighten, Screen, or Overlay
- Add a Layer Mask and use a soft round Brush Tool (B) to blend edges
- Use black on the mask to hide parts or white to reveal
- Reduce Opacity or use Gradient Tool (G) for soft transitions
Step 4: Add Color and Mood
- Add a Gradient Map adjustment layer for color toning
- Choose two complementary tones (e.g., dark blue and pink)
- Set blend mode of Gradient Map to Soft Light or Overlay
- Use Curves or Levels to adjust contrast and highlights
Step 5: Final Enhancements
- Add Light Leak Overlay for atmosphere
- Apply a Vignette with a soft radial gradient mask
- Add Noise or Grain for filmic texture (Filter > Noise > Add Noise)
IV. Exporting Your Image
For web and social media:
- File > Export > Export As > PNG or JPEG (72 PPI)
For print:
- File > Save As > TIFF or PDF (300 PPI, CMYK if needed)
To keep editable:
- Save as PSD to retain layers and masks
V. Creative Variations to Try
1. Triple Exposure
- Add a third image layer and blend with masks and overlays
2. Use a Texture Instead of a Photo
- Try abstract designs, paint splatters, or glitch effects
3. Color Double Exposure
- Blend different images using color-based gradient maps
4. Silhouette Background Swaps
- Remove the subject entirely and only keep their fill outline as a shape for the secondary image
VI. Downloadable Resources
- PSD file with layer setup and masks
- 5 overlay textures (dust, light leaks, color washes)
- 2 preset gradient maps for cinematic mood
[Click to download the double exposure resource kit]
VII. Tips & Best Practices
- Choose a portrait with clear lighting and contrast for easier masking
- Use Smart Objects for both images to keep edits flexible
- Mask gradually with a low-opacity brush for seamless blends
- Experiment with Opacity, Blending Modes, and Filters for different styles
- Save different versions of your project to explore variations
VIII. Conclusion & Next Steps
Double exposure in Photoshop is a powerful way to mix imagination and storytelling through imagery. With just two photos, a few masks, and a blend mode, you can create cinematic, dreamy, or surreal compositions that stand out.
Ready to go further? Check out these tutorials:
- [How to Create a Fantasy Landscape Composite]
- [Advanced Masking Techniques for Hair and Texture]
- [Add Atmospheric Effects with Photoshop Overlays]
Tag your artwork with #FLVDoubleExposure to get featured in our community gallery!
IX. FAQ
Q: Can I use any two photos for double exposure?
A: Yes, but contrast and subject placement affect how well they blend. Portraits work best when paired with high-detail, high-contrast secondary images.
Q: Do I need to remove the background?
A: Yes. Isolating the subject makes it easier to clip the second image and apply the effect cleanly.
Q: What’s the best blend mode for double exposure?
A: Screen and Lighten work well for bright overlays. Overlay and Soft Light are better for subtle blends.
Q: Can I do this in Photoshop Express or mobile?
A: Not with full control. Desktop Photoshop is best for masking and layer adjustments.
With practice, you can build your own gallery of surreal blends, conceptual portraits, or dreamlike visuals—all starting from this essential Photoshop skill.


