


I. Introduction
Photoshop is not just a tool for editing photos—it’s a creative playground. One of the most exciting aspects of Photoshop is the ability to apply effects that transform ordinary images into stunning visuals. Whether you’re designing for social media, marketing, print, or personal projects, Photoshop effects add impact, depth, and flair to your creations.
In this comprehensive tutorial, we’ll walk you through 15 of the most popular and creative Photoshop effects you can learn today. From trendy glitch aesthetics to classic vintage looks, each tutorial is designed to be approachable, practical, and rewarding.
You’ll learn the step-by-step techniques behind each effect, get pro tips, and gain access to downloadable PSDs and resources to practice along. Let’s dive in and level up your Photoshop skills!
II. How to Use This Tutorial
- Start where you’re comfortable. Each effect includes a difficulty level and recommended tools.
- Follow the steps visually. Every tutorial includes visual previews and clear step-by-step instructions.
- Practice along. Download PSDs and brush presets where available.
- Bookmark for reference. This is your Photoshop effect playbook.
III. Essential Photoshop Tools You’ll Use
Before applying effects, you should understand these foundational tools:
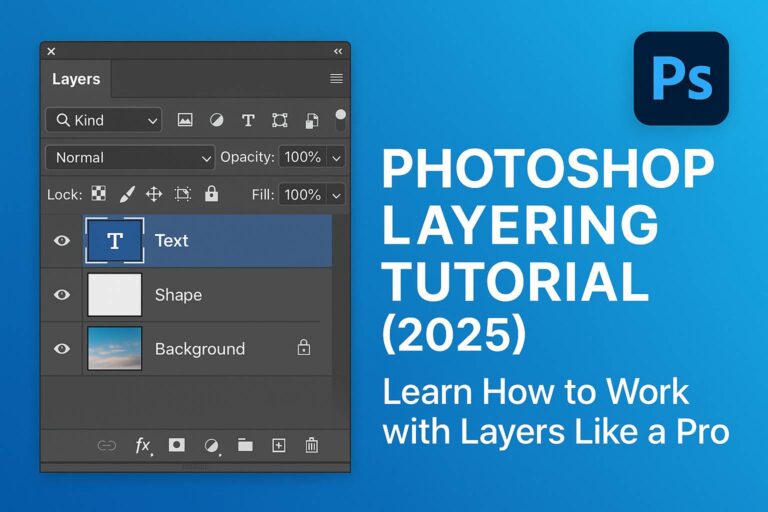
- Layers & Masks: Core to non-destructive editing.
- Adjustment Layers: Let you change tones and colors without editing the original image.
- Smart Objects: Enable flexible editing and filters.
- Filters: Apply stylized transformations (e.g., blur, distort).
- Brush Tool: Essential for painting, masking, and textures.
- Blending Modes: Determine how layers interact visually.
These tools will appear repeatedly throughout the tutorials. Mastering them will drastically improve your editing speed and creativity.
IV. 15 Photoshop Effects You Can Learn Today
Each effect includes difficulty, tools, step-by-step instructions, and an optional download.
1. Glitch Effect
Level: Intermediate
Tools: Filters, RGB channel manipulation, Layer Masks
Steps:
- Duplicate your base image three times.
- Use the “Channel Mixer” or manually offset R, G, and B channels.
- Apply wave/distort filters.
- Add scan lines and colored overlays for extra punch.
2. Double Exposure
Level: Beginner to Intermediate
Tools: Blend Modes, Layer Masks
Steps:
- Choose a portrait and a landscape or cityscape.
- Place the second image above the portrait.
- Use blend modes like Screen or Lighten.
- Mask unwanted areas for a smooth blend.
3. Dispersion (Shatter) Effect
Level: Intermediate
Tools: Liquify filter, custom brushes
Steps:
- Mask your subject cleanly.
- Duplicate and liquify one layer outward.
- Use custom shatter brushes to mask areas.
- Add motion blur for a dramatic look.
4. Neon Glow Text
Level: Beginner
Tools: Layer Styles, Outer Glow, Inner Glow
Steps:
- Create text layer.
- Apply Outer Glow with vibrant colors.
- Duplicate layer and blur for background light.
- Add dark background for maximum contrast.
5. Vintage Film Look
Level: Beginner
Tools: Adjustment Layers, Grain, Curves
Steps:
- Apply a faded curve.
- Add color lookup: “Fuji” or “Kodak” LUTs.
- Add noise layer and set to Overlay.
- Use vignette via Gradient Fill.
6. Duotone Gradient Overlay
Level: Beginner
Tools: Gradient Map Adjustment Layer
Steps:
- Desaturate the base image.
- Add Gradient Map with two bold colors.
- Fine-tune with Levels or Curves.
7. Cinematic Color Grading
Level: Intermediate
Tools: Color Balance, LUTs, Gradient Map
Steps:
- Use Color Balance to create teal-orange tone.
- Add soft vignette.
- Optional: Use a LUT or Camera Raw Filter for cinematic polish.
8. Motion Blur Speed Effect
Level: Intermediate
Tools: Motion Blur Filter, Layer Mask
Steps:
- Duplicate subject.
- Apply strong horizontal Motion Blur.
- Mask subject on top layer to preserve clarity.
- Add directional lines or zoom blur in the background.
9. Comic/Cartoon Look
Level: Intermediate
Tools: Posterize, Cutout Filter, Stroke
Steps:
- Duplicate image and apply Poster Edges.
- Add black outlines with Stroke layer style.
- Adjust Saturation and Brightness for pop art effect.
10. Watercolor Painting Effect
Level: Advanced
Tools: Filters, Brushes, Paper Texture Overlay
Steps:
- Apply Artistic > Dry Brush or Watercolor filter.
- Overlay watercolor texture.
- Mask edges with soft watercolor brushes.
11. Embossed 3D Text
Level: Beginner
Tools: Layer Styles
Steps:
- Create text and apply Bevel & Emboss.
- Add Inner Shadow and Gradient Overlay.
- Optionally duplicate and offset for faux-3D depth.
12. Dreamy Soft Focus Effect
Level: Beginner
Tools: Gaussian Blur, Soft Light Blending
Steps:
- Duplicate and blur upper layer.
- Change blend mode to Soft Light.
- Mask important areas to retain sharpness.
13. Selective Color Pop
Level: Beginner
Tools: Hue/Saturation, Layer Masks
Steps:
- Desaturate the entire image.
- Mask the subject back in color.
- Use brush for precision.
14. Pixelated Art Effect
Level: Beginner
Tools: Mosaic Filter
Steps:
- Apply Mosaic filter (e.g., 12px size).
- Reduce detail with Posterize or Cutout.
- Optionally overlay a pixel grid.
15. Light Leaks & Lens Flare
Level: Beginner
Tools: Gradient Tool, Lens Flare Filter
Steps:
- Create new layer with radial gradient.
- Set blend mode to Screen.
- Add Lens Flare with appropriate settings.
V. Photoshop Effects by Use Case
For Photographers:
- Vintage Film
- Soft Focus
- Color Pop
For Designers:
- Glitch
- Duotone
- Pixel Art
For Social Media Creators:
- Neon Glow
- Cartoon
- Motion Blur
Link internally to related tutorials or download packs to enhance the experience.
VI. Tips for Layering Effects
- Smart Objects: Always convert elements to Smart Objects to retain flexibility.
- Adjustment Layer Stacking: Apply grading above all layers for consistency.
- Use Groups & Naming: Keep layers organized.
- Layer Comps: Save different versions in the same PSD.
VII. Troubleshooting Common Issues
- Effect looks dull: Check blending modes and opacity.
- Image blurry: Use higher resolution base.
- Filters not working: Ensure Smart Object conversion.
- Color issues: Double-check color profiles (RGB vs CMYK).
VIII. Download Free Effect Templates
Get access to PSD files and brushes for:
- Glitch
- Double Exposure
- Neon Text
[Download Button or Email Signup CTA]
IX. Conclusion & Next Steps
Photoshop effects are where creativity comes alive. From subtle photo enhancements to full-blown visual transformations, these effects empower you to create designs that pop, communicate clearly, and impress your audience.
If you’ve made it this far, you’re ready to explore more:
- [Free PSD Downloads]
- [Advanced Photoshop Courses]
- [Weekly Creative Challenges]
Share your creations using #MyPhotoshopEffect and join our community!
X. FAQ
Q: What are the most popular Photoshop effects?
A: Glitch, double exposure, and cinematic grading are currently trending.
Q: How can I learn effects quickly?
A: Practice 1-2 effects per day, use pre-made PSDs, and watch tutorials.
Q: Can I create effects on Photoshop Express?
A: Only basic filters. For full control, use desktop Photoshop.
Q: What is the easiest Photoshop effect to try first?
A: Selective color pop or duotone overlay are great starting points.
Keep experimenting. Keep learning. And most importantly—keep creating!