

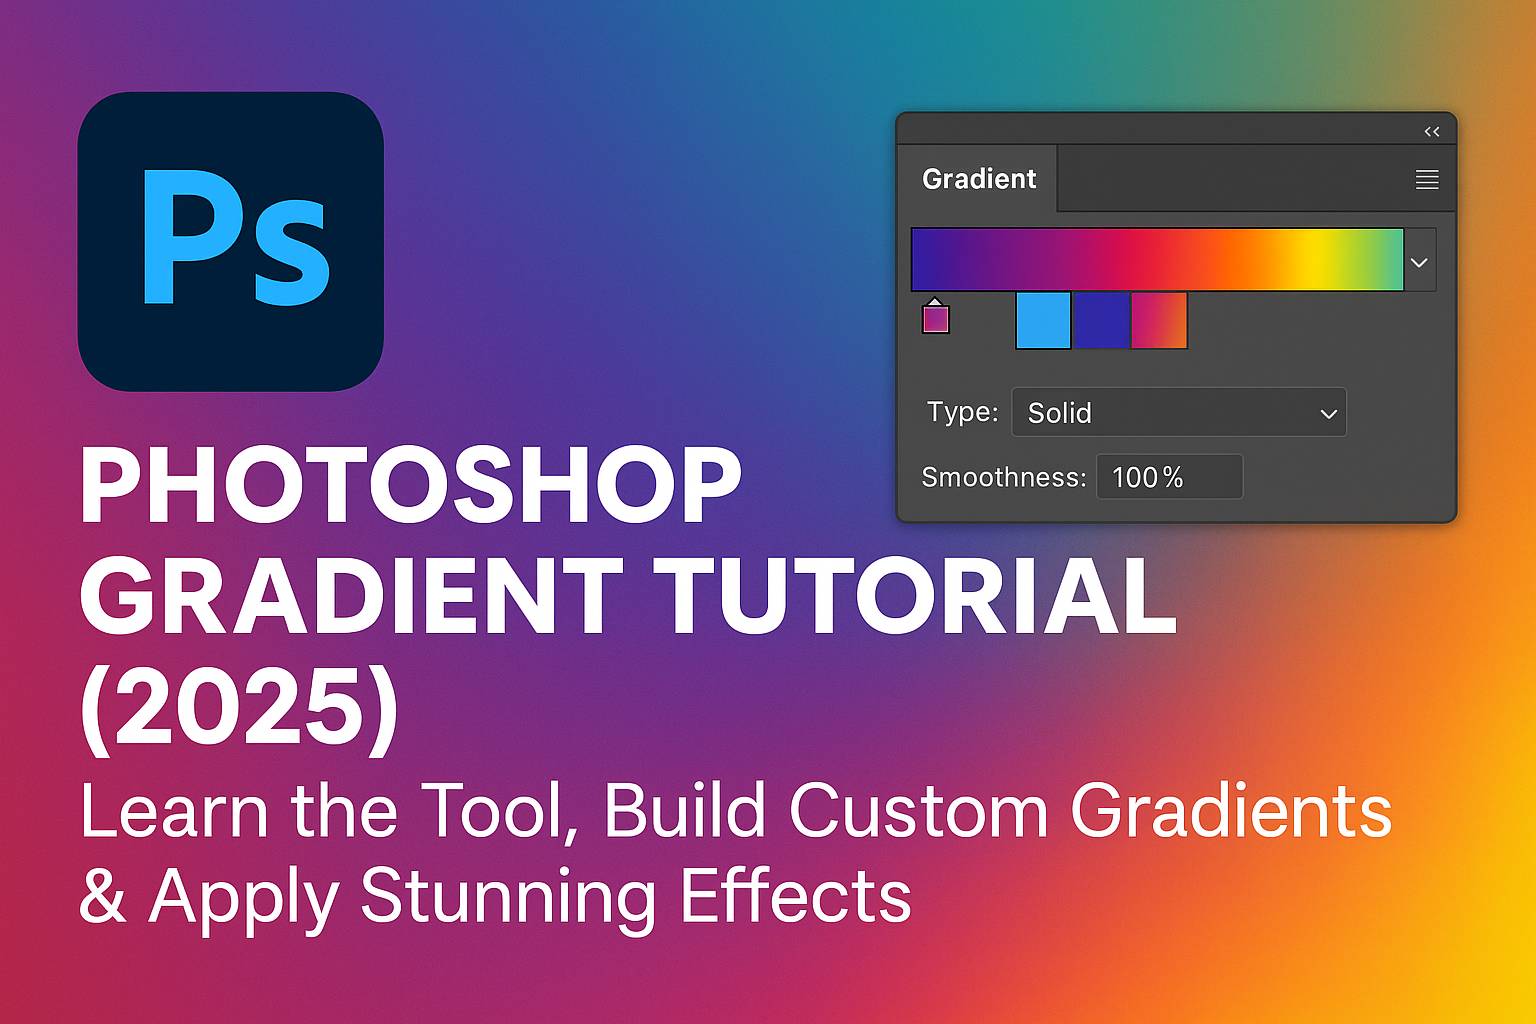
I. Introduction
Gradients are a simple yet powerful way to add color transitions, depth, and vibrance to your designs. In Photoshop, gradients can be applied to backgrounds, text, shapes, masks, and even adjustment layers—giving you endless creative control.
In this tutorial, you’ll learn how to use the Gradient Tool, create and edit your own custom gradients, apply gradients to various design elements, and complete real-world projects like duotone photo effects and gradient overlays.
II. Understanding the Gradient Tool in Photoshop
Where to Find It
- Shortcut: G
- Toolbar > Gradient Tool
- Found within the same tool slot as Paint Bucket (click and hold to switch)
Gradient Types
- Linear: Straight color transition along a line
- Radial: Circular color transition from center outwards
- Angle: Sweeps colors in a counter-clockwise rotation
- Reflected: Mirrors the gradient from a central line
- Diamond: Forms a diamond-shaped gradient
III. Using the Gradient Tool
Step-by-Step Basics:
- Select the Gradient Tool
- In the top menu, click the gradient preview bar to open the Gradient Editor
- Choose a preset or click color stops to edit/start building your own
- Click and drag on your canvas to apply the gradient
- Hold Shift to constrain the angle to 45 or 90 degrees
Options to Note:
- Dither: Smooths transitions between colors
- Reverse: Flips the gradient direction
- Mode and Opacity: Control how the gradient blends with underlying layers
IV. Creating and Editing Custom Gradients
Step 1: Open Gradient Editor
- Click the gradient preview bar in the top toolbar
Step 2: Modify Color Stops
- Click beneath the gradient bar to add color stops
- Double-click a stop to choose a color
- Drag stops to reposition or right-click to delete
Step 3: Set Opacity Stops
- Click above the bar to add opacity stops
- Fade from solid color to transparent
Step 4: Save Your Gradient
- Click New to save your gradient preset
- Save gradients as
.GRDfiles for future use
V. Applying Gradients in Real Projects
1. Gradient Background
- Add a new blank layer
- Use the Gradient Tool with a soft radial or linear blend
- Great for modern web backgrounds or poster design
2. Gradient on Text
- Type your text using the Text Tool (T)
- Right-click layer > Convert to Smart Object or Rasterize Type
- Apply gradient via:
- Layer Styles > Gradient Overlay
- Or: use clipping mask with gradient-filled layer above
3. Duotone Photo Effect
- Desaturate photo (
Image > Adjustments > Black & White) - Add Gradient Map Adjustment Layer
- Choose or create a 2-color gradient (e.g., magenta to blue)
- Adjust blend mode and opacity for styling
4. Gradient in Shape or Button
- Use Shape Tool (U) to draw a button or icon
- Set Fill to Gradient in Properties Panel
- Tweak gradient angle, style, and transition
VI. Advanced Gradient Applications
Gradient Layer Fill
- Layer > New Fill Layer > Gradient
- Creates scalable, editable gradient fill layer
Gradient Masks
- Apply gradient to Layer Mask for a fade effect
- Black-to-white gradient masks can blend images, soften transitions, or fade text/images into backgrounds
Gradient + Blending Modes
- Combine gradients with Overlay, Soft Light, Multiply for powerful photo enhancements
VII. Troubleshooting Common Issues
Gradient Not Showing?
- Ensure you have the correct layer selected
- Check layer visibility and blending mode
Color Banding?
- Enable Dither option
- Use higher-resolution canvas
- Add slight Noise to smooth color transitions
Transparent Gradient Not Working?
- Ensure you’re using opacity stops
- Use Layer Masks for more control
VIII. Downloadable Gradient Resources
- 10 gradient preset files (.GRD)
- PSD template for gradient background and button
- Duotone photo effect template
[Click here to download the Gradient Design Pack]
IX. Bonus Tips & Design Inspiration
- Use gradients to highlight focal points in a layout
- Create on-trend UI elements (glassmorphism, neobrutalism)
- Apply gradients to layer masks for creative double exposure effects
- Use Gradient Maps with blend modes for cinematic color grading
- Stack multiple gradients using clipping masks for layered color effects
X. Conclusion & What to Learn Next
Gradients are one of the most versatile tools in Photoshop. From simple fades to dramatic color treatments, you can elevate your designs with just a few clicks.
Whether you’re building UI elements, creating print designs, or experimenting with photo effects, mastering the Gradient Tool opens up countless creative options.
Next tutorials to try:
- [Photoshop Gradient Map Color Grading Techniques]
- [Create Animated Gradients with Timeline Panel]
- [Layer Masks + Gradient Blends for Visual Storytelling]
Tag your work with #FLVGradients and get featured!
XI. FAQ
Q: What’s the difference between the Gradient Tool and Gradient Fill layer?
A: The Gradient Tool applies a gradient directly to a layer, while a Gradient Fill layer is editable and scalable.
Q: Can I apply gradients to layer masks?
A: Yes! It’s a powerful way to create smooth fades and image blending.
Q: How do I save a custom gradient?
A: In the Gradient Editor, after adjusting your stops, click “New” and then save as a .GRD file.
Q: Can I use gradients on text without rasterizing?
A: Yes, use Layer Styles > Gradient Overlay on the text layer directly.
Mastering gradients gives you a design superpower—unlocking smooth transitions, stylish effects, and endless customization across your Photoshop projects.