

I. Introduction
Layers are the foundation of virtually every project in Photoshop. Whether you’re editing a photo, designing a layout, or building digital art, understanding how to work with layers gives you the flexibility and control needed to edit non-destructively, stay organized, and create more efficiently.
This beginner-friendly tutorial will teach you:
- What layers are and how they work
- How to create, manage, and group layers
- The different types of layers in Photoshop
- Practical examples of how layering improves workflow and results
II. Understanding Layers in Photoshop
Layers in Photoshop are like transparent sheets stacked on top of each other. You can edit, rearrange, hide, or show these layers without affecting the rest of the image.
Types of layers include:
- Pixel Layers: Regular image layers that hold pixels from photos or graphics
- Text Layers: Contain editable text
- Shape Layers: Vector-based shapes like rectangles, circles, or polygons
- Adjustment Layers: Apply non-destructive edits like brightness or color correction
- Smart Objects: Encapsulated layers that preserve original data and allow flexible transformations
- Layer Masks: Control the visibility of parts of a layer without deleting pixels
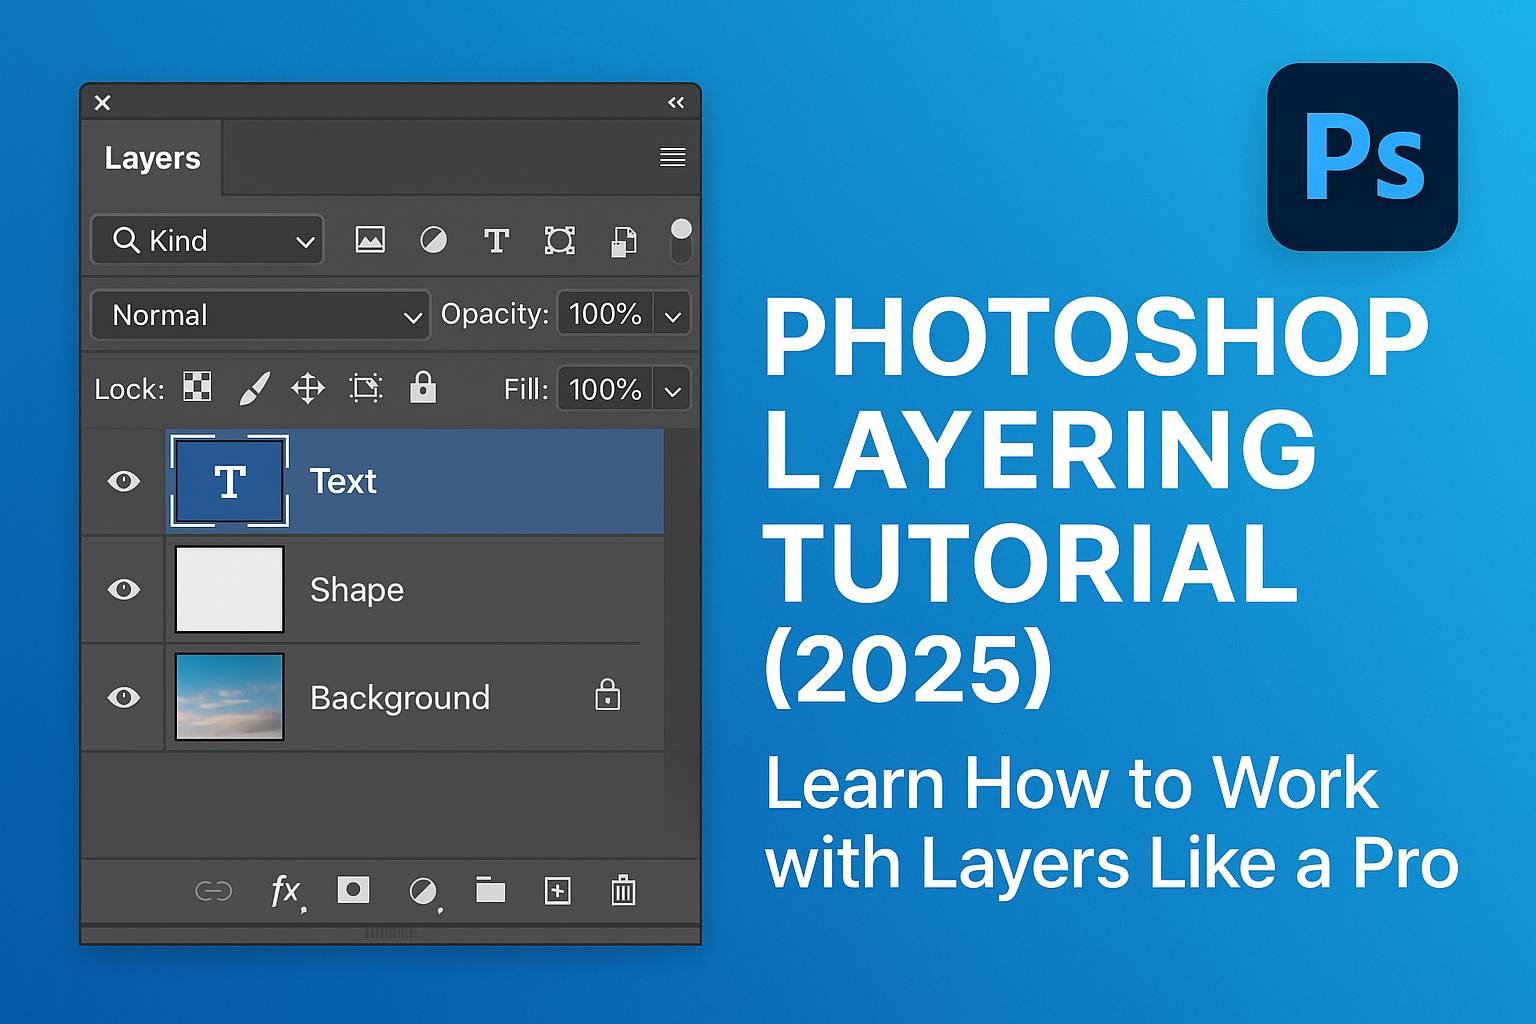
III. Exploring the Layers Panel
The Layers panel (Window > Layers) helps you manage every element in your file.
Key features:
- Eye icon: Toggle layer visibility
- Layer thumbnail: Shows preview of the layer
- Lock icons: Lock transparency, position, or editing
- Blend mode dropdown: Change how the layer blends with layers beneath it
- Opacity slider: Adjust transparency
- Add layer mask, adjustment layer, or new group buttons at the bottom
IV. How to Work with Layers
Step 1: Create a New Layer
- Go to Layer > New > Layer or click the New Layer icon in the Layers panel
Step 2: Rename the Layer
- Double-click the layer name to rename it for clarity (e.g., “Background Fix”, “Logo”)
Step 3: Duplicate a Layer
- Select a layer >
Ctrl/Cmd + J
Step 4: Move and Reorder Layers
- Drag and drop the layer up or down in the stack
Step 5: Group Layers
- Select multiple layers >
Ctrl/Cmd + Gto group them - Name the group (e.g., “Header Text”, “Background Elements”)
Step 6: Merge or Flatten Layers
- Merge Layers:
Ctrl/Cmd + E(merges selected layers) - Flatten Image: Merges all layers into one (only when done editing)
V. Using Different Layer Types
Adjustment Layers
- Non-destructive edits
- Examples: Brightness/Contrast, Hue/Saturation, Curves, Color Balance
- Automatically include a mask
Text Layers
- Add text using Type Tool (T)
- Editable at any time unless rasterized
- Layer styles like Drop Shadow, Stroke, Gradient Overlay apply directly
Shape Layers
- Created using Shape Tools (U)
- Vector-based, scalable without quality loss
- Adjust fill, stroke, and size in the Properties panel
Layer Masks
- Add mask via Add Layer Mask icon
- Use black to hide, white to reveal
- Use Gradient Tool (G) for smooth transitions
Smart Objects
- Right-click a layer > Convert to Smart Object
- Enables non-destructive filters, transforms, and reusable components
VI. Practical Projects with Layers
A. Combine Two Photos with a Mask
- Place two images on separate layers
- Add a layer mask to the top image
- Use a black brush to paint away parts of the top image and reveal the bottom image
B. Add Selective Brightness
- Add a Curves Adjustment Layer
- Invert the mask (Ctrl/Cmd + I)
- Paint white on the mask only where brightness is needed
C. Create a Social Media Graphic
- Background photo layer
- Text layer with layer style (e.g., shadow)
- Logo Smart Object layer
- Adjustment Layer (Color Lookup) for final tone
- Group layers for export and flexibility
VII. Downloadable Practice Resources
- PSD file with labeled layers and layer types
- Practice file: build a multi-layer composite
- Cheat sheet: Layer shortcuts and organization checklist
[Download the Photoshop Layering Starter Kit]
VIII. Best Practices for Using Layers
- Name your layers: Avoid “Layer 1 copy 3”
- Use groups to organize by section or function
- Work non-destructively: Use masks, Smart Objects, and adjustment layers
- Use color labels to visually separate categories
- Lock layers when finished editing them
IX. Conclusion & What to Learn Next
Understanding layers is the single most important Photoshop skill. Mastering layer stacking, organization, and adjustment layers will improve your workflow, quality, and confidence in every project.
Next tutorials to explore:
- [Photoshop Masking for Beginners]
- [Adjustment Layers for Color Correction]
- [How to Use Smart Objects for Reusable Design]
Tag your layered creations with #FLVLayerMastery to share your progress!
X. FAQ
Q: Why can’t I see my layer content?
A: Check layer visibility (eye icon), order in the stack, or if a mask is hiding content.
Q: Can I move multiple layers at once?
A: Yes. Hold Shift or Ctrl/Cmd to select multiple layers, then drag.
Q: Should I always flatten my image before saving?
A: No. Save as PSD with layers for future edits. Only flatten when exporting a final image.
Q: What’s the difference between merging and grouping?
A: Merging combines layers into one; grouping keeps them separate but organized in a folder.
With this foundational knowledge, you’re ready to start using Photoshop layers like a pro—combining creativity with structure in every design or edit you make.