


I. Introduction to Photoshop Layers
Photoshop layers are the backbone of non-destructive editing and creative design. Introduced as a revolutionary concept in early versions of Photoshop, layers allow designers, photographers, and digital artists to manipulate parts of an image independently without affecting the original content. Think of layers as transparent sheets stacked on top of each other—each can hold individual elements like text, graphics, or adjustments.
In this in-depth tutorial, we’ll walk you through everything you need to know about Photoshop layers—from the basics to advanced techniques. Whether you’re a beginner or a seasoned pro looking to deepen your knowledge, this guide will give you the tools to edit with confidence.
II. Understanding Layer Types in Photoshop
Photoshop offers several types of layers, each designed for different tasks:
- Pixel Layers: The most common type, containing image data (photographs, brush strokes, etc.).
- Adjustment Layers: Allow for non-destructive color and tonal changes like brightness, contrast, and color balance.
- Type Layers: Created when you use the Text Tool; they remain editable.
- Shape Layers: Vector-based and ideal for scalable shapes and icons.
- Fill Layers: Automatically filled with solid colors, gradients, or patterns.
- Smart Object Layers: Preserve the original data of an image, allowing for flexible transformations and filters.
Each layer type plays a unique role in image editing. Knowing when and how to use them makes your workflow efficient and non-destructive.
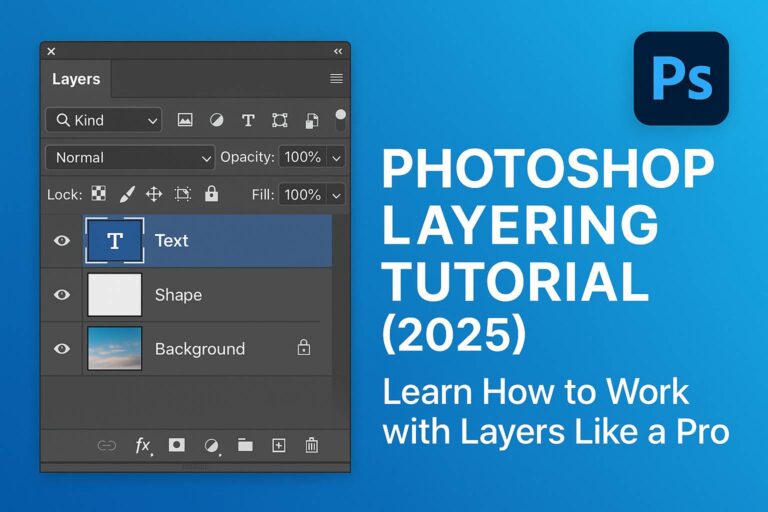
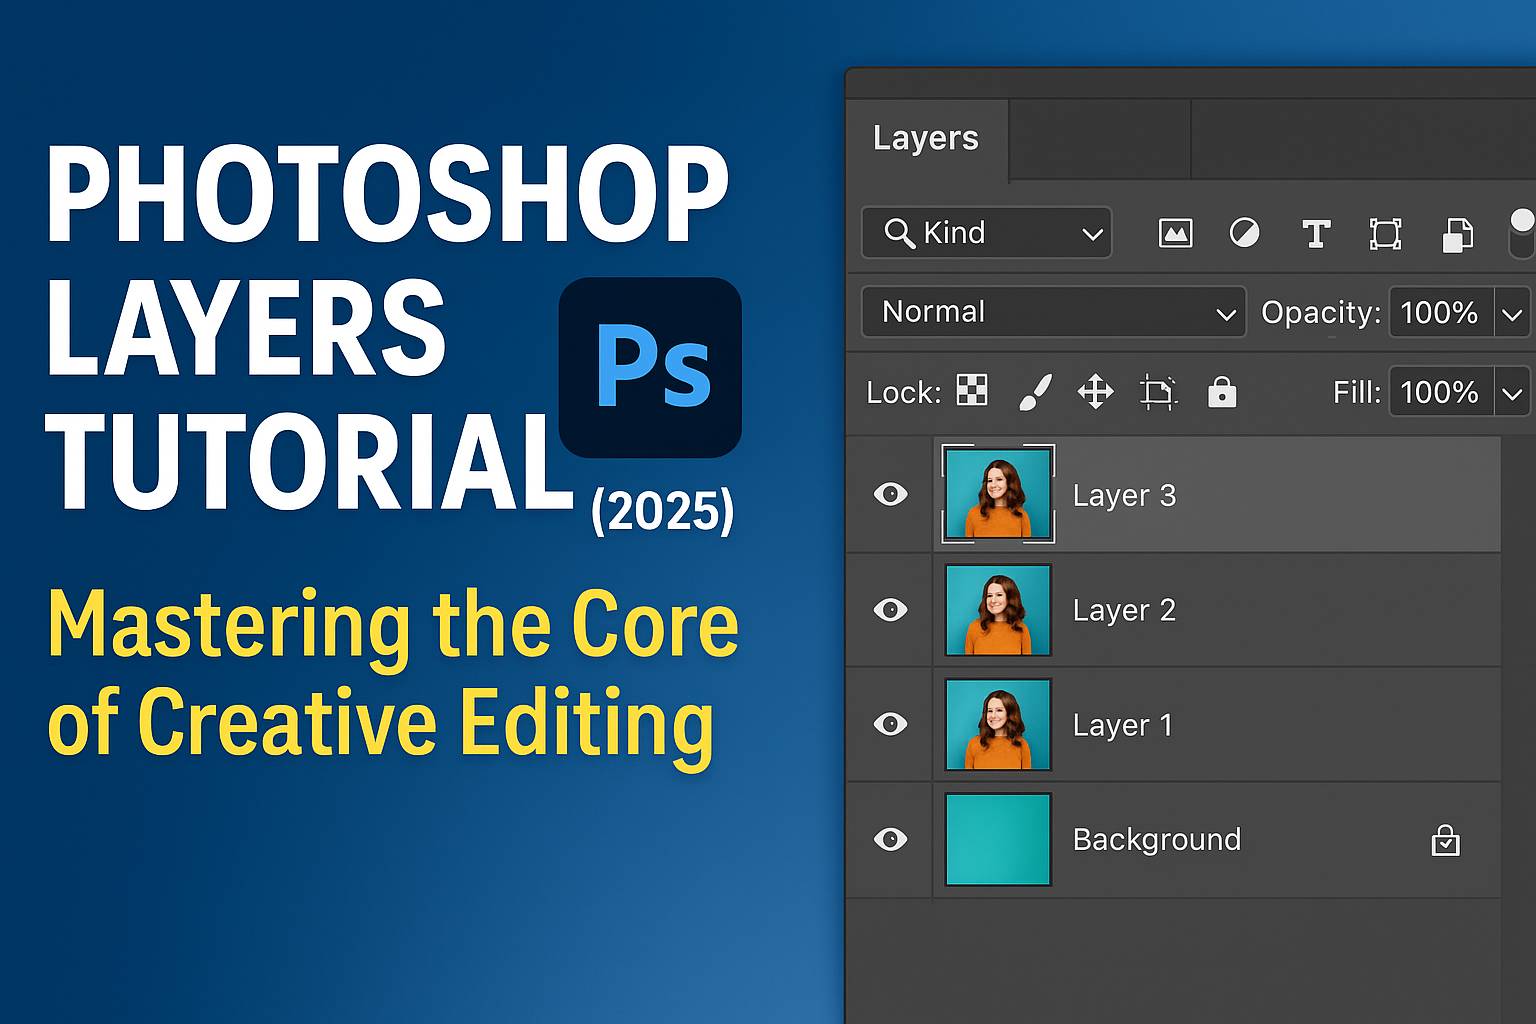
III. The Layers Panel Explained
The Layers panel is your command center. Here’s how to navigate it:
- Layer Visibility (Eye Icon): Toggle visibility to isolate effects.
- Lock Options: Prevent movement, transparency changes, or editing.
- Layer Thumbnails: Visual previews of content on each layer.
- Stacking Order: Higher layers appear in front of lower layers.
- Color Labels: Useful for organization.
- Filtering Layers: Use filters to view only text, smart objects, or adjustment layers.
Mastering the Layers panel is essential for efficient layer management.
IV. How to Work with Layers
Working with layers involves several core actions:
- Create a New Layer: Click the New Layer icon or use
Shift + Ctrl/Cmd + N. - Duplicate a Layer: Right-click and select Duplicate, or
Ctrl/Cmd + J. - Reorder Layers: Drag and drop.
- Rename Layers: Double-click the name.
- Group Layers: Select multiple layers, right-click, and choose Group.
- Delete Layers: Drag to the trash or press
Delete. - Merge/Flatten Layers: Combine layers for exporting or simplifying files.
Grouping and naming are critical for large projects with dozens or hundreds of layers.
V. Blending Modes and Opacity
Blending modes define how layers interact:
- Multiply: Darkens by blending layer color with the background.
- Screen: Lightens by inverting and multiplying.
- Overlay: Enhances contrast.
- Soft Light/Hard Light: Subtle or dramatic light effects.
Opacity controls transparency. Lowering opacity reveals the layer(s) beneath. Use Fill for similar effects but exclude layer styles.
VI. Mastering Layer Masks
Layer masks are non-destructive tools for hiding or revealing parts of a layer:
- Black conceals, white reveals.
- Use soft brushes for natural transitions.
- Gradient masks for smooth fades.
- Invert masks with
Ctrl/Cmd + I.
Clipping masks allow a layer to affect only the layer directly beneath it. Excellent for targeted adjustments or texture overlays.
VII. Adjustment Layers
These layers apply edits without touching the image pixels:
- Common Types: Brightness/Contrast, Curves, Hue/Saturation, Color Balance.
- Benefits: Re-editable, maskable, stackable.
- Clipping Adjustments: Right-click and select “Create Clipping Mask.”
Use adjustment layers to maintain control and flexibility.
VIII. Layer Styles and Effects
Layer styles add visual effects like:
- Drop Shadow
- Outer Glow/Inner Glow
- Stroke
- Bevel & Emboss
Double-click a layer to open the Layer Style dialog. Save styles as presets for reuse.
IX. Advanced Layer Techniques
Push your layer skills further:
- Smart Objects: Embed images to preserve quality during transforms.
- Layer Comps: Save different layer states within a single file.
- Linked Layers: Synchronize content across multiple files.
- Apply Smart Filters to Smart Objects for editable effects.
These techniques are vital for high-end design workflows.
X. Real-Life Use Cases
- Photo Retouching: Use separate layers for blemish removal, tone correction.
- Compositing: Combine multiple images with masks and blend modes.
- Digital Art: Layered brushwork and effects.
- Social Media Design: Text, icons, backgrounds in separate layers for flexibility.
- Mockups: Use Smart Objects for easy replacements.
XI. Common Mistakes to Avoid
- Editing the wrong layer
- Forgetting to name or organize
- Flattening too soon
- Using Erasers instead of Masks
Avoiding these errors keeps your workflow efficient and reversible.
XII. Troubleshooting Layer Issues
- Can’t edit? Check if the layer is locked.
- Layer not visible? Make sure visibility is on and stacking order is correct.
- Effects not working? Verify blend modes and styles.
XIII. Layer Shortcuts
| Action | Shortcut |
|---|---|
| New Layer | Shift + Ctrl/Cmd + N |
| Duplicate | Ctrl/Cmd + J |
| Group | Ctrl/Cmd + G |
| Merge | Ctrl/Cmd + E |
| Clipping Mask | Alt/Option + Click between layers |
Print or download a cheat sheet for quick access.
XIV. Practice Resources
- Downloadable PSD files
- Exercises with masking, blending
- Challenges (e.g., retouch a portrait using 5 layers max)
XV. Conclusion
Layers are the most powerful feature in Photoshop. They allow you to work creatively and non-destructively. Mastering them opens doors to photo editing, graphic design, compositing, and more.
Ready for the next step? Explore:
- [Photoshop Masking Tutorial]
- [Photoshop Text Effects for Beginners]
- [Free PSD Practice Files]
XVI. FAQ
Q: What is the shortcut to create a new layer? A: Shift + Ctrl/Cmd + N.
Q: What’s the difference between layer mask and clipping mask? A: A layer mask controls the visibility of its own layer; a clipping mask affects only the layer beneath.
Q: Why can’t I see my layer? A: It may be hidden, locked, or beneath another opaque layer.
Q: What’s the best way to learn Photoshop layers? A: Follow structured tutorials, practice daily, and analyze PSDs from experienced designers.
Stay curious, stay layered—and keep designing!