I. Introduction
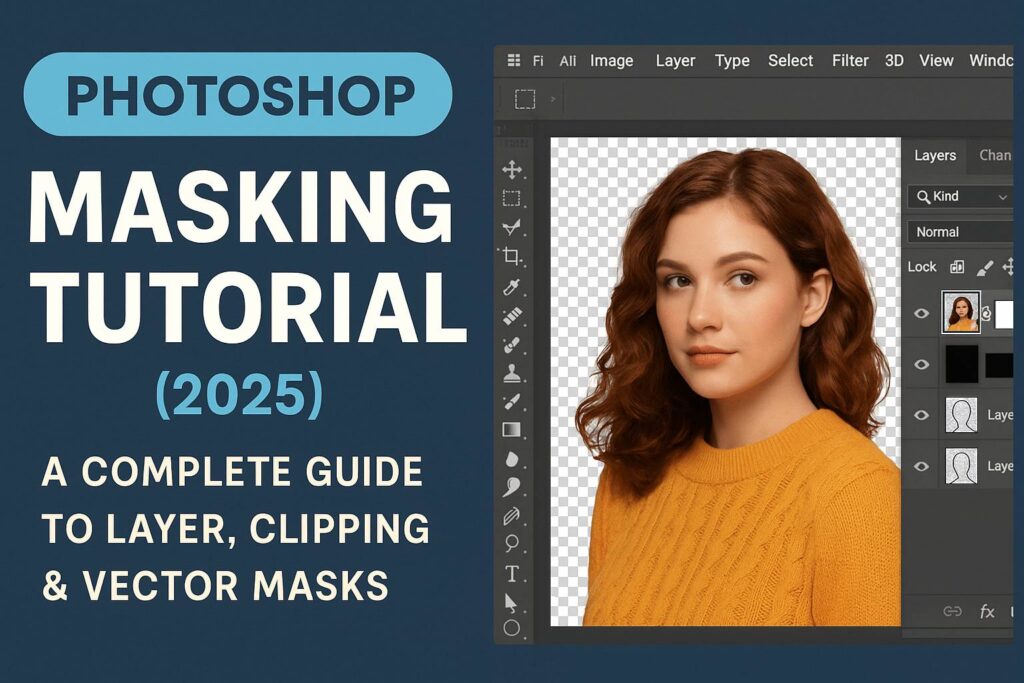
Masking is one of the most powerful and essential skills in Photoshop. It allows you to control what parts of a layer are visible or hidden—without deleting any content. Unlike the eraser tool, masking is non-destructive, meaning you can make changes anytime without losing original data.
In this tutorial, we’ll walk you through everything you need to know about masking in Photoshop, from the basics of layer masks to advanced techniques using clipping and vector masks. Whether you’re a beginner or looking to refine your skills, this is your complete guide to Photoshop masking in 2025.
II. What Is a Mask in Photoshop?
A mask lets you hide or reveal parts of a layer. Think of it like holding a piece of cardboard in front of a light source: you can control which areas the light (your image) passes through.
- White on a mask = visible area
- Black on a mask = hidden area
- Gray = partially visible (semi-transparent)
Masks don’t remove data—they just hide it from view.
III. Types of Masks in Photoshop
Photoshop offers three main types of masks:
1. Layer Masks
- Attach directly to a layer.
- Use black/white painting to control visibility.
- Most commonly used type.
2. Clipping Masks
- One layer defines the visibility of another.
- Useful for applying textures or effects to text or shapes.
- Created by placing a layer above and holding
Alt/Option + Clickbetween them.
3. Vector Masks
- Use paths instead of pixel-based brushes.
- Great for sharp, clean edges like logos or shapes.
- Editable with the Pen Tool or Shape Tool.
IV. How to Use a Layer Mask (Step-by-Step)
Step 1: Add a Layer Mask
- Select a layer.
- Click the Add Layer Mask button at the bottom of the Layers panel.
Step 2: Paint with Black or White
- Select the mask thumbnail.
- Use the Brush Tool (
B) with soft edges. - Paint black to hide parts of the layer.
- Paint white to reveal them again.
Step 3: Use Gradients
- Select the Gradient Tool (
G). - Drag across the mask to create smooth transitions.
Step 4: Refine with Soft Brushes
- Set Opacity to 30-50% for subtle blends.
- Zoom in for precision work around edges.
V. Common Masking Techniques
1. Blend Two Images Smoothly
- Use a layer mask and a gradient to blend skies, textures, or subjects.
2. Non-Destructive Background Removal
- Mask out the background instead of deleting it.
- Combine with Select Subject or Object Selection Tool.
3. Text Effects with Clipping Masks
- Add an image above a text layer.
- Create a clipping mask to fill text with texture.
4. Selective Adjustments
- Apply an Adjustment Layer (e.g., Hue/Saturation).
- Use its mask to apply effects only to certain parts of an image.
5. Complex Object Blending
- Paint shadows, glows, or reflections on separate layers.
- Use masks to adjust their shape and intensity.
VI. Using Masks with Selections
Selections and masks work together beautifully:
- Make a selection (e.g., Quick Selection Tool).
- Click the Add Layer Mask button to convert the selection into a mask.
- Use
Shift + Clickto disable/enable the mask view. - Press
Alt/Option + Clickthe mask thumbnail to see the mask itself.
VII. Advanced Masking Tips
- Use Select and Mask for refining edges (especially hair and fur).
- Convert selections into vector masks for crisp logos.
- Combine masks with Smart Objects to preserve original edits.
- Use multiple masks on grouped layers for organized control.
Pro Tip: Use a tablet or pen display for precise masking in portraits and composites.
VIII. Troubleshooting Masking Issues
Issue: Mask isn’t hiding anything?
Solution: Make sure you’re painting on the mask thumbnail (not the image).
Issue: Hard edges look unnatural?
Solution: Use soft brushes or feather the mask.
Issue: Partially erased look?
Solution: Check Opacity and Flow settings.
IX. Downloadable Practice Files
Practice with our layered PSD files:
- Portrait masking with hair.
- Textures for clipping masks.
- Abstract blend project with gradients.
[Download Files or Subscribe to Get Access]
X. Conclusion & Next Steps
Masking is a core Photoshop skill that separates casual users from confident creators. With masks, you can work non-destructively, build layered composites, and apply localized effects like a pro.
Mastered the basics? Explore these next:
- [Photoshop Selection Techniques Tutorial]
- [Advanced Compositing in Photoshop]
- [Layer Masking for Product Photography]
Share your work with #MyPhotoshopMask and tag us to get featured!
XI. FAQ
Q: What’s the difference between a layer mask and a clipping mask?
A: A layer mask controls visibility of its own layer; a clipping mask uses one layer to control visibility of the layer above it.
Q: Can I use multiple masks on one layer?
A: A single layer supports one mask, but you can group layers and apply group masks.
Q: How do I remove a mask?
A: Right-click the mask thumbnail > Delete or Apply Mask.
Q: Is masking reversible?
A: Yes! That’s what makes it powerful. Just paint white to bring anything back.
Ready to mask like a pro? Save this tutorial and revisit it as you grow your Photoshop skills!
