


I. Introduction
The Pen Tool in Photoshop is one of the most powerful yet misunderstood tools. It allows you to create clean, precise selections and vector paths that are ideal for cutouts, shapes, masks, and design elements. If you’ve ever struggled with jagged selections or messy edges, the Pen Tool is the solution.
In this tutorial, you’ll learn:
- What the Pen Tool is and how it works
- How to create and modify paths
- How to use the Pen Tool for cutouts, shapes, and masks
- Tips for mastering curves and complex edges
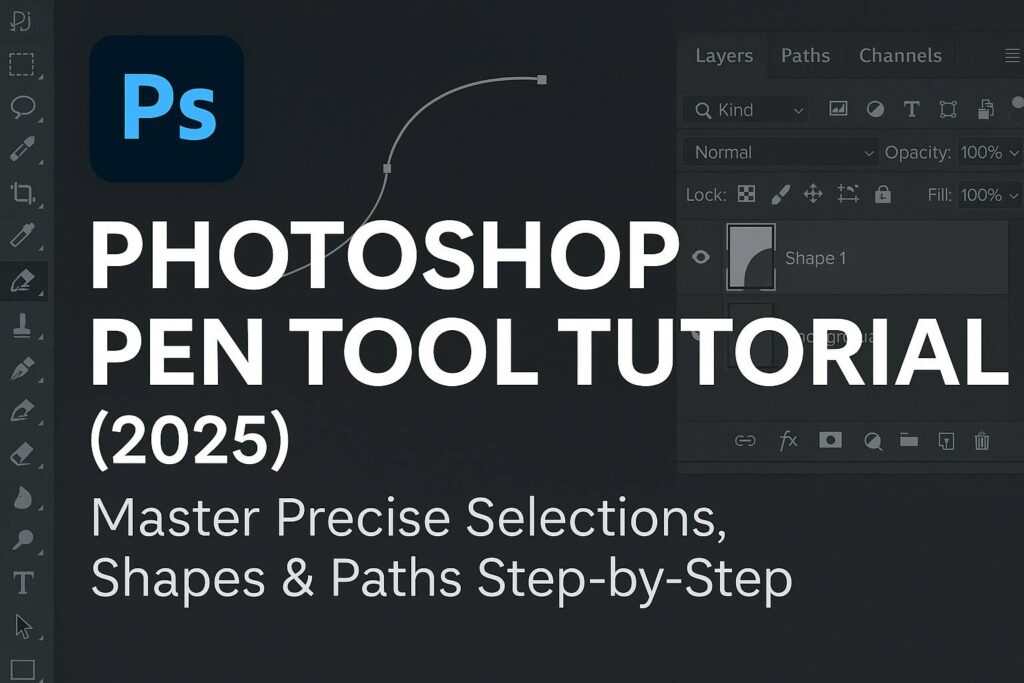
II. What Is the Pen Tool and Where to Find It
- Shortcut:
P - Located in the Toolbar, grouped with the Freeform Pen and Curvature Pen tools
- Can be used in Path mode or Shape mode (set in the top bar)
Path mode: for creating selections or clipping paths
Shape mode: for creating vector shapes with fills and strokes
III. How the Pen Tool Works
A. Basic Concepts
- Anchor points: Define the shape
- Segments: Lines connecting anchor points
- Handles: Control the direction and curve of a segment
B. Drawing with the Pen Tool
- Click to create straight lines
- Click + drag to create curved paths
- Alt/Option + click an anchor to break the curve (corner point)
- Ctrl/Cmd to temporarily switch to the Direct Selection Tool (A) to move points
IV. Creating a Path
- Select the Pen Tool and set mode to Path
- Click around the object to place points
- Use click + drag for curved edges
- Close the path by clicking the starting point
V. Converting a Path
A. Convert Path to Selection
- Right-click > Make Selection
- Feather Radius = 0.5–2 px for soft edges
B. Convert Path to Shape
- Right-click > Define Custom Shape or
- Go to
Layer > New Fill Layer > Solid Colorwhile path is active
C. Save and Load Paths
- Go to Paths panel (Window > Paths)
- Double-click “Work Path” to save permanently
VI. Project: Cut Out a Subject with the Pen Tool
Step-by-Step:
- Open a portrait or product photo
- Use the Pen Tool to trace the outline
- Right-click > Make Selection
- Add a Layer Mask to isolate the subject
- Use Refine Edge/Select and Mask to polish hair or edges if needed
Pro Tip: Zoom in (300–400%) for precise anchor point placement around edges
VII. Pen Tool Variations
- Freeform Pen Tool: Draw paths like using a brush (less precise)
- Curvature Pen Tool: Easier for beginners—clicks automatically curve
- Add Anchor Point Tool / Delete Anchor Point Tool: Modify existing paths
VIII. Tips & Best Practices
- Use as few points as possible for smooth curves
- Don’t fight the handles—let them guide you through curves
- For corners, Alt/Option + click an anchor to reset the direction
- Combine Pen Tool + Direct Selection Tool (
A) for adjustments - Save complex paths in the Paths panel to reuse or revise later
IX. Downloadable Resources
- PSD file with practice Pen Tool outlines
- Sample images for cutout practice
- Pen Tool shortcut cheatsheet (PDF)
[Download the Pen Tool Practice Kit]
X. What to Learn Next
Now that you know how to use the Pen Tool, explore these tutorials:
- [Using the Pen Tool with Layer Masks for Seamless Cutouts]
- [Create Vector Shapes and Custom Icons in Photoshop]
- [Pen Tool Mastery: Hair, Curves & Complex Paths]
Tag your Pen Tool projects with #FLVPenMastery to share and get featured!
XI. FAQ
Q: Why isn’t my Pen Tool creating a selection?
A: Make sure you’re in Path mode and right-click to choose Make Selection.
Q: What’s the best feather setting for a path selection?
A: Start with 0.5–2 px for portraits, up to 5 px for soft subjects.
Q: How do I go back and adjust a point?
A: Use the Direct Selection Tool (A) to click and move anchor points.
Q: Should I use Pen Tool or Quick Selection for cutouts?
A: Use the Pen Tool for clean edges and precision; Quick Selection for speed or textured edges.
With practice, the Pen Tool becomes one of the most powerful tools in your Photoshop toolkit—giving you complete control over cutouts, shapes, and vector editing.