

I. Introduction
Photo manipulation in Photoshop is the art of transforming one or more images into something entirely new and imaginative. From fantasy landscapes to surreal scenes, it’s where creativity meets technical precision. If you’ve ever wanted to place a person on a floating island in space or blend a cityscape with the ocean, this is the tutorial for you.
In this hands-on guide, you’ll learn the core techniques behind professional-level photo manipulation: clean cutouts, seamless blending, color matching, lighting, and depth creation. By the end, you’ll have a surreal scene worthy of any portfolio or social feed.
II. Project Overview
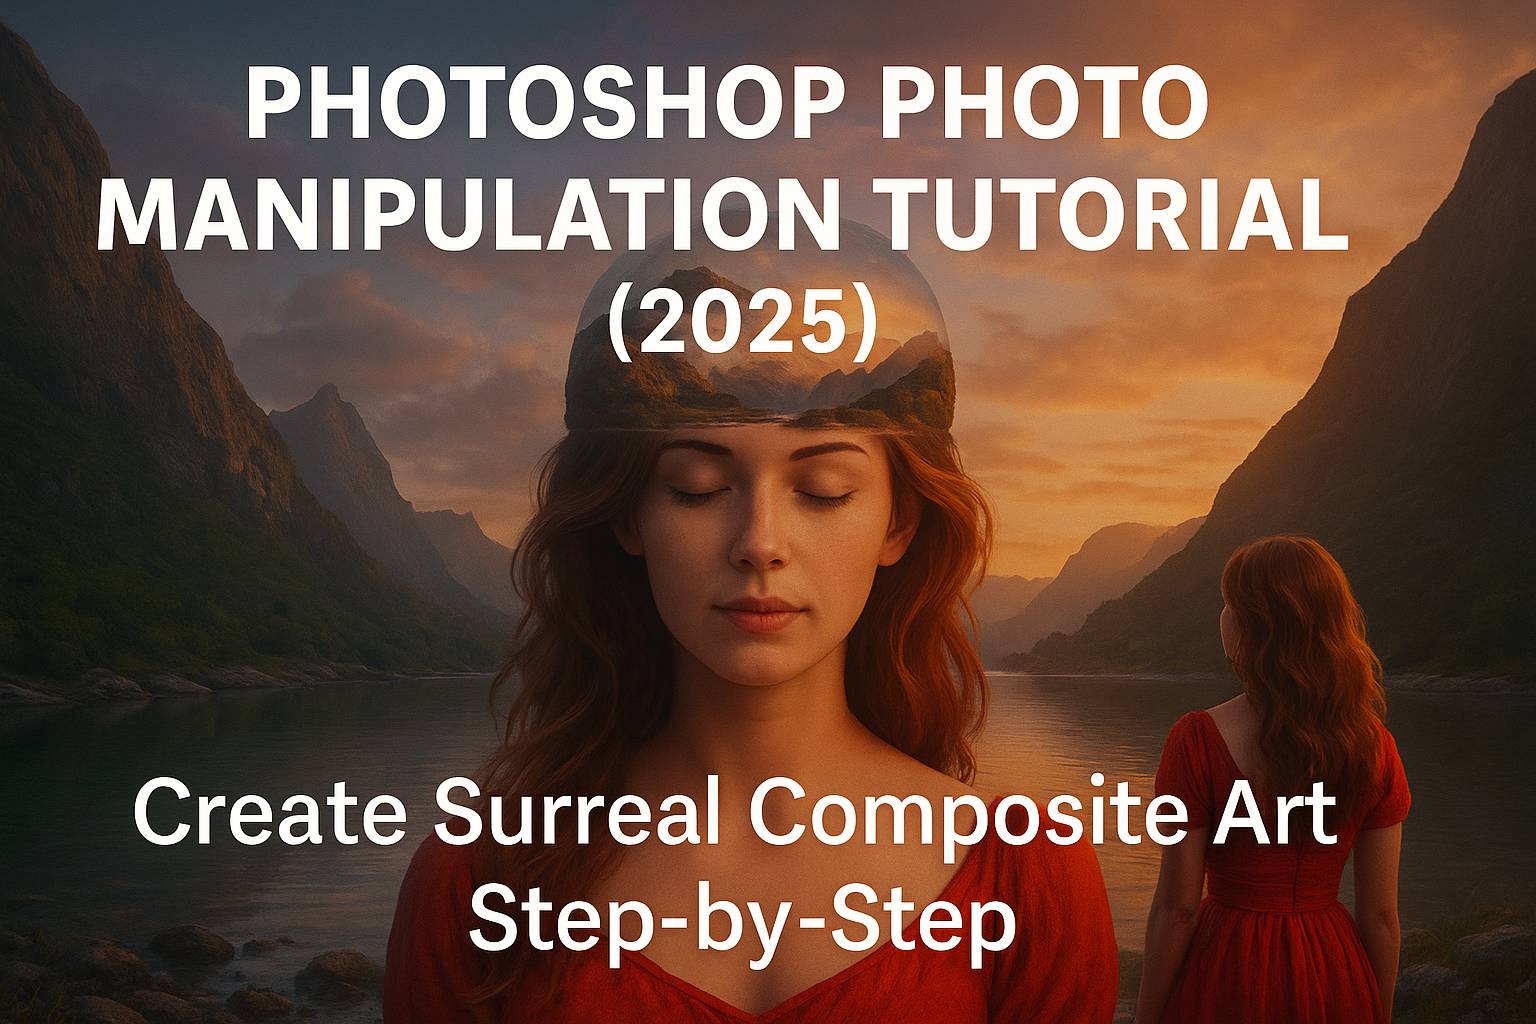
Final Project: A dreamlike scene of a girl standing on a floating island above a starry sky.
What You’ll Learn:
- Clean subject extraction
- Image compositing with masks
- Matching lighting and shadows
- Color grading with adjustment layers
Resources Needed:
- Stock images: subject, sky, floating island, stars
- Brushes: cloud brush, light rays
- Overlays: fog, particles (optional)
[Download all assets here]
III. Setting Up the Document
- New Canvas: 2000x3000px @ 300dpi
- Color Mode: RGB
- Place All Images: File > Place Embedded
- Organize Layers: Group them by type (Background, Subject, Effects, Color Grading)
IV. Step-by-Step Walkthrough: Creating the Surreal Scene
Step 1: Cut Out the Subject
- Use Select Subject (Select > Subject)
- Refine edges using Select and Mask
- Output to Layer Mask for non-destructive editing
Step 2: Build the Background
- Add a sky or star field as the base layer
- Place the floating island on top
- Use Free Transform (Ctrl/Cmd + T) to resize and position
- Mask out harsh edges using a soft round brush on the layer mask
Step 3: Add the Subject
- Drag subject above the island layer
- Match perspective and scale
- Use layer mask to blend feet into the ground surface
Step 4: Blend Foreground & Background
- Apply Color Balance and Curves to each image layer
- Match shadow tones, highlights, and midtones for cohesion
- Use Gradient Map set to Soft Light for overall color harmony
Step 5: Add Shadows and Light
- Create a new layer under the subject
- Use a soft black brush at low opacity to paint shadows
- Blur the layer slightly (Filter > Gaussian Blur)
- Add light direction by using Gradient Overlay or Lens Flare (optional)
Step 6: Use Overlays and Effects
- Add fog or particle overlays on separate layers
- Set blend mode to Screen or Lighten
- Use layer masks to control where the effects appear
Step 7: Final Color Grading
- Merge all visuals into a Smart Object (Shift + click > Convert to Smart Object)
- Apply Camera Raw Filter
- Adjust exposure, clarity, texture, and contrast
- Use Color Mixer to fine-tune tones
- Add Vignette to draw focus to the subject
V. Tips for Realistic Manipulation
- Match Light Sources: All elements should share a consistent light direction
- Color Match Using Curves: Select midtones and adjust RGB curves to unify palettes
- Don’t Rush Masks: Take time refining mask edges using both hard and soft brushes
- Use Smart Objects: Maintain layer editability for future adjustments
- Think in Layers: Work in organized groups for subjects, light, effects, and color
VI. Exporting the Final Result
- File > Export > Export As
- Choose JPEG or PNG (for web)
- For high-resolution prints: Export as TIFF or PSD
- Optional: Export as animated GIF or MP4 using Timeline Panel (for time-lapse or reveals)
VII. Downloadable Practice Files
- Fully layered PSD project file
- Texture overlays (fog, dust, light rays)
- Custom brushes for blending edges
[Click here to download practice pack]
VIII. Conclusion & Next Steps
Photo manipulation is part imagination, part precision. With practice, you’ll be able to create compelling, emotional, and dramatic scenes from any set of images. This tutorial is a springboard into compositing, matte painting, and visual storytelling.
Next tutorials to explore:
- [How to Create a Fantasy Landscape in Photoshop]
- [Double Exposure Photo Manipulation Tutorial]
- [Advanced Layer Mask Techniques for Compositing]
Tag your work with #FLVManipulation to share and get featured in our community gallery!
IX. FAQ
Q: Is Photoshop good for photo manipulation?
A: Yes, it’s the industry standard for compositing and creative edits.
Q: Do I need a drawing tablet?
A: Not required, but it helps with precision masking and painting.
Q: Can I use free stock photos for manipulations?
A: Yes, but always check licensing if you plan to publish or sell your work.
Q: How do I improve my blending?
A: Practice with shadows, color matching, and always use layer masks.
With the right tools and vision, Photoshop becomes a canvas for your wildest visual ideas. Start creating your own imaginative realities today!