


I. Introduction
Old photos hold irreplaceable memories, but time can be cruel to physical prints. From faded tones and scratches to torn corners and water stains, photos can degrade in many ways. Fortunately, Adobe Photoshop makes it possible to bring these moments back to life.
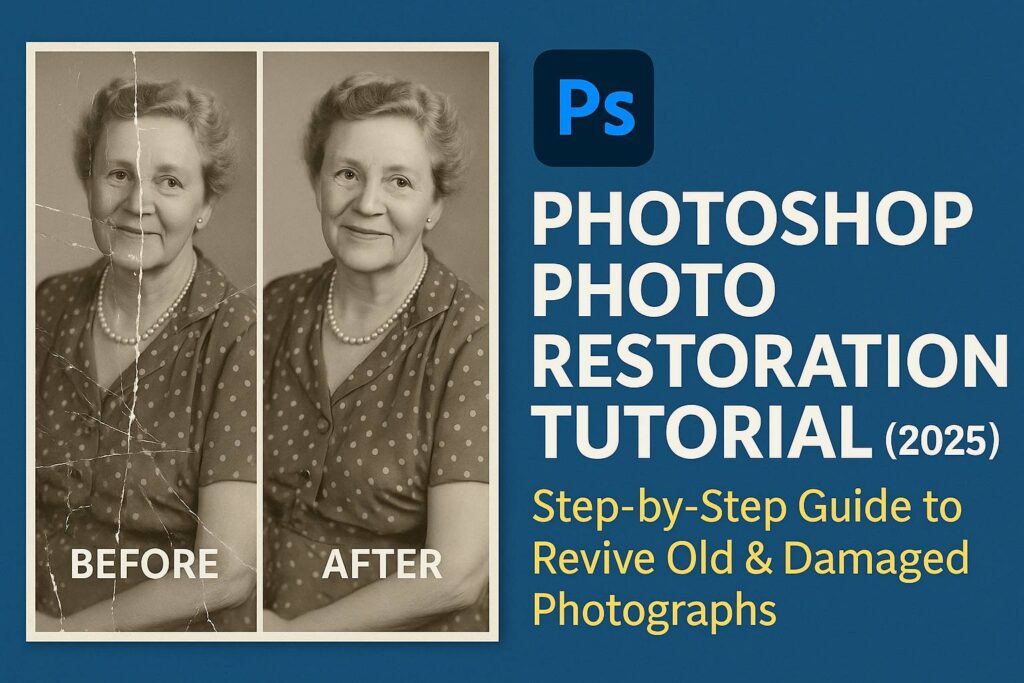
In this step-by-step tutorial, you’ll learn how to restore old and damaged photos using professional tools and techniques in Photoshop—all in a non-destructive, layer-based workflow.
II. Preparing the Photo for Restoration
Step 1: Scan Your Photo
- Resolution: Scan at 300–600 DPI for best quality
- Format: Save as TIFF or high-resolution JPEG
Step 2: Open and Prep in Photoshop
- Open the image
- Duplicate the background layer (
Ctrl/Cmd + J) - Convert to Smart Object (optional for flexible editing)
III. Cleaning Up Dust, Scratches & Small Imperfections
Tools to Use:
- Spot Healing Brush Tool (J): Quick fixes for small marks
- Clone Stamp Tool (S): Copy clean areas to damaged spots
- Patch Tool: Drag-and-drop replacement for large areas
- Filter > Noise > Dust & Scratches:
- Radius: 1–3px
- Threshold: 2–10px
Tips:
- Zoom in (
Ctrl/Cmd + +) for detail work - Sample nearby textures and tones
- Use a soft brush with low hardness for natural blending
IV. Repairing Rips, Tears & Missing Sections
- Use Clone Stamp to duplicate nearby texture
- Use Patch Tool for larger tears
- If entire areas are missing:
- Use parts of the photo from the other side (flip/copy if needed)
- Rebuild elements like clothing, wall edges, or hair manually
- Feather the edge of cloned areas to blend in
V. Correcting Tone, Exposure & Contrast
Option 1: Levels (Ctrl/Cmd + L)
- Set black and white points
- Adjust midtones
Option 2: Curves (Ctrl/Cmd + M)
- Fine-tune shadows and highlights
- Add S-curve for enhanced contrast
Option 3: Brightness/Contrast
- Simple but effective for mild adjustments
Tip: Always use Adjustment Layers to stay non-destructive.
VI. Fixing Color or Fading
A. Convert to Black & White (optional)
- Use Black & White adjustment layer
- Fine-tune color sliders for best grayscale tones
B. Restore Faded Colors
- Add Hue/Saturation or Color Balance adjustment layers
- Adjust Red/Green/Blue midtones
- Manually paint on masked layers to target specific areas (e.g., lips, clothing)
C. Colorize a Black & White Photo (Advanced)
- Use a separate layer for each color area (e.g., skin, clothes, background)
- Set layer mode to Color
- Paint with soft brush and appropriate hue
VII. Enhancing Details & Sharpness
- Merge visible layers into a new layer (
Ctrl/Cmd + Shift + Alt + E) - Convert to Smart Object
- Apply High Pass Filter (
Filter > Other > High Pass, 1–3 px) - Set blend mode to Overlay or Soft Light
VIII. Final Checks & Exporting
- Review image at full and zoomed-out view
- Use Layer Masks to fade effects gently
- Save as PSD to preserve layers
Export Options:
- For Web: Export as JPEG, 72–150 PPI
- For Print: Export as TIFF or PDF, 300 PPI, Adobe RGB
IX. Downloadable Resources
- Sample PSD with common damage types
- Clone Stamp & Healing Brush practice files
- High-res vintage image pack for training
[Click here to download the Restoration Resource Kit]
X. Tips & Best Practices
- Work non-destructively: Duplicate layers, use masks
- Zoom in and out frequently to see overall balance
- Save multiple versions of your progress
- Use soft brushes and feathered edges for realism
- Don’t over-sharpen or over-colorize—aim for authenticity
XI. Conclusion & What to Learn Next
Restoring an old photo is a rewarding process that combines both technical skill and visual sensitivity. With patience and Photoshop’s powerful tools, you can breathe new life into treasured memories.
Next tutorials to explore:
- [Colorize Black & White Photos in Photoshop]
- [Dodge & Burn for Portrait Restoration]
- [Create Clean Selections with Layer Masks and Channels]
Tag your restoration work with #FLVPhotoRestoration to be featured in our showcase!
XII. FAQ
Q: What’s the best resolution to scan a photo for restoration?
A: 300–600 DPI is ideal for quality and flexibility.
Q: How do I fix very faded photos?
A: Use Curves and Color Balance to boost contrast and saturation, and isolate faded areas with masks.
Q: Can I restore a torn photo with missing pieces?
A: Yes, use Clone Stamp and creative rebuilding techniques with texture sampling or reconstruction.
Q: Should I convert to black & white or keep the original color?
A: It depends on the image and your goal. Black & white hides color artifacts; color can add realism.
Restoring photos in Photoshop requires time, attention to detail, and smart tool usage—but it’s one of the most meaningful projects you can undertake. Now you’re ready to turn aging prints into preserved digital treasures.