I. Introduction
Selection is one of the most fundamental skills in Adobe Photoshop. Whether you’re cutting out a subject, applying adjustments to a specific area, or masking complex backgrounds, selection tools are the backbone of precision editing.
This tutorial is crafted for beginners and intermediate users who want to master the full range of selection techniques. By the end of this guide, you’ll not only understand how to use Photoshop’s selection tools effectively but also when to use each one to achieve professional results.
II. Overview of Selection Tools
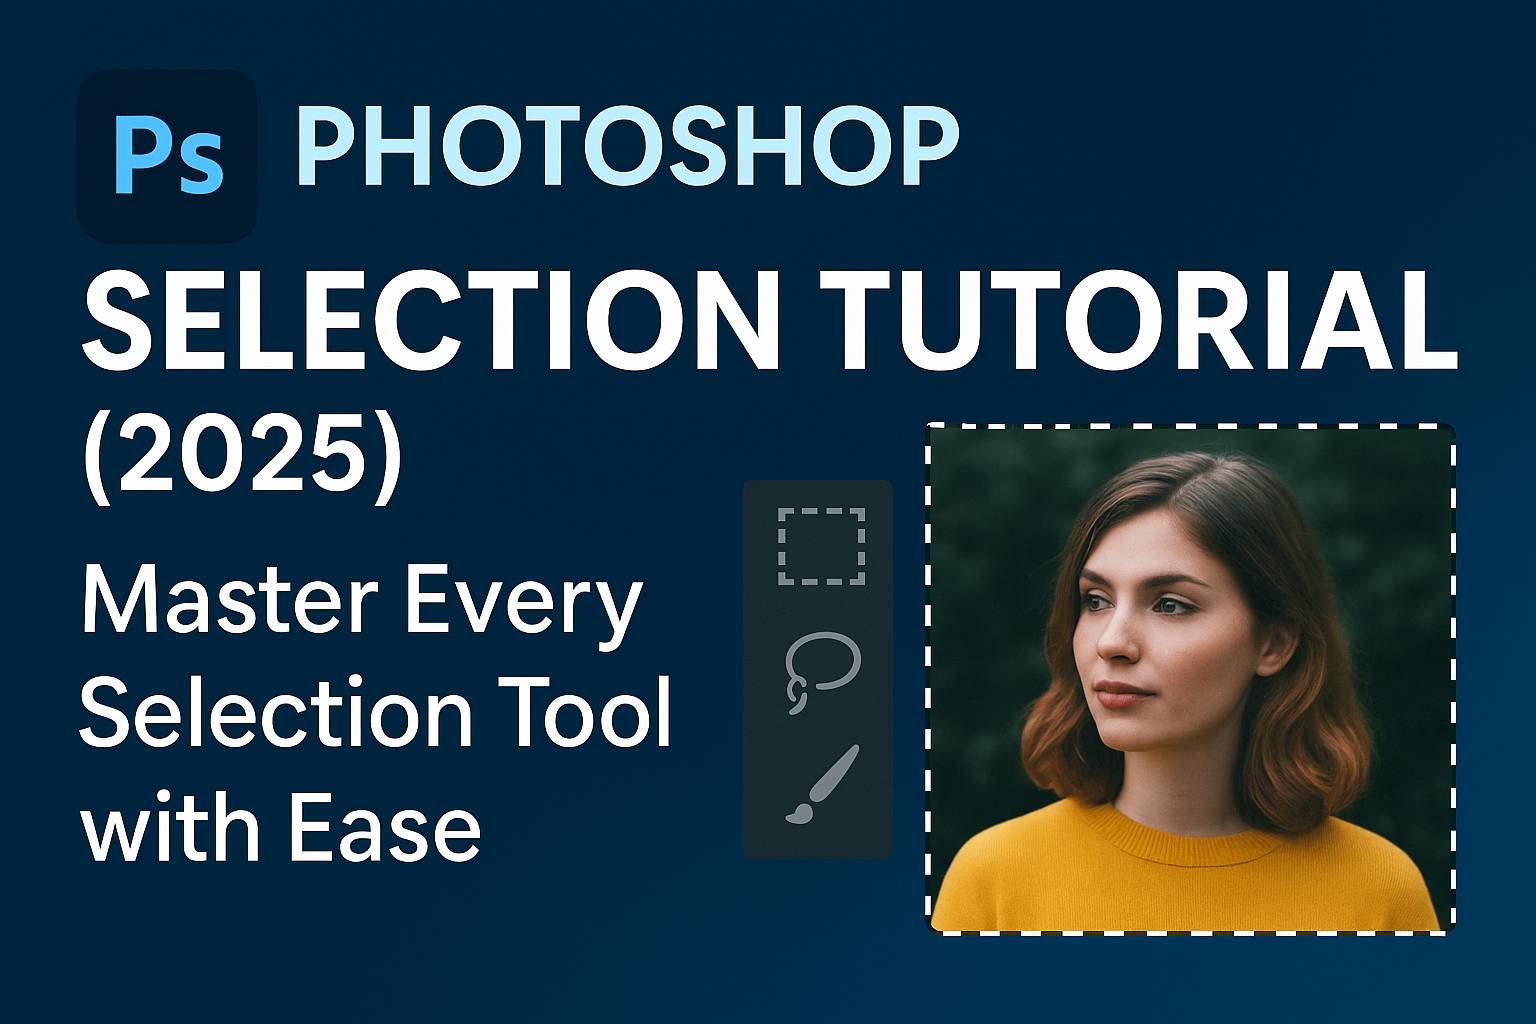
Photoshop offers a rich variety of selection tools, each ideal for different scenarios. Here’s a breakdown of the most essential ones:
1. Marquee Tools
- Rectangular Marquee Tool: Select square or rectangular areas.
- Elliptical Marquee Tool: Select circular or oval areas.
- Best for geometric selections and framing.
2. Lasso Tools
- Lasso Tool: Freehand selection; best for rough shapes.
- Polygonal Lasso Tool: Click-to-point straight edge selections.
- Magnetic Lasso Tool: Clings to edges with contrasting color.
3. Quick Selection Tool
- Paint to auto-select similar tones and edges.
- Great for subjects with strong contrast from the background.
4. Magic Wand Tool
- Selects by color and tone with adjustable tolerance.
- Best for selecting large areas of similar color (e.g., white backgrounds).
5. Object Selection Tool (2025 Update)
- Use a rectangle or lasso to auto-detect objects within an area.
- Powerful for fast and accurate subject isolation.
6. Select Subject
- One-click automatic selection of primary subject using AI.
- Ideal for quick edits, works best with clear foregrounds.
7. Select and Mask Workspace
- A specialized environment for refining edges.
- Essential for hair, fur, or transparent edges.
III. How to Make Accurate Selections
Step-by-Step Workflow:
- Choose the Appropriate Tool based on subject complexity.
- Zoom In to refine edges.
- Use Shift/Alt (Option) Keys to add or subtract areas.
- Feather Selection (Select > Modify > Feather) for soft transitions.
- Preview in Mask Mode (press
Q) to visualize selection as a red overlay.
Example: Select a person against a sky:
- Start with Object Selection.
- Refine using Select and Mask.
- Use Brush tool to touch up hair edges.
IV. Refining Selections
Even with the best tools, selections usually need refinement.
Tools & Techniques:
- Feather: Softens the edges.
- Smooth: Reduces jagged lines.
- Contrast: Sharpens edge transitions.
- Shift Edge: Expands or contracts the selection border.
Using Select and Mask:
- Use Refine Edge Brush for hair/fur.
- Use Global Refinements sliders.
- Toggle background preview to judge accuracy.
Pro Tip: Use white/black background preview in Select and Mask to test mask strength.
V. Combining and Saving Selections
Combine Selections:
- Add to Selection: Hold
Shift - Subtract: Hold
Alt/Option - Intersect: Hold
Shift + Alt/Option
Save & Reload:
- Select > Save Selection to reuse later.
- Stored as an alpha channel.
- Reload via Select > Load Selection.
Useful for complex masks or repeating edits across projects.
VI. Practical Use Cases
1. Cut Out a Subject
- Use Object Selection + Refine Edges.
- Place subject on new background.
2. Replace the Sky
- Select sky using Magic Wand or Select > Sky.
- Replace with a new gradient or sky image.
3. Selective Color Adjustments
- Use selection to isolate clothing.
- Apply Hue/Saturation layer with mask.
4. Add Blur to Background
- Select subject.
- Invert selection.
- Apply Gaussian Blur to background.
VII. Selection Tips & Shortcuts
| Action | Shortcut |
|---|---|
| Deselect | Ctrl/Cmd + D |
| Reselect | Shift + Ctrl/Cmd + D |
| Invert Selection | Shift + Ctrl/Cmd + I |
| Quick Mask Mode | Q |
| Add to Selection | Hold Shift |
| Subtract from Selection | Hold Alt/Option |
Tips:
- Use a graphics tablet for more precision.
- Combine selection with layer masks for non-destructive edits.
VIII. Downloadable Practice Files
- PSD file with a portrait, background, and challenging edges.
- Includes step-by-step layer groups for practice.
- Bonus: Refine Edge practice pack (hair, fur, glass).
[Download Button or Signup Form Here]
IX. Conclusion & Next Steps
Selections are a foundational skill for every Photoshop user. With the right tools and techniques, you can cut, isolate, enhance, and transform any part of an image with precision. Mastering selections gives you creative control like no other feature.
Ready to go deeper? Explore:
- [Photoshop Masking Tutorial for Beginners]
- [Advanced Compositing with Selections]
- [Hair Selection & Retouching Guide]
Join our Photoshop Challenge: Create your best cut-out and tag #MySelectionMasterpiece.
X. FAQ
Q: What is the best Photoshop selection tool?
A: It depends on the subject. Object Selection and Select Subject are best for people; Magic Wand is great for flat backgrounds.
Q: How do I fix rough edges after selecting?
A: Use Select and Mask to smooth and feather your selection.
Q: Why does my selection look jagged?
A: It may need anti-aliasing or feathering. Zoom in to adjust refinement.
Q: Can I make selections without affecting the original image?
A: Yes. Apply a layer mask to preserve non-destructive edits.


