
I. Introduction
Text effects are one of the most exciting ways to elevate your design work in Photoshop. Whether you’re creating a bold social media graphic, an eye-catching YouTube thumbnail, or a poster headline that pops, Photoshop gives you the tools to style your typography with creativity and precision.
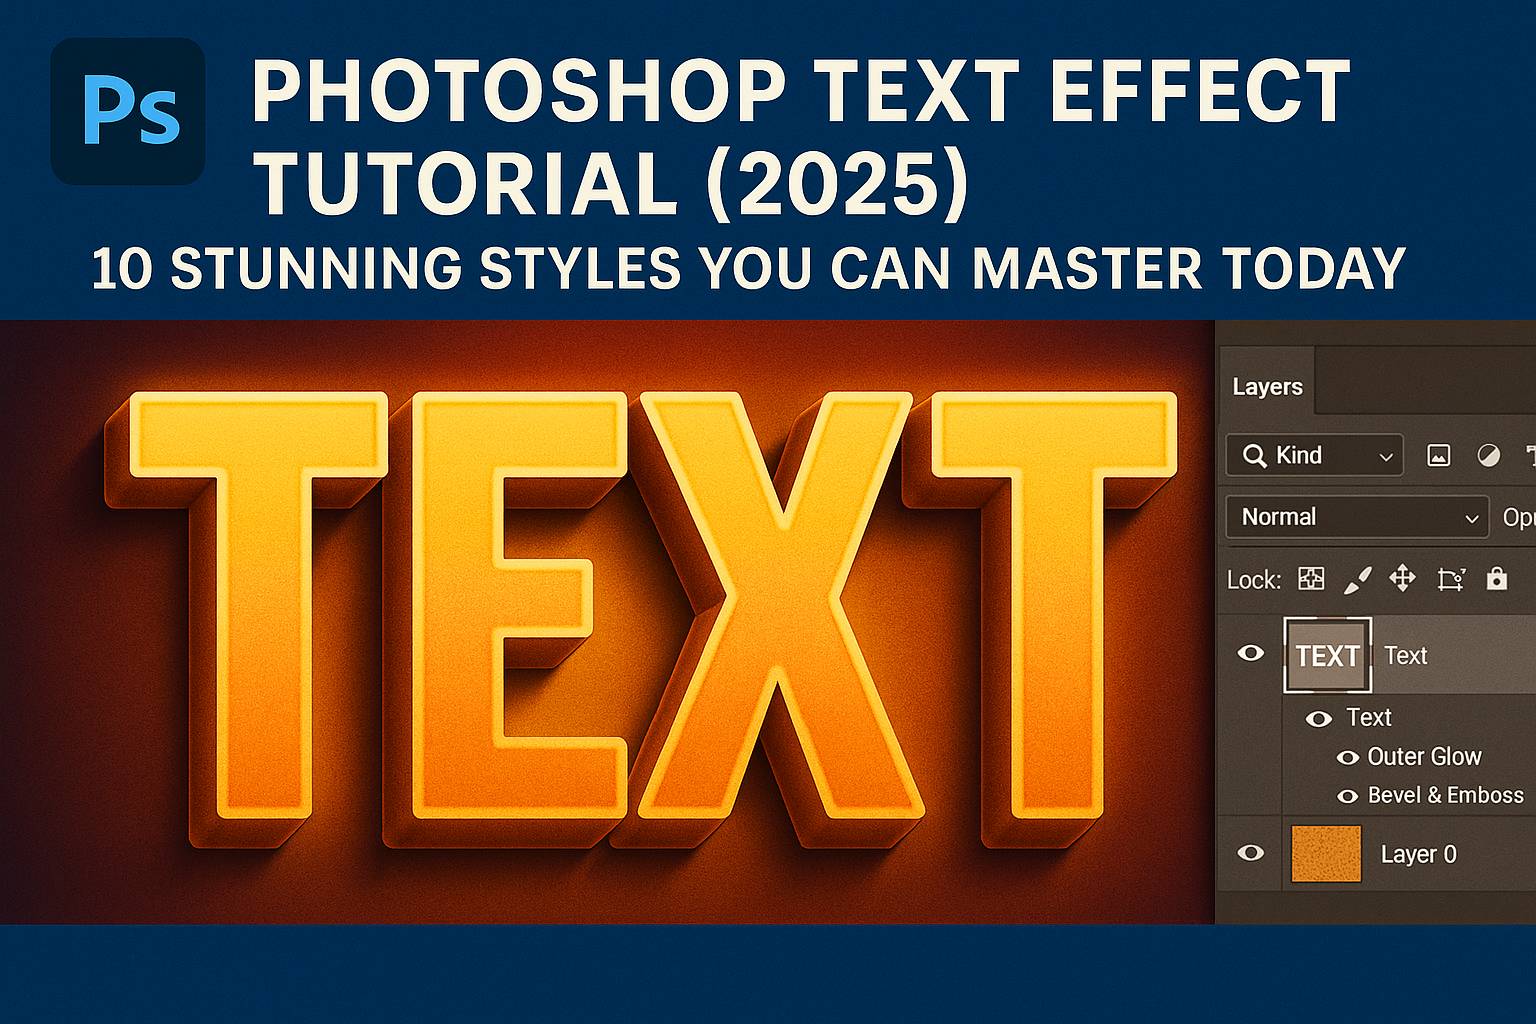
In this hands-on tutorial, we’ll walk you through 10 unique and visually striking text effects you can create using only Photoshop. These styles range from glowing neon and cinematic titles to gold foil and retro 80s vibes. Each tutorial is step-by-step, beginner-friendly, and includes tips, visual previews, and downloadable files.
II. Tools You’ll Use
Before jumping in, familiarize yourself with these essential Photoshop tools:
- Text Tool (T)
- Layer Styles: Stroke, Bevel & Emboss, Gradient Overlay, Drop Shadow
- Smart Objects
- Blending Modes
- Filters: Gaussian Blur, Noise, etc.
- Adjustment Layers
- Brush Tool + Layer Masks
III. Text Effect Tutorials
Each of the following text effects is fully guided and practical.
1. Neon Glow Text
Use-case: Social media, nightlife flyers
Steps:
- Use a bold sans-serif font.
- Apply Outer Glow, Inner Glow, and Color Overlay in Layer Styles.
- Add a blurred duplicate for enhanced ambient light.
- Place on a dark background with subtle noise texture.
2. Gold Foil Typography
Use-case: Luxury branding, fashion headlines
Steps:
- Create text and convert it to a Smart Object.
- Add a gold foil texture layer.
- Clip it to the text using a Clipping Mask.
- Add Bevel & Emboss, Inner Glow, and Color Overlay.
3. 3D Extrusion Effect
Use-case: Posters, event flyers, logos
Steps:
- Duplicate your text layer multiple times.
- Offset each duplicate by 1px diagonally.
- Merge offset layers to form the “extrusion.”
- Apply gradients and shadows to enhance realism.
4. Vintage Stamp Style
Use-case: Packaging, labels, branding
Steps:
- Use a grungy or typewriter-style font.
- Apply a halftone or distressed brush mask.
- Add color overlay and grunge texture.
- Convert to Smart Object and reduce opacity for realism.
5. Smoke-Filled Text
Use-case: Film posters, music visuals
Steps:
- Create white or light text on black background.
- Use a smoke brush on a layer above text.
- Set brush layer to Screen or Lighten.
- Clip the smoke layer to the text.
6. Fire Text Effect
Use-case: Gaming, extreme sports, action movie titles
Steps:
- Start with bold text.
- Apply Outer Glow in orange/yellow/red.
- Add a flame brush overlay.
- Add Blur + Hue/Saturation for fire glow effects.
7. Watercolor/Ink Texture Fill
Use-case: Art posters, lifestyle branding
Steps:
- Add a watercolor or ink texture as a new layer.
- Clip to your text using a Clipping Mask.
- Add subtle texture overlay and paper grain.
8. Cinematic Title Style
Use-case: Movie posters, YouTube intros
Steps:
- Use a dramatic serif or sci-fi font.
- Add Bevel & Emboss + Gradient Overlay.
- Use Lens Flare or Light Burst overlays.
- Final polish with Camera Raw Filter.
9. Chrome & Glass Text
Use-case: Tech design, UI prototypes, logos
Steps:
- Set base text to silver or white.
- Use Bevel & Emboss with Contour settings.
- Add Inner Glow and Gradient Overlay.
- Optional: Add subtle reflections and noise.
10. Retro 80s Grid Lettering
Use-case: Throwback content, music visuals
Steps:
- Use a neon font or retro-style display font.
- Add grid lines as a background.
- Layer multiple gradients (blue/purple/pink).
- Use Glitch or VHS-style overlays.
IV. Exporting & Using Your Designs
- For web use:
- File > Export > Export As > PNG (transparency supported)
- For print:
- Export as TIFF or high-res PDF (300 DPI)
- Keep a PSD version:
- Retain layer styles, Smart Objects, and editability
V. Downloadable Resources
- PSD files for all 10 text effects
- Free fonts and links to downloads
- Texture and overlay packs
- Bonus: 5 Layer Style (.ASL) presets
[Download the full Photoshop Text Effects Pack here]
VI. Tips for Better Text Effects
- Use bold fonts with strong character shapes
- Always convert your text to Smart Object before applying filters
- Use layer masks to blend overlays and textures
- Test visibility on different backgrounds
- Save your favorite effects as Layer Style Presets for reuse
VII. Conclusion & Next Steps
Text effects are not just flashy—they’re a core skill for digital design, branding, and content creation. Mastering these effects helps you communicate style, tone, and professionalism in your projects.
Keep learning:
- [Create Animated Text in Photoshop (GIF & MP4)]
- [Design a Logo with Layer Styles]
- [Typography Layout Tricks for Social Media Graphics]
Tag your work with #FLVTextEffects to get featured in our gallery!
VIII. FAQ
Q: What’s the easiest text effect for beginners?
A: Try the Neon Glow or Gold Foil effects—they’re mostly Layer Styles and easy to customize.
Q: Can I use these effects for commercial work?
A: Yes, just make sure your fonts and textures are licensed for commercial use.
Q: Are these effects editable later?
A: If you use Smart Objects and avoid flattening layers, you can update text and effects anytime.
Q: What’s the best font style for text effects?
A: Use bold sans-serif for glow or 3D, serif for cinematic, and display fonts for retro/vintage effects.
Unlock your creativity—one text effect at a time.