

I. Introduction
Typography is more than just typing words—it’s the art of arranging text to be visually appealing, legible, and expressive. Whether you’re creating a poster, social media graphic, web banner, or digital artwork, mastering typography in Photoshop gives your designs professional polish and visual impact.
In this tutorial, you’ll learn how to:
- Use Photoshop’s Type Tool and formatting panels
- Apply typography design principles
- Add creative text effects using masks, styles, and textures
- Export text-based designs for web or print
Let’s get started.
II. Getting Started with the Type Tool
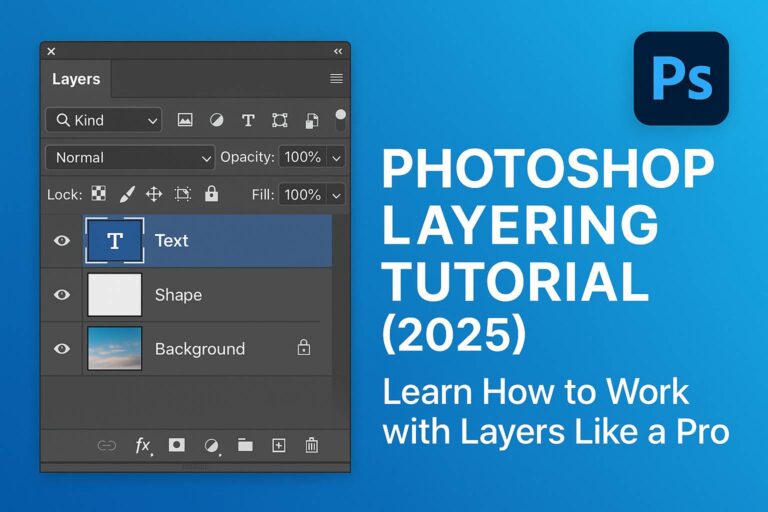
A. Create and Edit Text Layers
- Select the Type Tool (T) from the toolbar
- Click on the canvas to add Point Text (good for headlines)
- Click and drag to draw a box for Paragraph Text (great for blocks)
B. Format Text Using Panels
- Go to Window > Character and Window > Paragraph to open both panels
- Control:
- Font family & weight
- Font size
- Tracking (space between letters)
- Leading (line height)
- Kerning (space between character pairs)
- Alignment (left, center, justify)
C. Text Layer Tips
- Keep text on separate layers for better control
- Convert to Smart Object before applying effects for flexibility
- Use Layer Groups to organize headlines, body copy, and accents
III. Typography Design Principles in Photoshop
A. Font Pairing
- Combine contrast (e.g., serif + sans-serif)
- Keep pairings limited (1–2 fonts max)
- Example: Montserrat Bold (headline) + Open Sans Regular (body)
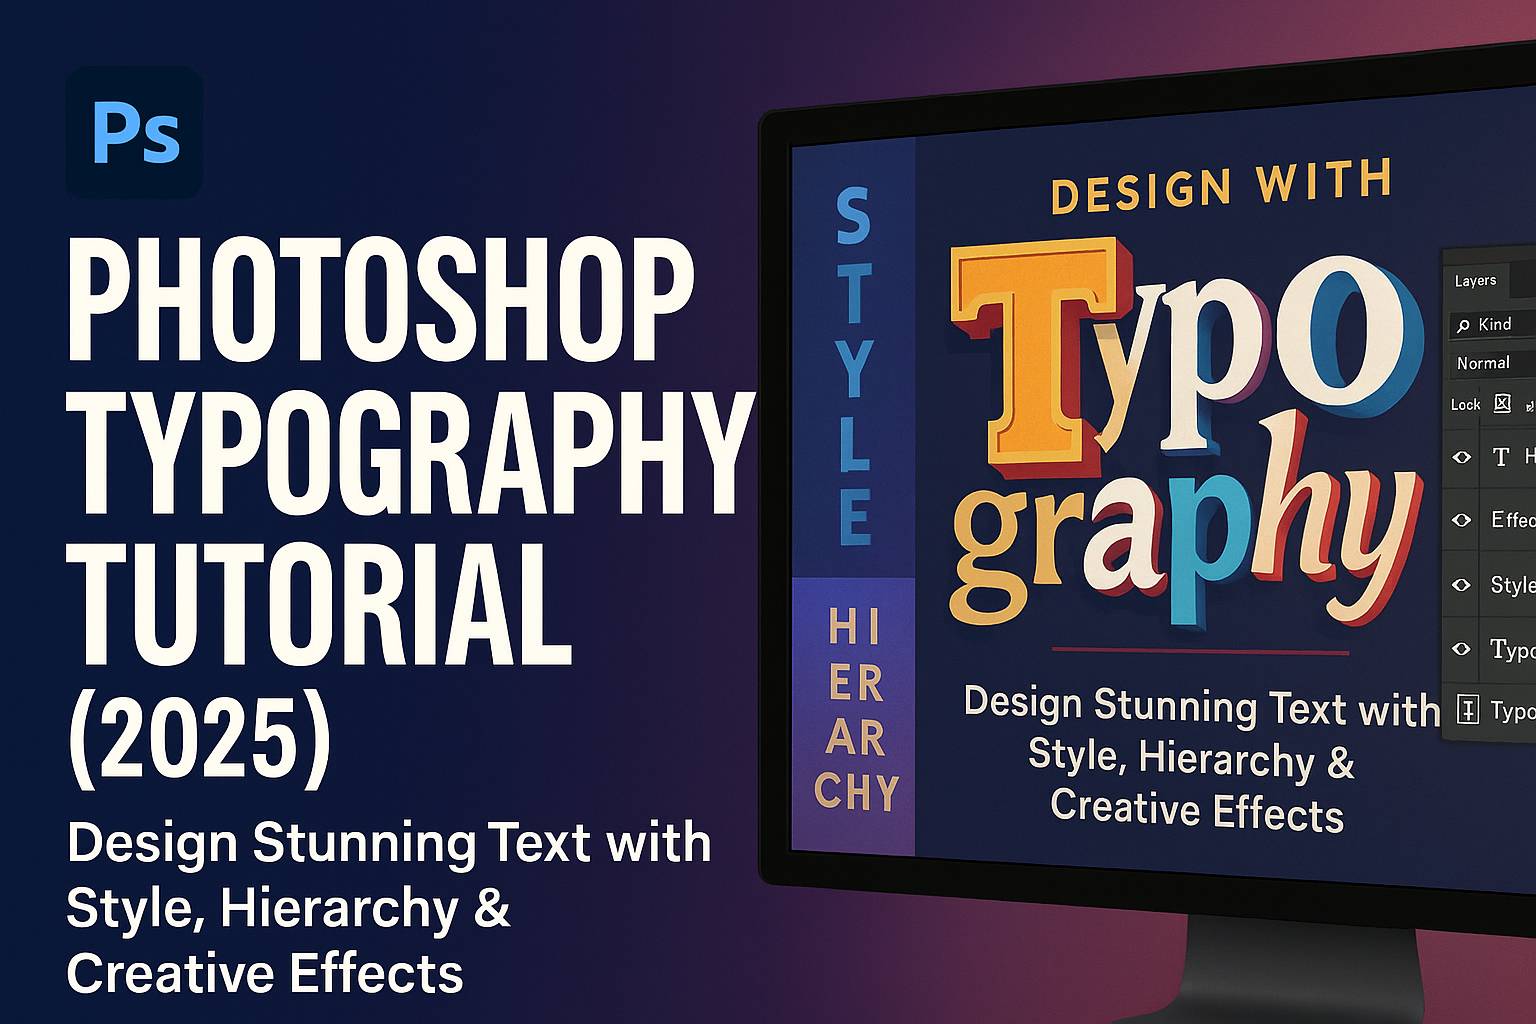
B. Hierarchy
- Use size, weight, and color to guide attention
- Establish headline > subhead > body text
- Use alignment and whitespace to structure flow
C. Alignment and Spacing
- Stick to left-aligned or centered text for simplicity
- Use Smart Guides and Grids (View > Show > Grid)
- Leave breathing room between blocks
IV. Creative Typography Techniques
Project 1: Text Inside a Shape or Path
- Use the Ellipse Tool to draw a path
- Select the Type Tool and click the edge of the path
- Type and adjust spacing to wrap text in circular or wavy shapes
Project 2: Photo-Filled Text (Masked Text)
- Type your text
- Place an image above the text layer
- Right-click the image layer > Create Clipping Mask
- Result: image appears inside the text shape
Project 3: Text with Layer Styles
- Right-click text layer > Blending Options
- Use:
- Gradient Overlay for modern effects
- Stroke for outlined fonts
- Drop Shadow or Outer Glow for emphasis
Project 4: 3D/Extruded Text Effect
- Duplicate text layer multiple times
- Offset each by 1–2 px to build “depth”
- Merge and style the base; keep top text for highlight layer
Project 5: Texture or Brush Overlay
- Place a texture or grunge PNG above the text
- Right-click > Create Clipping Mask
- Set blend mode to Overlay, Multiply, or Soft Light
V. Working with Text in Layout
A. Use Grids and Smart Guides
- View > Show > Grid or Guides
- Align text elements with consistent margins
B. Align to Canvas or Objects
- Use Move Tool > Align buttons in the Options bar
- Align to Selection, Canvas, or Layers
C. Responsive Typography
- Convert to Smart Object
- Use Transform Tool (
Ctrl/Cmd + T) without rasterizing text
VI. Exporting Typography Designs
For Web:
- File > Export > Export As
- Format: PNG (transparent), JPEG (flat)
- Resolution: 72 PPI
For Print:
- File > Save As > PDF, TIFF, or PSD
- Resolution: 300 PPI
- Convert text to shapes or embed fonts
For Editable Projects:
- Save as PSD with named text layers
- Use Smart Objects for reusable mockups
VII. Downloadable Resources
- PSD template with typographic layouts (headline, subhead, body)
- Free font pairings pack (Google Fonts + Adobe Fonts)
- Layer style presets for instant text effects
- Typography checklist (PDF)
[Download the Photoshop Typography Starter Kit]
VIII. Tips & Best Practices
- Keep it simple: focus on clarity first, style second
- Use contrast in size and weight to build hierarchy
- Avoid more than 2 fonts per design
- Always test readability (especially for small sizes)
- Save typographic elements as Smart Objects or Presets for reuse
IX. Conclusion & What to Learn Next
Typography is a fundamental design skill, and Photoshop gives you all the tools to combine type and imagery creatively. With practice, you’ll be able to build powerful headlines, clean layouts, and stylized text effects for any project.
Next tutorials to explore:
- [Photoshop Text Effects: Glows, Gradients & Masks]
- [Create a Custom Logo Using Fonts in Photoshop]
- [Mock Up Your Typography on Posters & Shirts with Smart Objects]
Tag your creations with #FLVTypographyDesign and get featured!
X. FAQ
Q: What’s the difference between point text and paragraph text?
A: Point text is for short phrases (click once to type). Paragraph text is for blocks of copy (click and drag a box).
Q: Can I change fonts after applying effects?
A: Yes, if the layer remains editable. If rasterized or converted to shape, you’ll need to retype.
Q: How do I make text follow a curve?
A: Use the Pen Tool or a shape path. Click the path with the Type Tool to type along it.
Q: What fonts are best for web vs print?
A: Sans-serifs like Open Sans or Roboto are great for web. Serif fonts like Georgia or Playfair Display work well in print.
With these techniques and tools, you’ll be ready to design type that communicates clearly and looks beautiful—on screen, in print, or anywhere your creativity takes you.