

I. Introduction
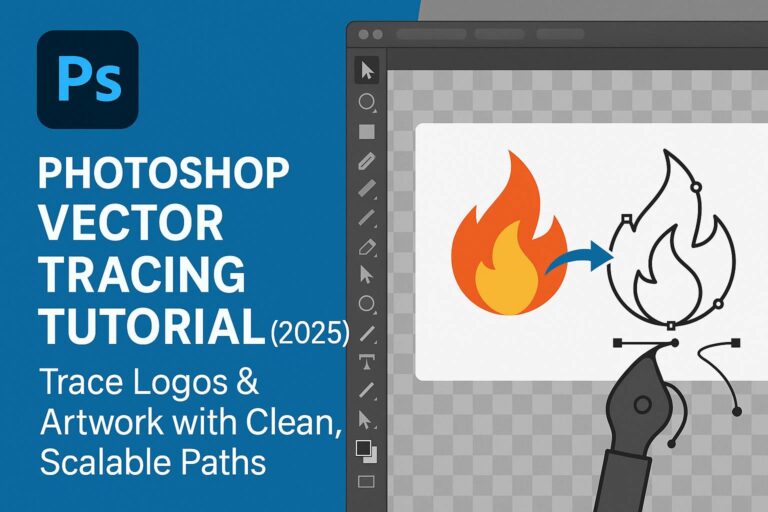
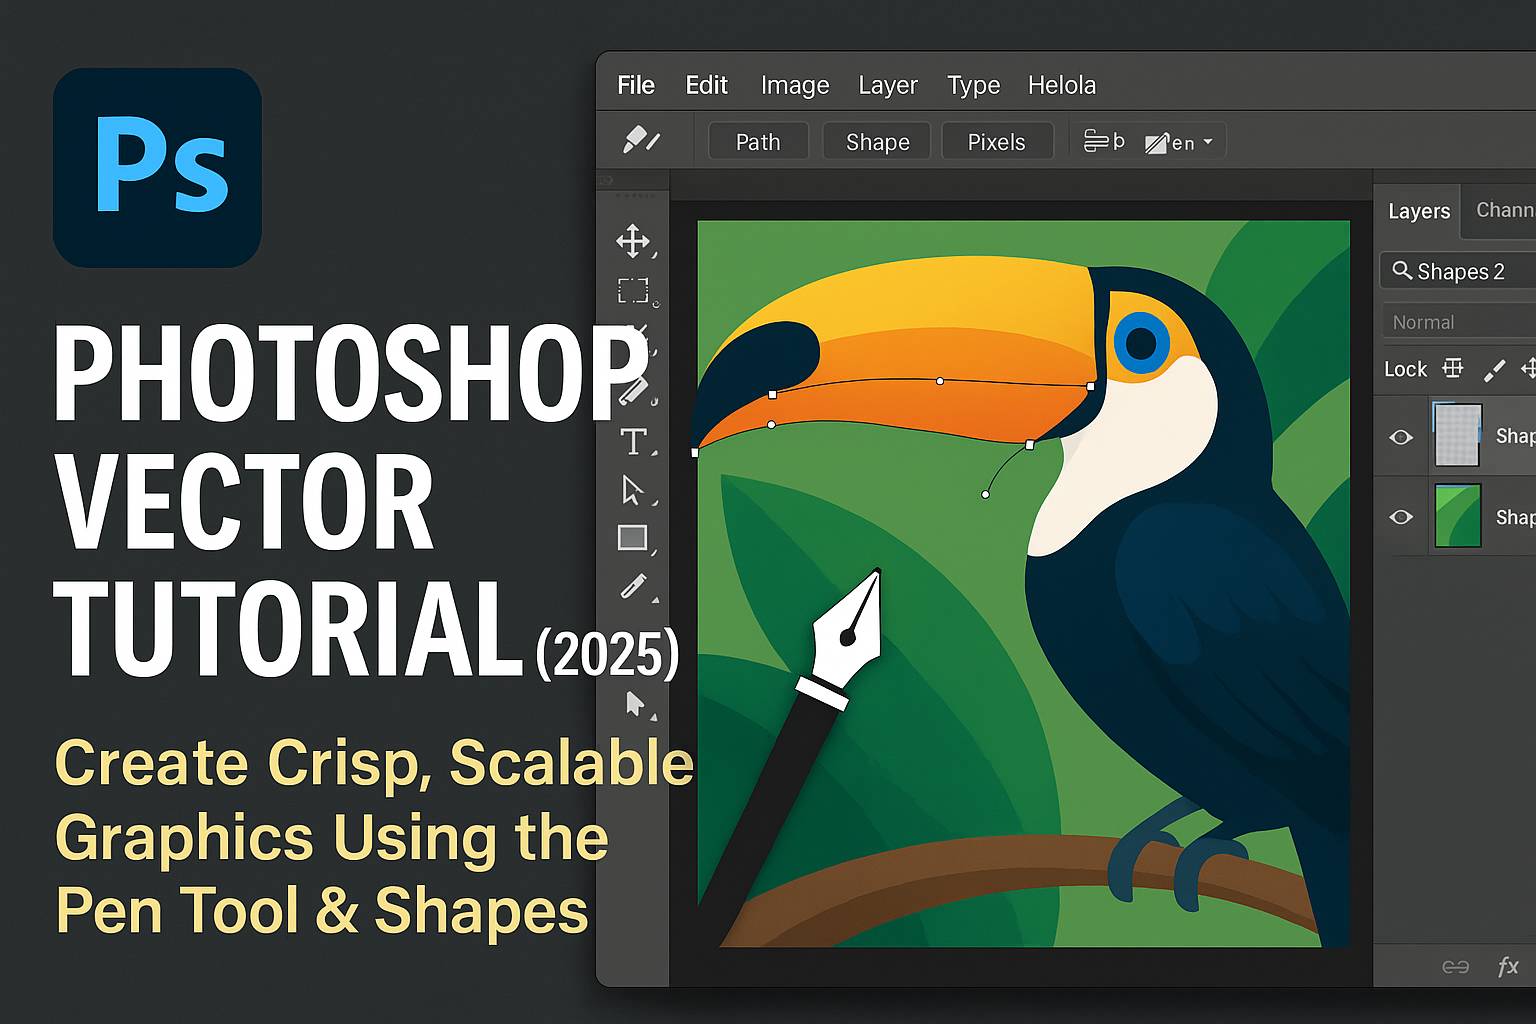
While Adobe Illustrator is the industry standard for true vector design, Photoshop also includes vector-based tools that allow you to create scalable, sharp graphics suitable for logos, icons, and stylized illustrations. Whether you’re designing a clean badge, a custom shape, or exporting a logo for web use, this tutorial will show you how to create vector-style artwork in Photoshop.
In this step-by-step guide, you’ll learn how to:
- Create vector shapes using the Pen Tool and Shape Tools
- Combine and manipulate paths
- Export your design for print or vector reuse
- Understand the limits and best practices of vectors in Photoshop
II. What Are Vectors in Photoshop?
Photoshop is a raster-based program, but it supports vector elements through:
- Shape Layers (editable, resolution-independent)
- Paths (created with the Pen Tool)
- Vector Masks (non-destructive masking)
- Smart Objects linked from Illustrator
These elements retain sharpness when scaled and can be exported to Illustrator or as vector PDFs.
III. Tools You’ll Use
- Pen Tool (P) – for drawing custom paths
- Shape Tools – Rectangle, Ellipse, Polygon, Line
- Path Selection Tool (A) – to move and edit paths
- Direct Selection Tool – for anchor point refinement
- Properties Panel – to adjust fill, stroke, alignment
- Path Operations – to combine or subtract shapes
IV. Step-by-Step: Create a Vector Logo in Photoshop
Project: Minimalist monogram logo using the Pen Tool and basic shapes
Step 1: Create a New Document
- Go to
File > New - Size: 1000 x 1000 px
- Resolution: 300 PPI (for print), RGB or CMYK depending on output
Step 2: Add Basic Shapes
- Use the Ellipse Tool to draw a perfect circle (Hold Shift)
- Use the Rectangle Tool to build simple blocks or lines
- Set Fill Color, and add Stroke from the top options or Properties Panel
Step 3: Draw with the Pen Tool
- Select Pen Tool (P)
- Click to create anchor points and build your custom shape
- Close the shape to make it a solid fill
- In the top bar, set to Shape, not Path
- Adjust with Direct Selection Tool (A) to refine corners
Step 4: Combine and Subtract Shapes
- Select multiple shape layers
- Use Path Operations:
- Combine Shapes: Merge shapes into one vector
- Subtract Front Shape: Cut one shape out of another
- Intersect / Exclude: Create advanced geometry
Step 5: Align and Arrange
- Use the Move Tool and Align options in the Properties Panel to center or distribute elements
- Group layers for organization (
Ctrl/Cmd + G)
Step 6: Add Style (Optional)
- Apply Layer Styles (Right-click > Blending Options):
- Stroke
- Drop Shadow
- Gradient Overlay
- Keep effects minimal for vector clarity
V. Exporting Vector Work from Photoshop
A. Export as PDF (Preserves vector paths)
File > Save As > Photoshop PDF- Choose “Preserve Photoshop Editing Capabilities” unchecked
B. Export Paths to Illustrator
File > Export > Paths to Illustrator- Opens vector paths in Illustrator for true SVG or AI editing
C. Copy and Paste to Illustrator
- Select shape layers >
Edit > Copy - Open Illustrator > Paste > Retain editability for full vector control
D. Save as SVG (Indirect Method)
- Convert shapes to Smart Objects linked to Illustrator
- Open in Illustrator > Save As > SVG
VI. Creative Use Cases for Vector Graphics in Photoshop
- Minimalist Logos
- Monograms and Lettermarks
- Icons for Web UI
- T-shirt Designs
- Stickers and Badges
- Flat Illustrations for social media or branding
VII. Best Practices
- Always use Shape Layers, not raster brushes
- Convert text to shape before manipulation
- Use Snap to Pixels for crisp edges in icon design
- Name and group your shape layers
- Avoid raster filters (e.g., Gaussian Blur) on vector layers if planning to export
VIII. Downloadable Resources
- Practice PSD with editable vector shapes
- Pen Tool tracing worksheet
- Export-ready vector logo mockup
[Click here to download the Photoshop Vector Kit]
IX. Conclusion & What to Learn Next
While Photoshop isn’t a full vector editing app like Illustrator, it provides enough vector functionality to design logos, icons, and sharp graphics—especially when combined with Smart Objects and shape layers.
For more advanced workflows, pair your Photoshop skills with Illustrator for SVG exports or larger scalable projects.
Next tutorials to explore:
- [Photoshop Logo Design Tutorial for Beginners]
- [Mastering the Pen Tool in Photoshop]
- [Exporting Photoshop Designs for Print and Web]
Tag your creations with #FLVVectorDesign and showcase your scalable designs!
X. FAQ
Q: Can Photoshop create true vector graphics?
A: It supports vector shapes and paths, but for full vector editing and SVG export, Illustrator is better.
Q: How do I make sure my shapes stay vector-based?
A: Use the Shape Tool or Pen Tool set to “Shape,” and avoid rasterizing layers.
Q: Can I export SVG directly from Photoshop?
A: Not reliably. Export paths to Illustrator, then save as SVG there.
Q: What’s the difference between Shape Layers and Paths?
A: Shape Layers include fill/stroke and stay editable; Paths are outlines used for selections or vector masks.
With vector skills in Photoshop, you can bridge pixel-based creativity with scalable precision—all while keeping your workflow fast and familiar.