


I. Introduction
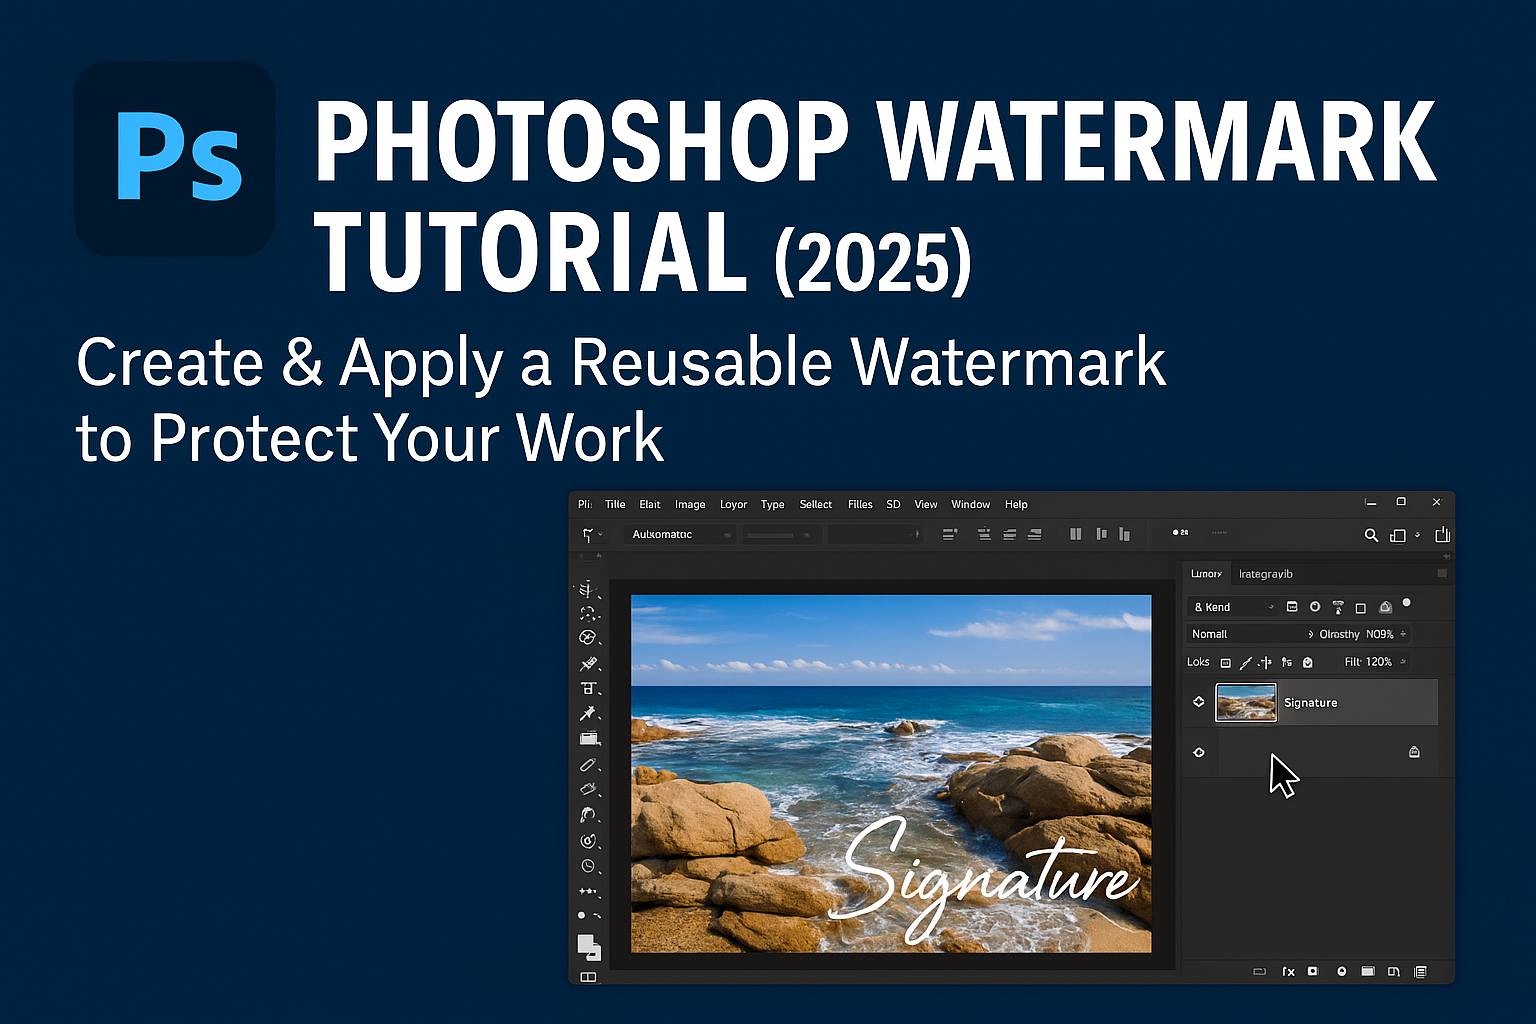
Watermarking your images is one of the simplest ways to protect your creative work, reinforce your brand, and ensure proper attribution when sharing visuals online. In Photoshop, you can create professional-looking text or logo watermarks and apply them quickly to one or many images.
In this tutorial, you’ll learn how to:
- Create a watermark using text or a logo
- Style it for clarity without distraction
- Save it for future use as a brush, smart object, or action
- Apply watermarks manually or batch process them
II. Create a Simple Text Watermark
Step 1: Add Your Text
- Select the Text Tool (T)
- Click anywhere on your canvas and type your name, website, or brand name
- Use a clean, legible font (e.g., Montserrat, Lato, Arial)
Step 2: Style the Watermark
- Adjust font size and spacing for clarity
- Set the opacity to 30–50% for subtle appearance
- Optional: Add Layer Styles:
- Drop Shadow for visibility on bright images
- Outer Glow for darker backgrounds
Step 3: Position It
- Place it in a consistent spot (e.g., bottom-right corner)
- Use guides or the Move Tool (V) for precise alignment
III. Add a Logo as a Watermark
Step 1: Open or Import Your Logo
- Use a high-resolution PNG with transparency or vector logo
- Drag it into your open image or use File > Place Embedded
Step 2: Resize & Position
- Scale the logo while holding Shift to maintain proportions
- Place in a non-intrusive area: corners or diagonally across the image
Step 3: Adjust Visibility
- Reduce Opacity to 20–40%
- Set Blend Mode to Soft Light or Overlay if you want it to integrate into the image
IV. Convert Your Watermark into a Reusable Asset
A. Save as Smart Object
- Group the watermark layers (Ctrl/Cmd + G)
- Right-click > Convert to Smart Object
- Save this layer as a PSD for future placement
B. Create a Photoshop Brush
- Flatten text or logo to one layer (Black & White only)
- Select the layer > Edit > Define Brush Preset
- Use Brush Tool (B) to stamp your watermark on any image
C. Save as Shape (Vector Logo Only)
- Select your logo layer
- Edit > Define Custom Shape
- Access via Shape Tool > Custom Shape Tool
V. Batch Watermarking with Photoshop Actions
Step 1: Record an Action
- Open Actions Panel (
Window > Actions) - Click New Action > Name it “Apply Watermark” > Click Record
- Place your watermark > position > flatten/save/export
- Click Stop to end recording
Step 2: Apply to Multiple Files
- File > Automate > Batch
- Choose the folder of images and your new action
- Select destination folder and export format
VI. Best Practices for Watermark Design
- Keep it subtle: Don’t distract from the image
- Use transparency and blending to adapt to various photo tones
- Be consistent: Stick with one style and placement for branding
- Avoid overuse: Large, centered watermarks may feel obtrusive
- Use vector logos for sharp scaling across image sizes
VII. Exporting Watermarked Images
For Web Use
- File > Export > Export As > JPEG or PNG
- Choose resolution: 72 PPI for screens
- Optimize quality/file size balance
For Print or Archival
- Save as TIFF or PSD with watermark layer included
- 300 PPI, Adobe RGB color profile
VIII. Downloadable Resources
- PSD template with text + logo watermark layers
- Action file: Apply watermark to bottom-right corner
- Brush preset (.ABR) with custom watermark stamp
- Guide: Ideal watermark opacity, font styles, and export settings
[Download the Photoshop Watermark Pack]
IX. Conclusion & What to Learn Next
Watermarking is a simple but powerful step in protecting and branding your visual content. Once you’ve created and saved a reusable watermark in Photoshop, applying it takes just seconds—saving time and reinforcing your identity every time you share an image.
Next tutorials to explore:
- [Batch Resize and Export in Photoshop]
- [Create a Transparent Logo for Watermarking]
- [Smart Object Workflows for Reusable Design Elements]
Tag your work with #FLVWatermark to share your branded images with our creative community!
X. FAQ
Q: What’s the ideal opacity for a watermark?
A: Between 20–50%, depending on contrast and image background.
Q: Can I watermark multiple images at once?
A: Yes, use the Batch Process with a recorded Action to automate watermarking.
Q: Should I use text or a logo for watermarking?
A: Both work. Text is faster; a logo offers stronger branding.
Q: What’s the best position for a watermark?
A: Bottom-right corner is common; center or diagonal offers more security but is more distracting.
Once your watermark workflow is in place, it becomes a seamless part of your post-production—protecting your work while building your creative brand.